These lamps have been all the rage. Every day they gain in popularity. People are realizing that they are a great decorating accessory. They take no electrician to install. All you need is a hook in the ceiling so that you can swag them over a chair or over a desk. Add one to a dark corner of your house. Put one over your bed so that you can read in bed or do some knitting or hand sewing.

Here’s my latest one. I posted about these in other previous posts. I had these frames made to my very own specifications. They fit perfectly with my cord kits.
Would you like to see how they are made? Each one has a set of instructions included, but I thought that I would talk you through just how easy they are.
The lamp shade frame looks like this.

It has 2 rings. There is a bottom ring and a top ring. The top ring has the middle washer. The bottom ring is just a plain ring. The middle washer sets on top of the ridge on the cord kit, and it fits perfectly. The cord can be swagged from hooks in the ceiling so that it doesn’t need any professional electrical hook up.
The rings are covered with fabric. The fabric doesn’t get overheated especially with the new lightbulbs that are now in use. We have had these burn for hours on end with no adverse effects.
The rings measure 44 1/2 inches around. They are 14 inches in diameter. Therefore, one width of fabric will not go all the way around the ring, unless the fabric is wider than 44-45 inches. A decorator fabric is usually 54 inches wide. In this case, you would only need one width of fabric to go around the lamp. A regular quilting cotton that is 44 inches wide is often times not quite 44 inches wide. It is only referred to as 44 inch wide fabric. Often times it is only about 42 inches wide, and sometimes it is less than that.
The lamps can be long or short in length, but they are always the same distance around. You can make them about 12 inches long, which is a very useful length, or they can be made shorter. I made one out of burlap, and made it longer.
To begin, decide how long your lamp will be. The lamp made in the tutorial is 12 inches long, and I used regular quilting fabric that is 42 inches wide. So, for a 12 inch long lamp you will cut your fabric 13 inches x width of fabric. Cut 2 rectangles 13 inches x width of fabric. Then, cut these rectangles 13 inches by 26 inches.

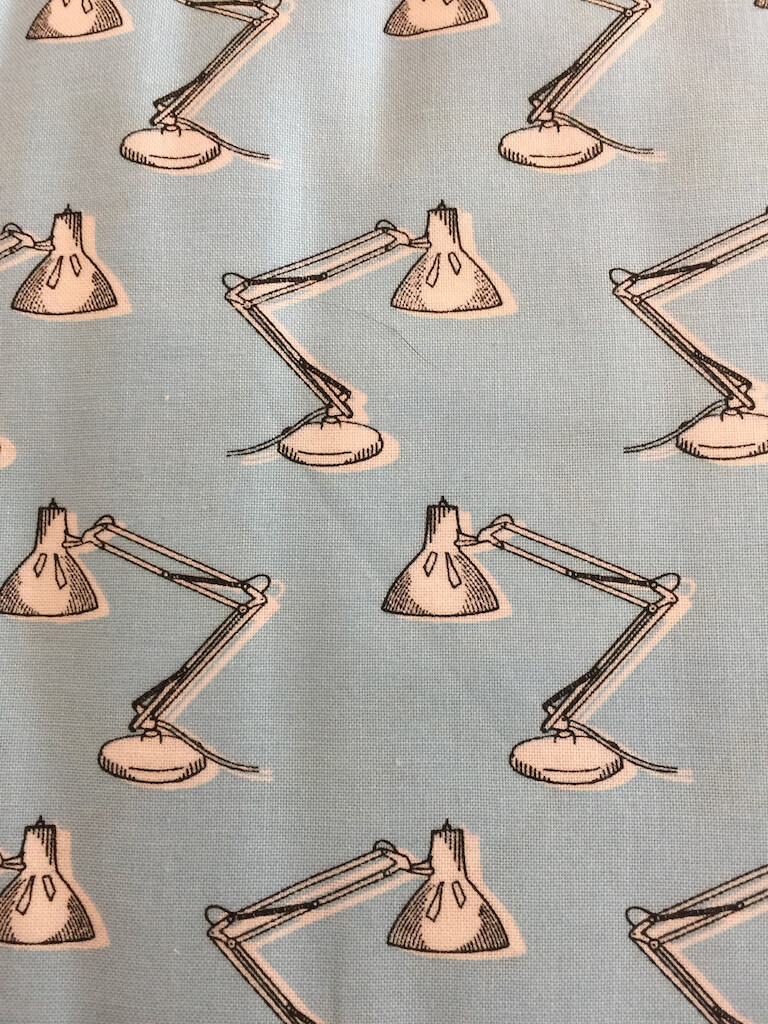
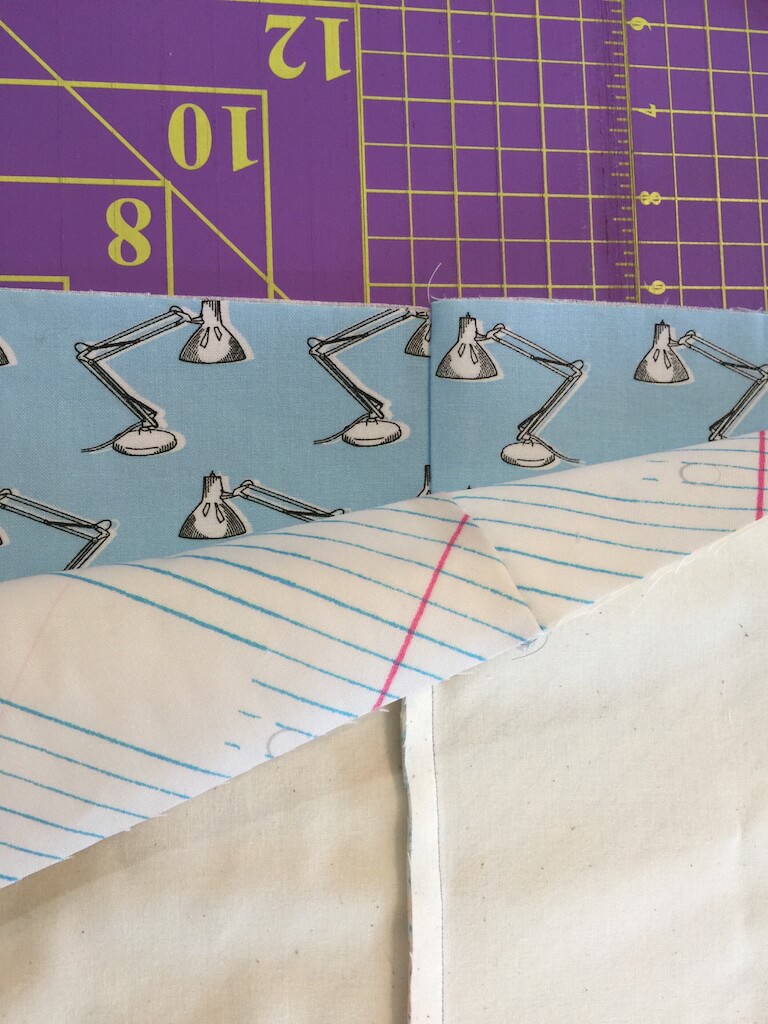
This is the fabric for the outside of the lampshade. I decided to line my lampshade. I am lining it with this fabric, below.
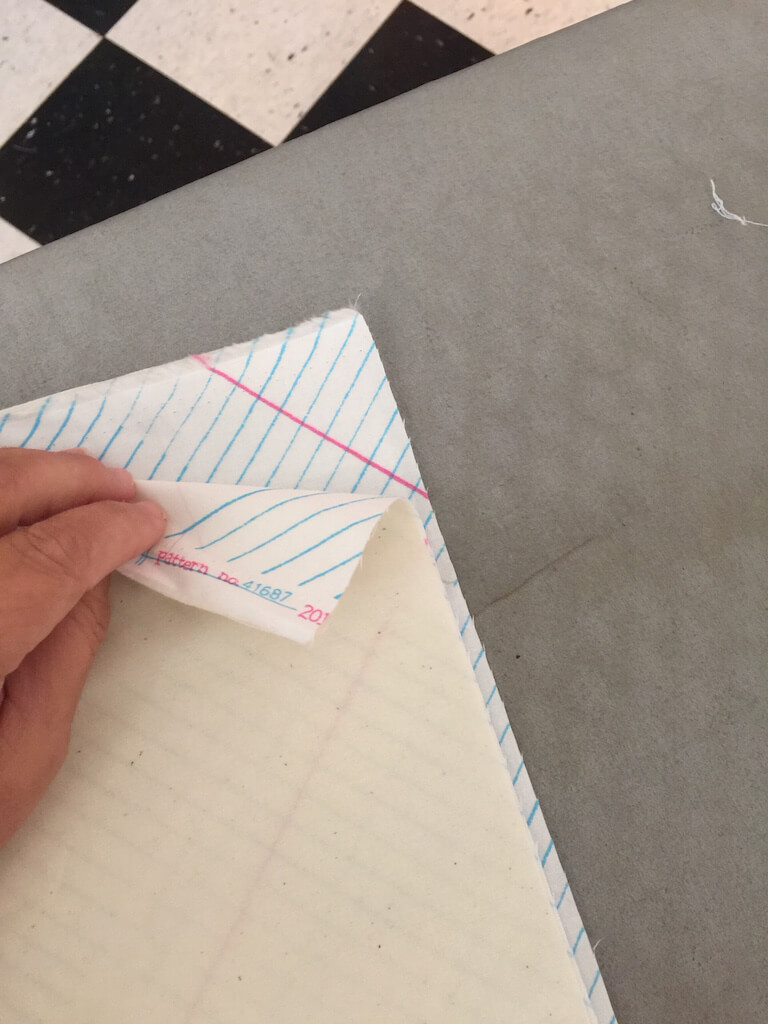
Because the lining fabric is darker than the outside fabric, I need a piece of muslin in the center between the outside fabric and the lining fabric.
Next, use a fusible interfacing and cut it the same size as the lampshade fabric, 13 inches x 26 inches. You will fuse this to the lining fabric, so set it aside until you cut your lining.
Cut 2 pieces of muslin 13 inches x 26 inches. It should be the exact same size as the outside lampshade fabric. Lay the muslin on to the wrong side of the lampshade fabric.
Your layers should be as follows: a muslin rectangle on the wrong side of the lampshade fabric, the lampshade fabrics right sides together and another muslin piece on the wrong side of the second piece of lampshade fabric. Put the lampshade fabric pieces right sides together.
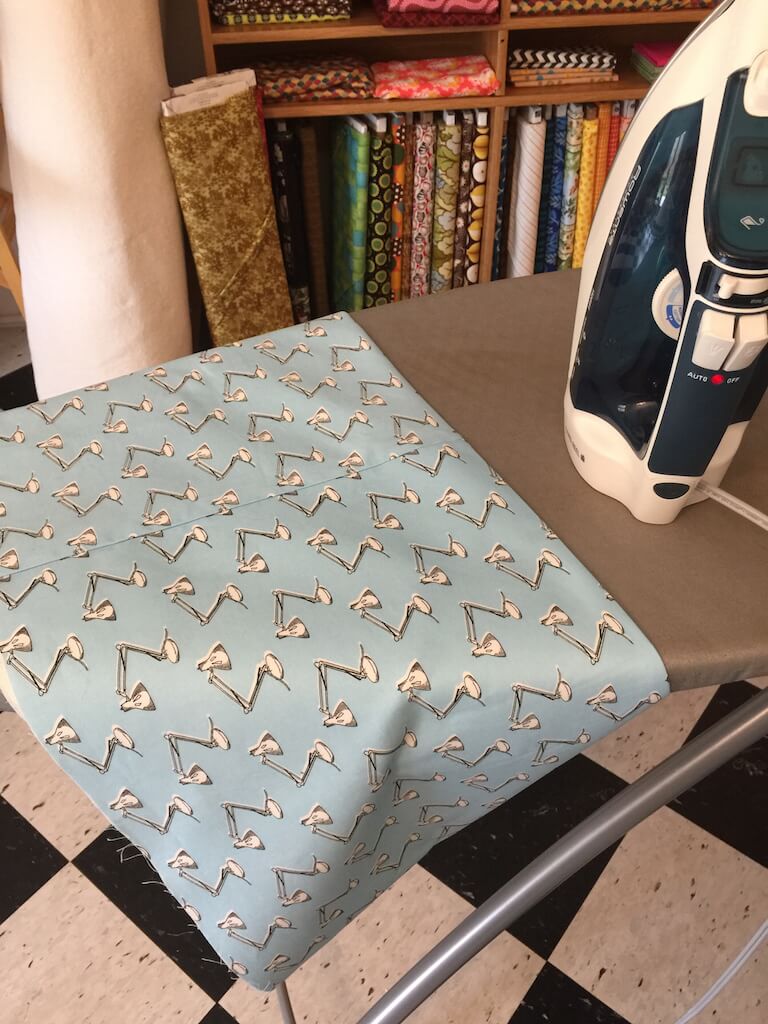
Stitch the lampshade pieces right sides together along the short sides of the rectangles through all thicknesses, using a 1/4 inch seam. Press the seam allowance to one side.
This entire piece is now about 51 1/2 inches long.
Now, cut the lining pieces. Cut 2 widths of fabric 13 inches long. Then, cut 2 rectangles 13 inches by 26 inches. Fuse the interfacing to the wrong side of the lining pieces.
Stitch these lining pieces right sides together along the short sides of the rectangles. Use a 1/4 inch seam. Press the seam in one direction.

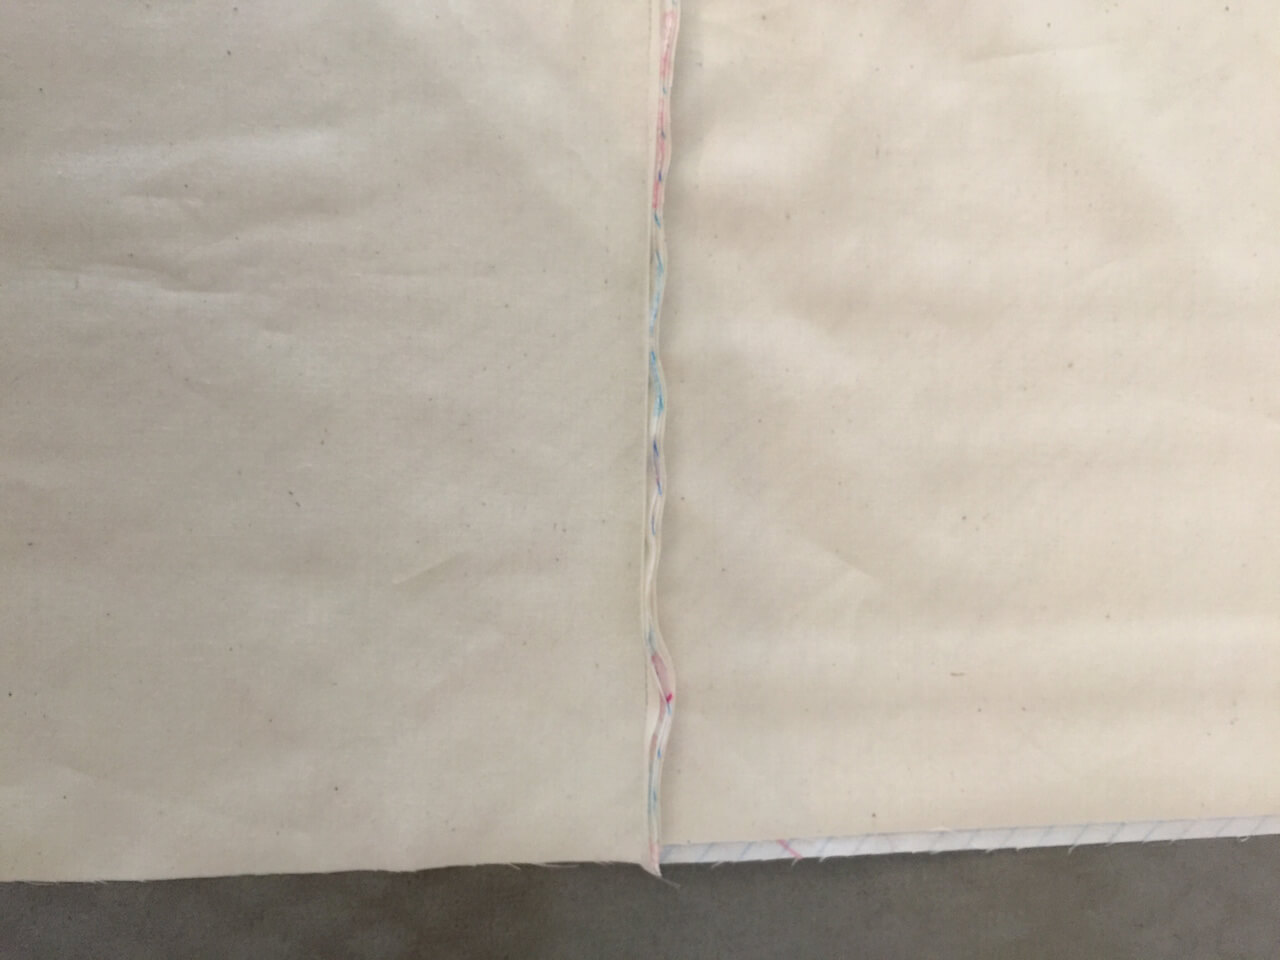
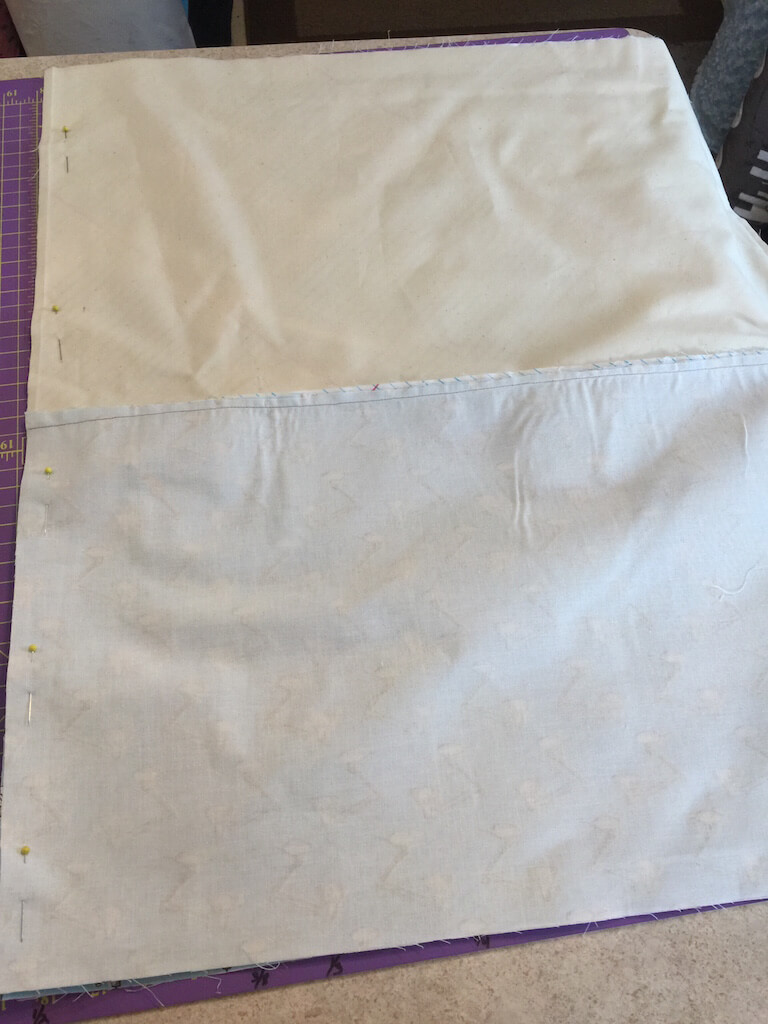
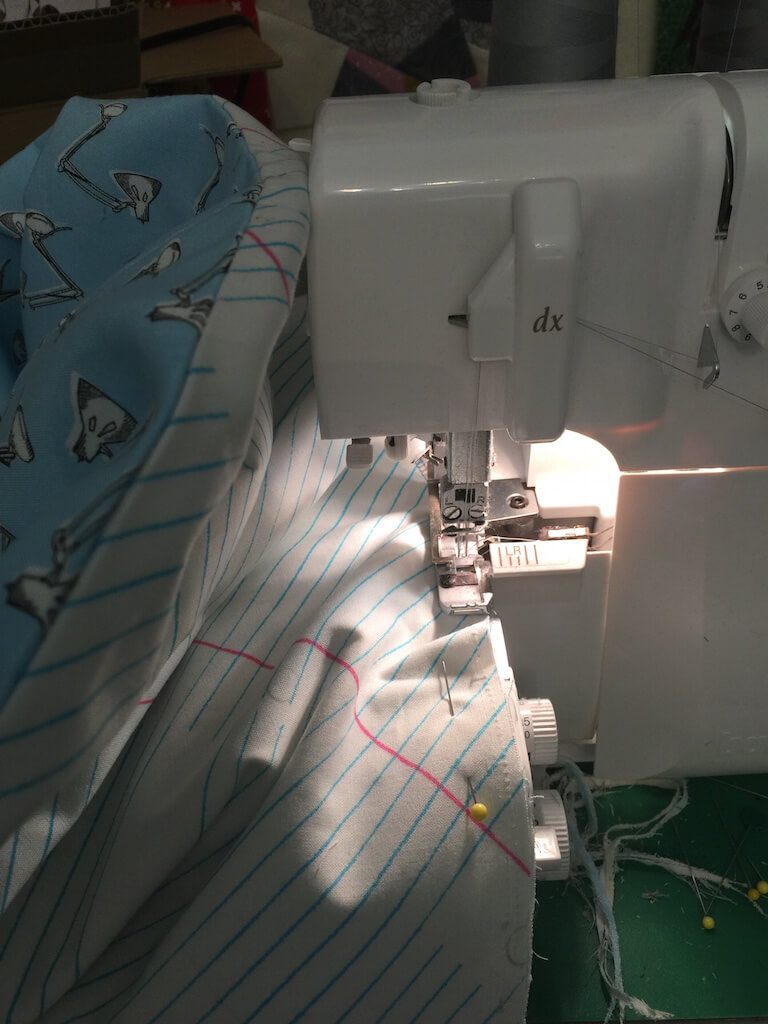
Lay the outside fabric right sides together with the lining fabric, matching the center seams. Pin along the long bottom edge. The seam that is shown in this photo is the center seam. The seam that is along the bottom is the bottom seam.

Stitch a 1/4 inch seam along the long bottom edge of the lampshade/lining combo. Keep in mind the direction of your fabric so that the seam is at the bottom of a directional fabric.
Open the two fabrics out, and press the long bottom seam toward the lining.
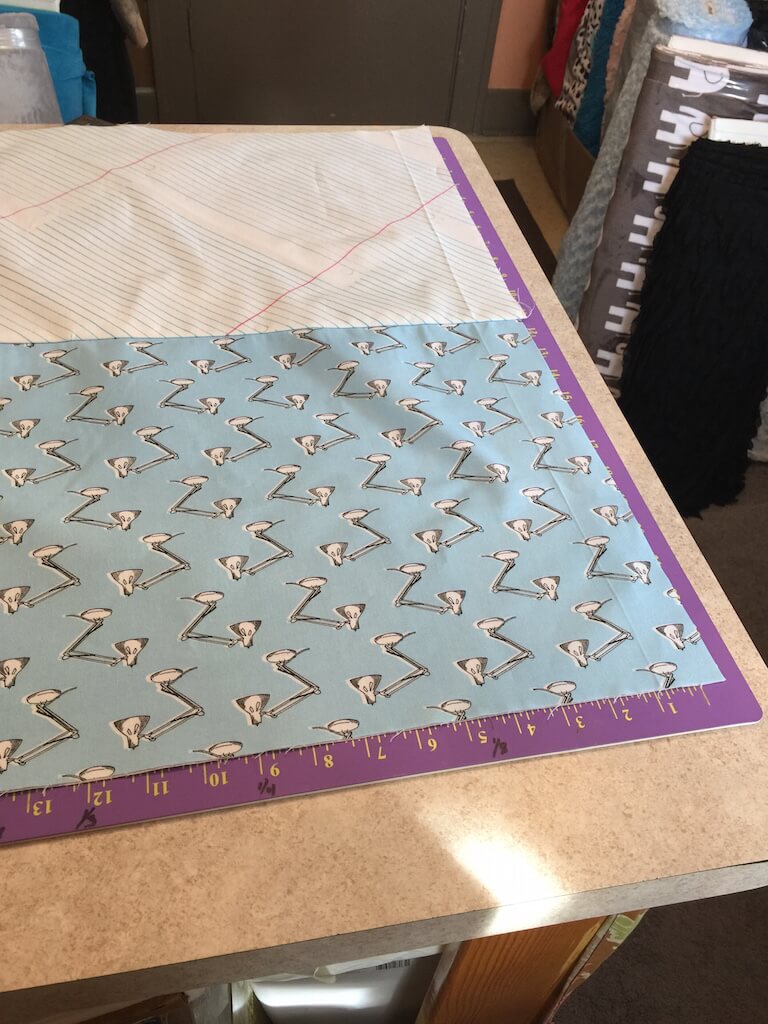
Lay the entire piece on a cutting mat, with it opened out. Measure 23 inches in both directions. Using a rotary cutter, trim the edge even at 23 inches to the right of the center seam, and 23 inches to the left of the center seam.
Fold the entire piece while opened out, in half, right sides together, to create a seam directly opposite the center seam. Stitch a 1/4 inch seam.
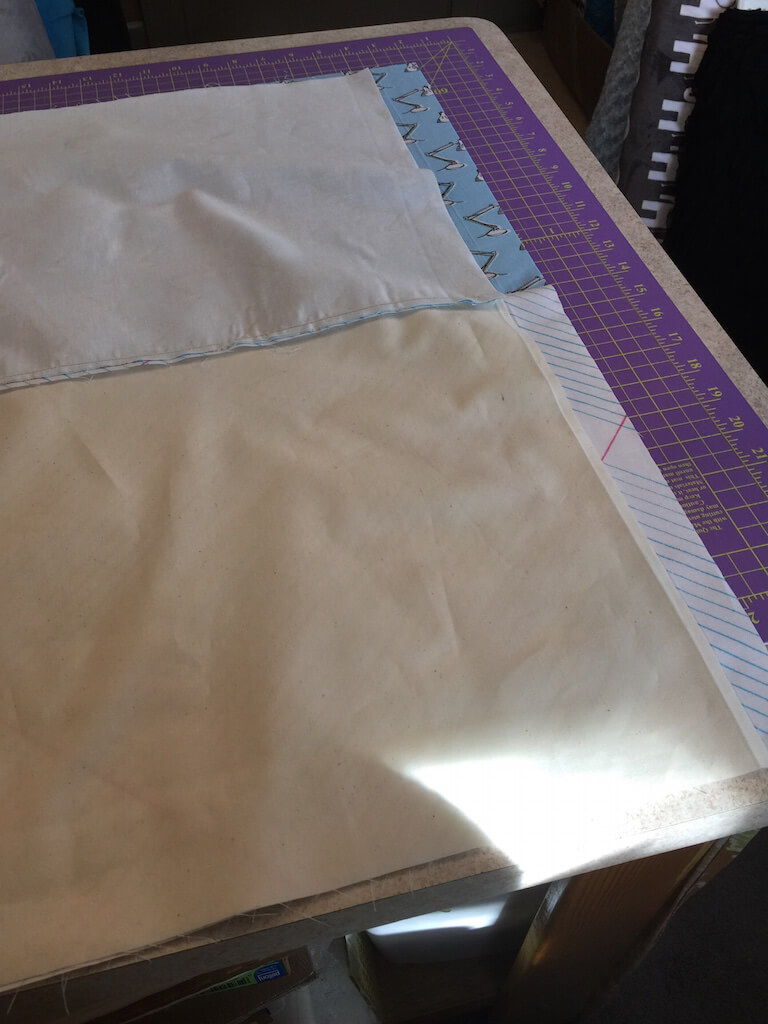
Fold the shade wrong sides together so that the bottom seam is on the bottom, the top of the shade is open, and the center seam is opposite the seam just sewn.
Press the entire shade. Slip the bottom ring into the shade between the lining and the outside shade fabric.
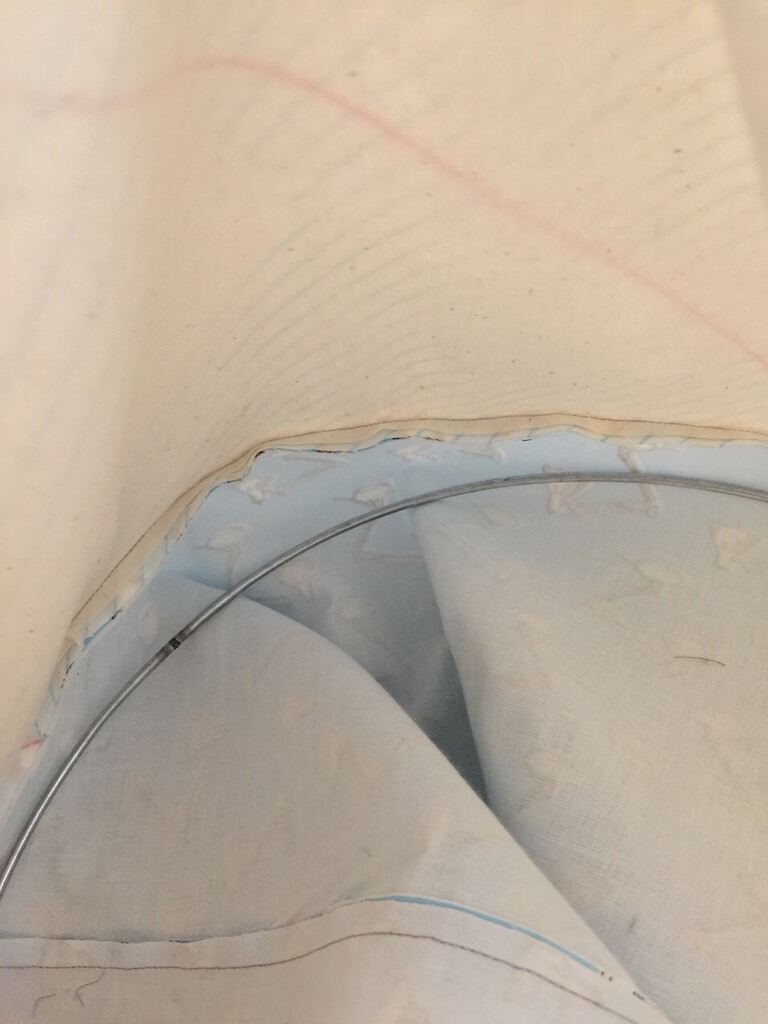
Close the lining together with the outside fabric with the ring inside. Work the ring down into the bottom seam so that it is all the way in the bottom.
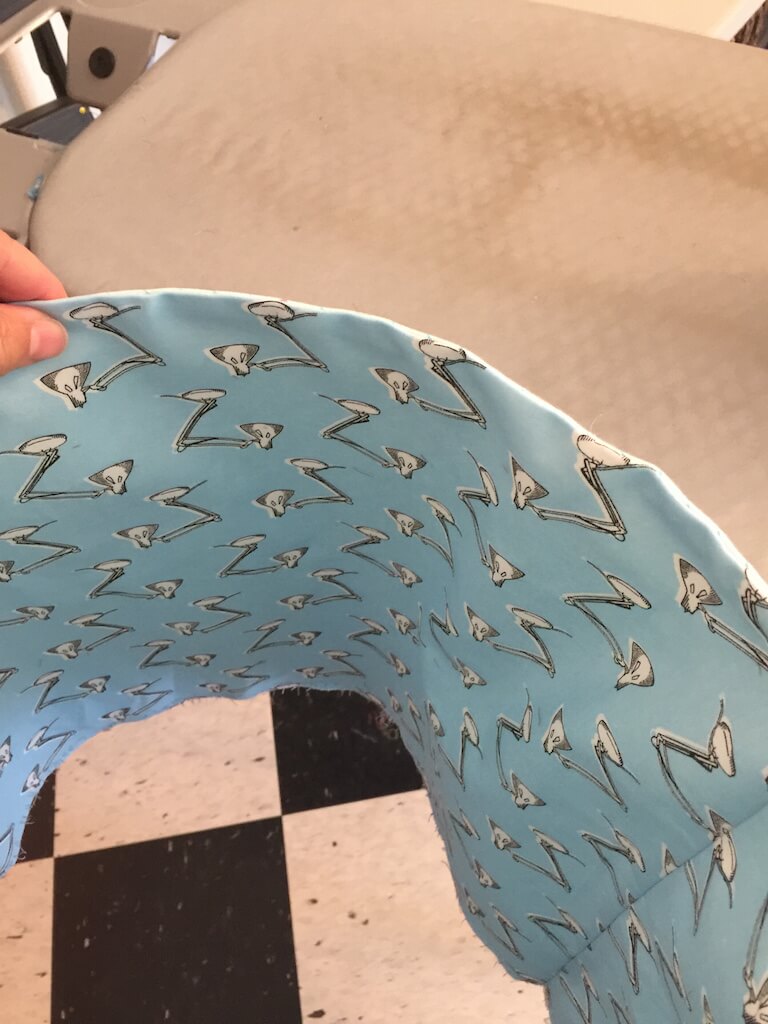
Align the lining fabric with the outside fabric so that it is even at the top, and then sew it or serge it closed. If you don’t have a serger, you will sew it closed 1/4 inch from the edges. If you have not serged the edges, but have sewn them instead, use grosgrain ribbon or bias tape to cover the raw edge by sewing it over the top of the stitching.
Fold the top edge over the top ring and hold it in place using clips.
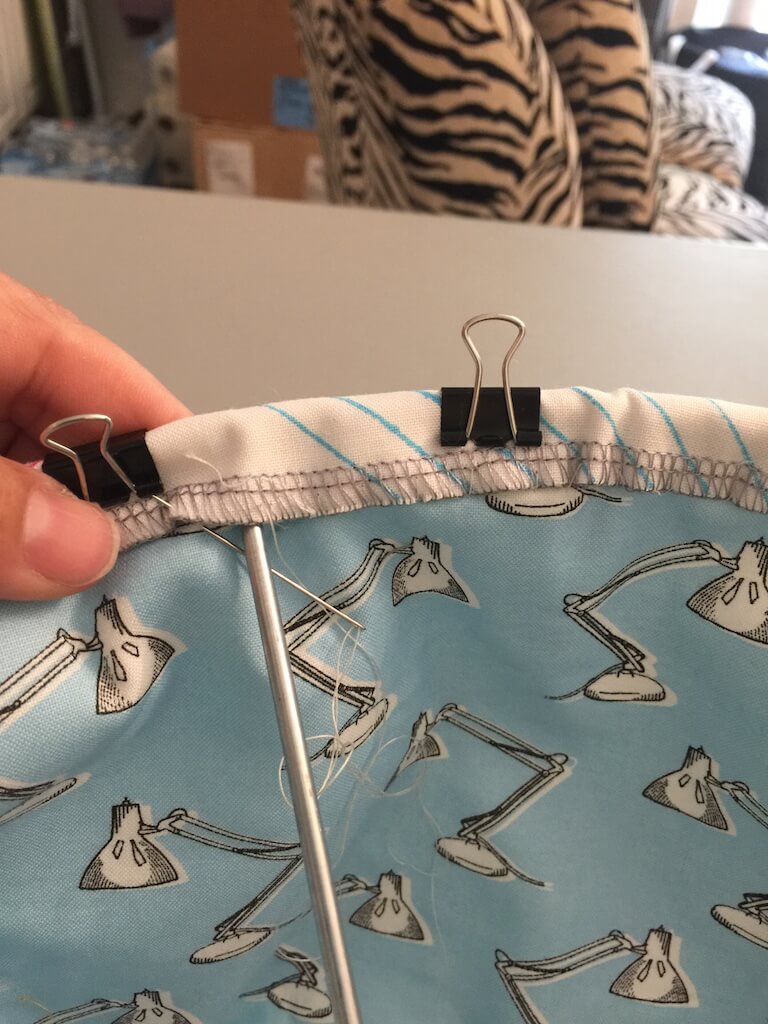
Hand stitch the top edge to the lining fabric, being cautious to not have the stitching going through the lining to the front fabric. Use a hem stitch.
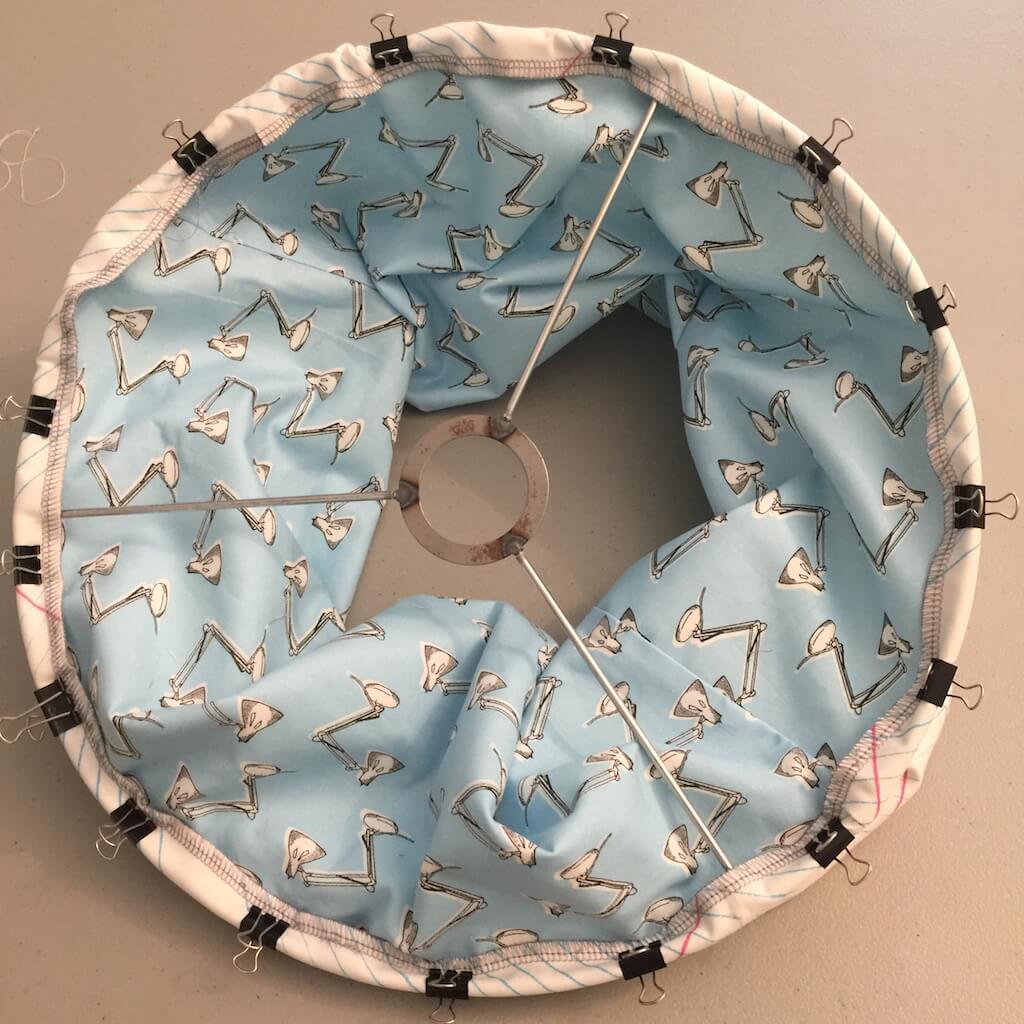
When you arrive at a metal bar, move your needle under it, and catch the fabric on the other side as shown here.
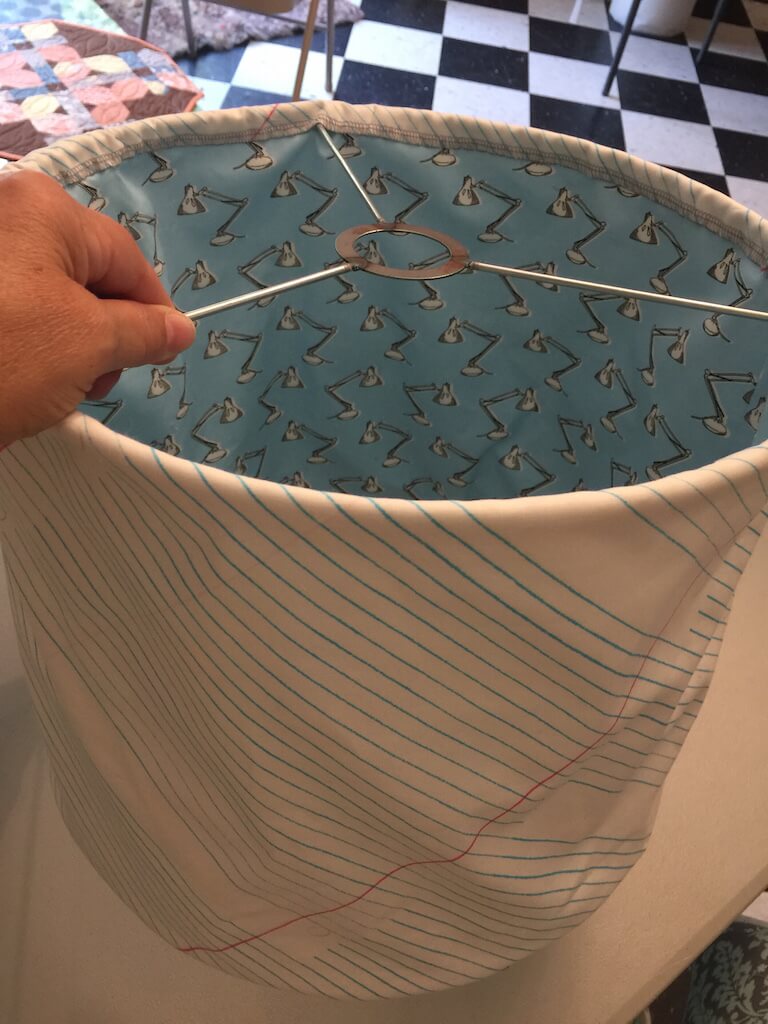
When you’ve finished sewing it, it should look as nice as this! Now you’re ready to add embellishments. I added paper clips to the bottom of this lamp, thinking that I will hang it in my office.
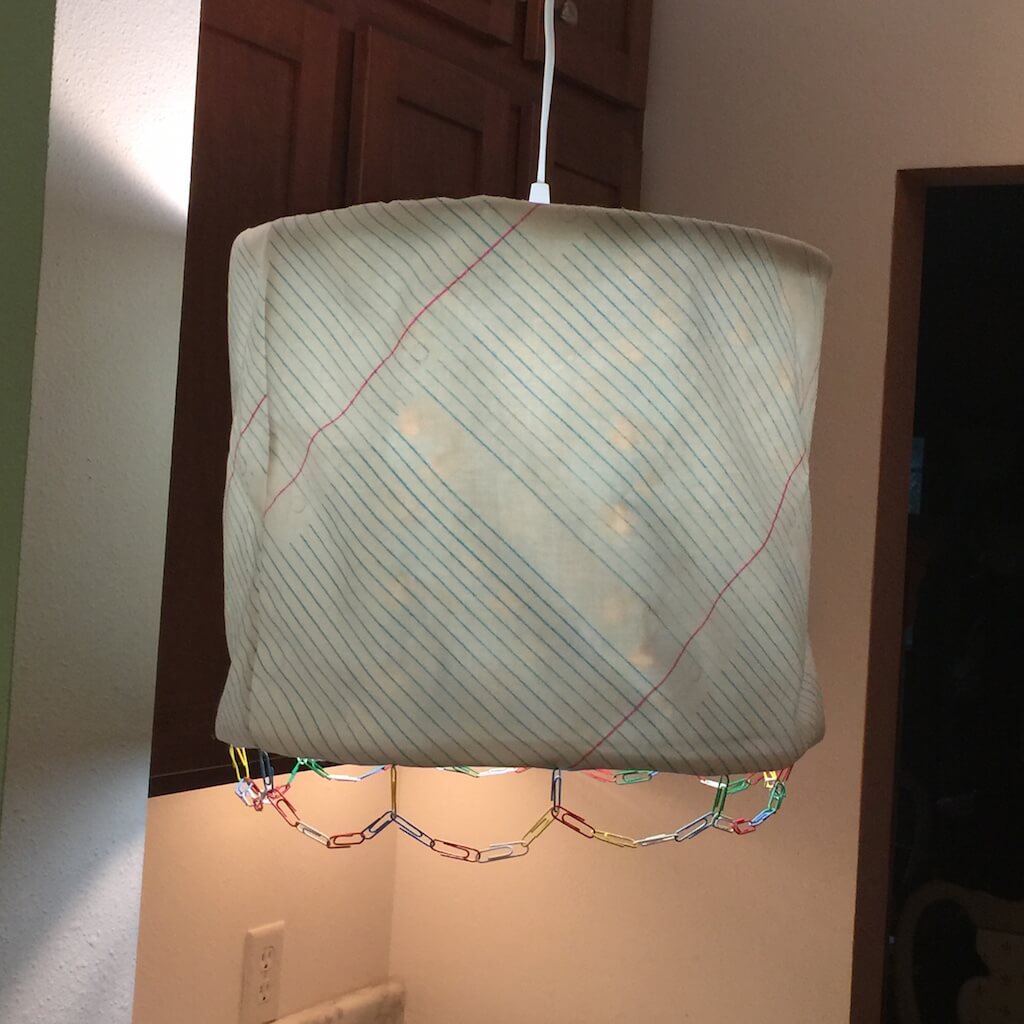
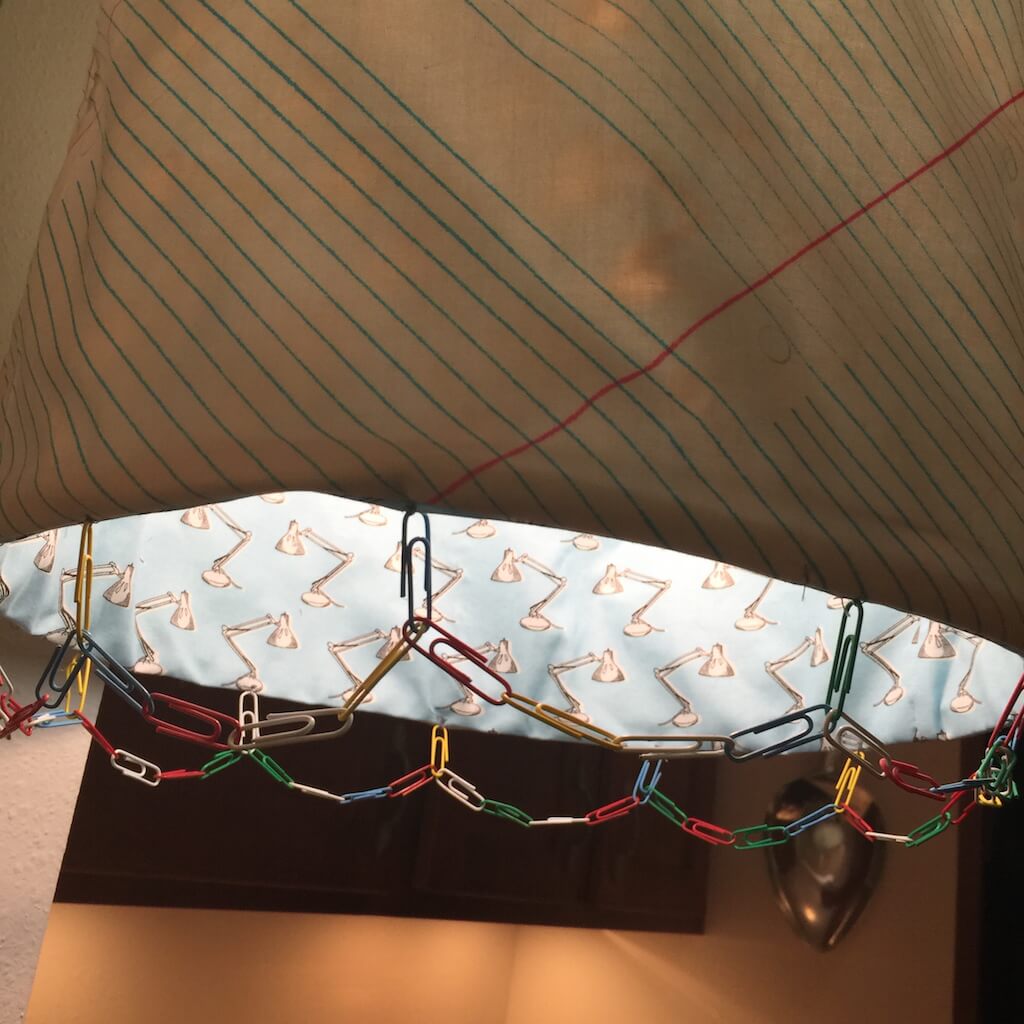
There’s no limit to what you can do with these lamps.