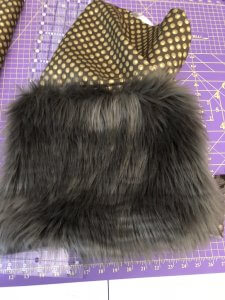
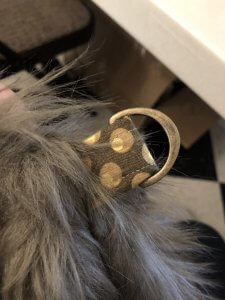
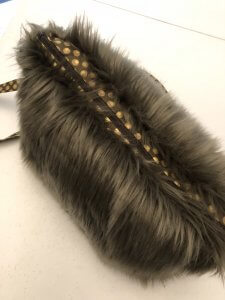
It’s not really a fuzzy monster bag, but my daughter told me that it looks like the monster book from Harry Potter. It’s made with Luxe Shag Cuddle which is different from Shaggy Cuddle. I love it–but then, I love all the things Shannon Cuddle! Can you guess? I have a ton of it in the shop, and a ton of it in my projects.
This bag is the size for my MacBook. My computer is not a small one. This one is about 12″ x 17” finished. I started out by cutting the rectangles 13” x 18”. That is because you always use a 1/2” seam allowance with Cuddle. Some people say 3/8, but I like anywhere from 3/8” to 1/2.
What you will need:
1/2 yard of Luxe Shag Cuddle or other Cuddle to suit your fancy
3/4 yard lining fabric
22 inch zipper to match
Heavy Pellon decor bond
Fusible woven interfacing
Purse hardware from By Annie
Cut:
2 rectangles of Luxe Shag Cuddle 13” x 18”
2 rectangles of lining 13” x 18”
2 strips 2 1/2” x WOF; subcut 2 strips 2 1/2” x 20”, one rectangle 2 1/2” x 4”, one rectangle 2 1/2” x 6”
2 rectangles of the decor bond pellon 13” x 18”
2 rectangles of woven fusible interfacing 13” x 18”
Get Started!
Fuse the woven fusible interfacing rectangle to one lining rectangle, and then the pellon. Repeat for the second lining rectangle.
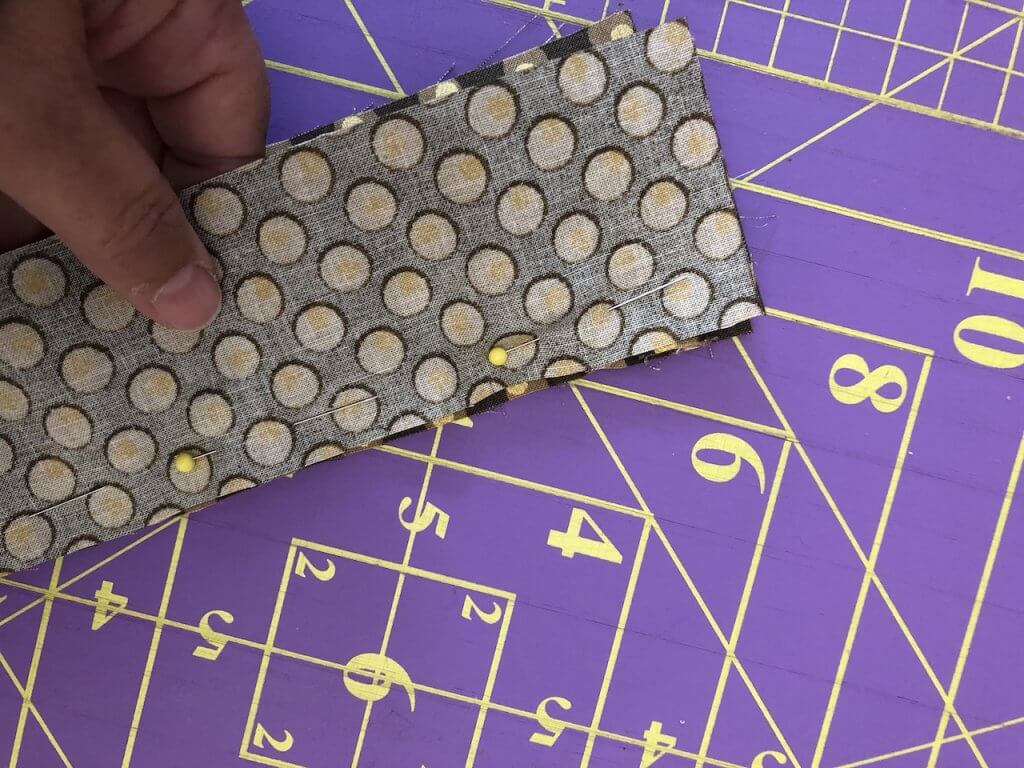
You will need to cut the zipper down to 18” long. Press the two long edges of the 2 1/2” x 4 ” rectangle inward 1/2 inch. Then, fold the strip in half. You will have a little folded piece that looks like bias tape. Cut this in half along the short axis. You will use this to encase the two ends of the zipper. Stitch across the open edges so that your zipper is enclosed on both ends.
Repeat this for the 6 inch strip. Fold the long edges in 1/2”, and then fold the entire thing in half the long way. This will be used to insert your purse hardware, specifically the D rings.
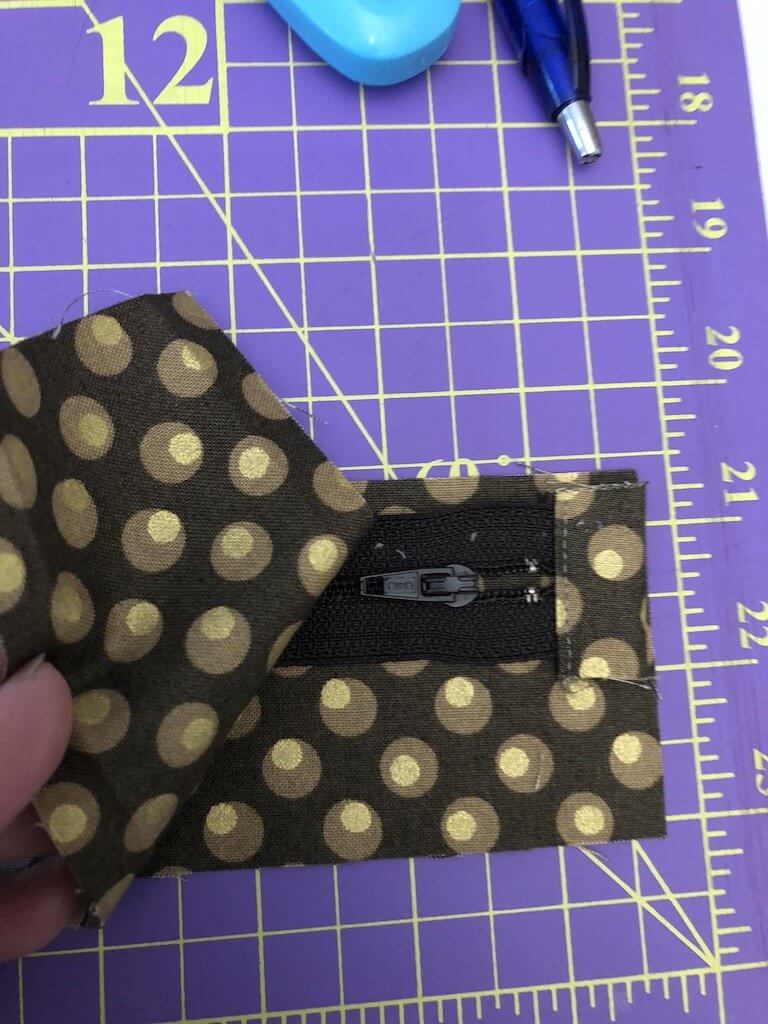
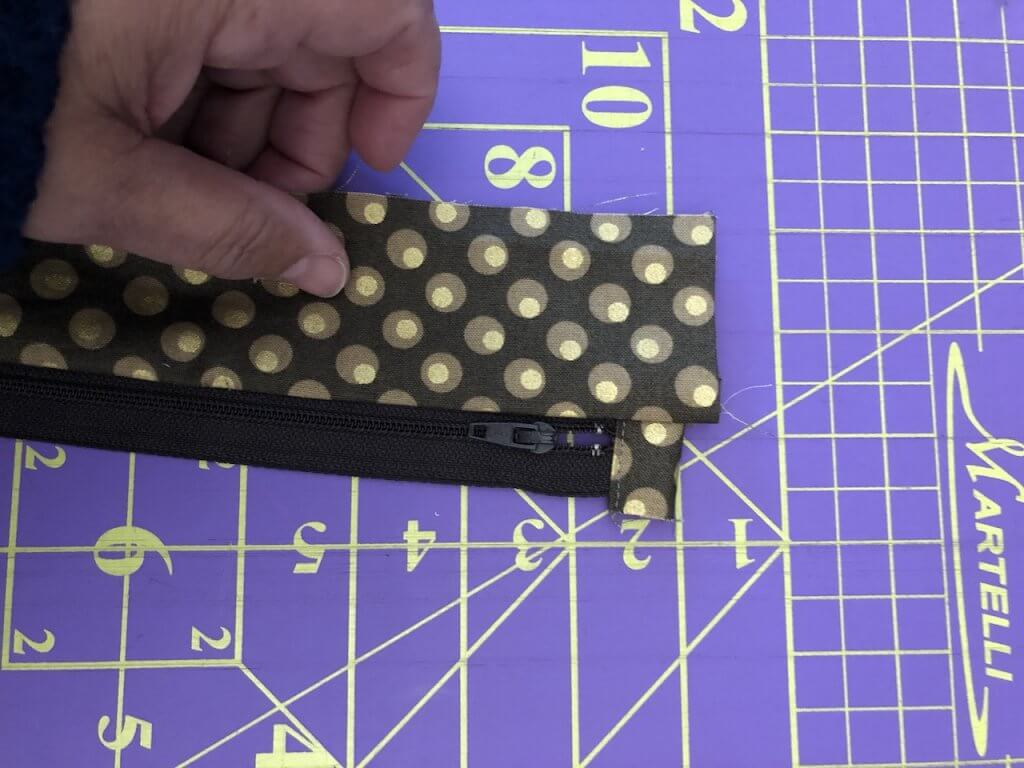
Can you see how the end of the zipper is encased? Yup, do that on both ends. Because the Luxe Shaggy Cuddle has such a long nap, you will need to put some distance between it and the zipper, otherwise the Cuddle will always be getting caught. So, you will be adding a fabric edge to the zipper. In the instructions I said to cut the strip out of the lining fabric. You certainly could jazz it up and add a different fabric for this. Anyway, layer the zipper in between two strips of the lining that were cut. The zipper should not be lined up right with the edge, move it inward a little. Then pin the sandwich. Stitch all the way from one end to the next.
Open it out and press.
Now, do the same thing with the opposite side of the zipper. Encase it between two strips of fabric and sew. Open out, and press.
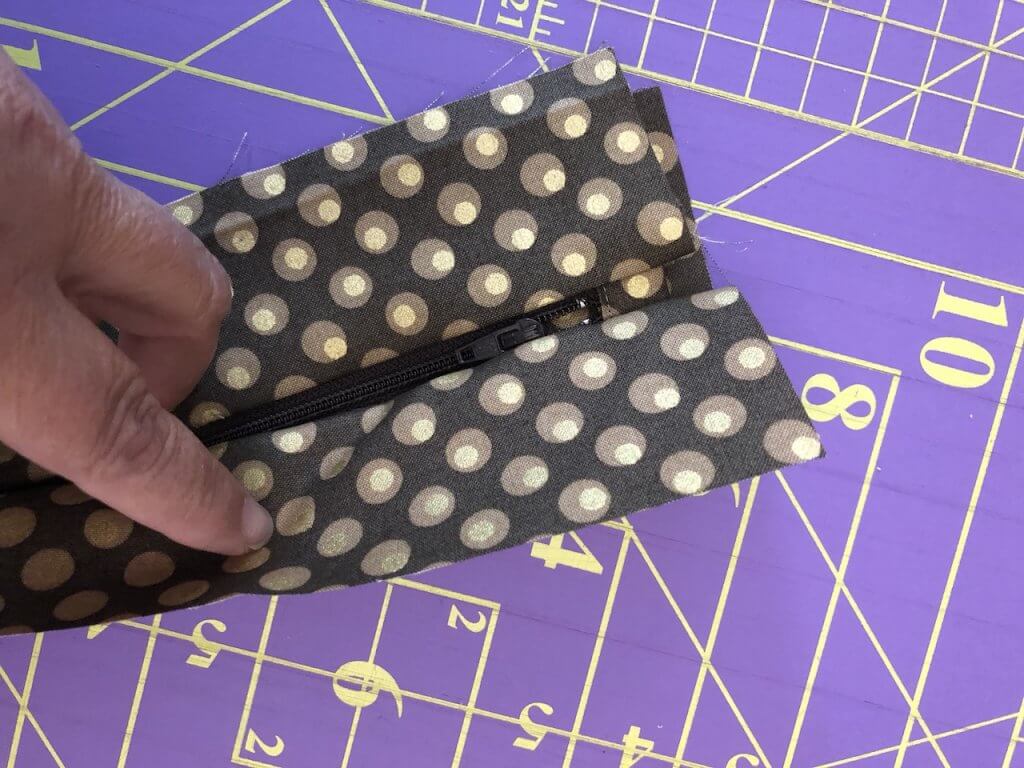
Great! Now the zipper unit is complete. You’re probably thinking that this is too wide. It probably is–so let’s trim that down to about 1 1/2”. Measure from the fold that was created when you sewed it to the zipper and opened it out. Measure from that point outward. You should have a 1 1/2” strip remaining, sandwiching the zipper.
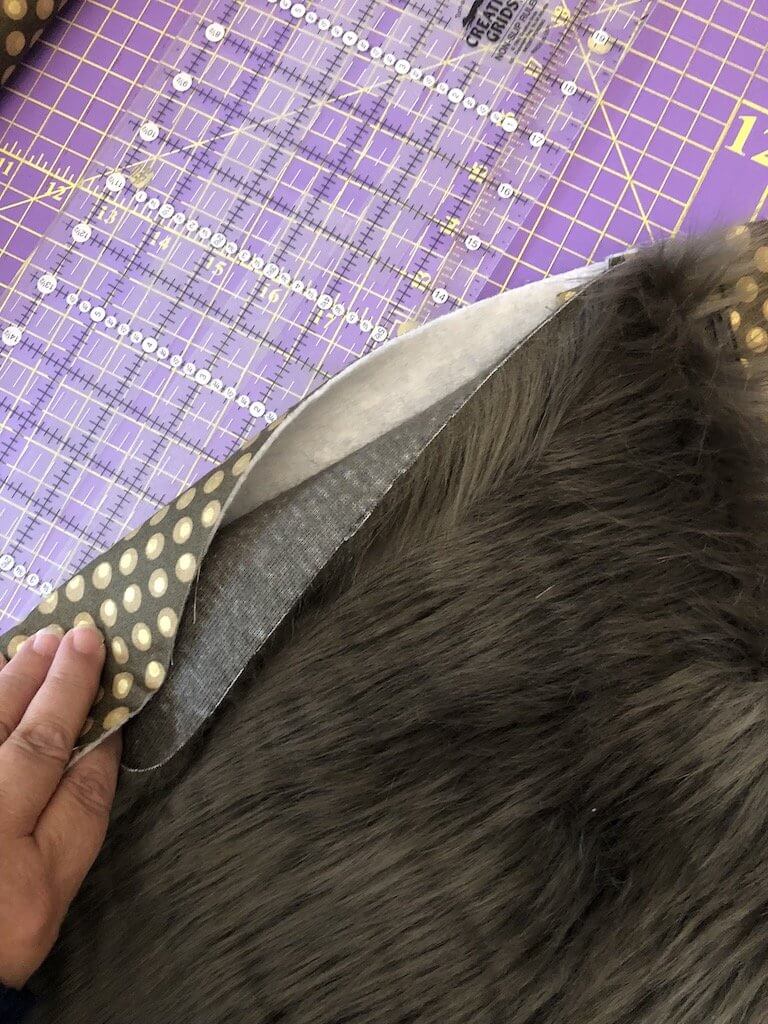
The Luxe Cuddle should be on the outside, the right side of the bag. So, the zipper pull must be oriented so that it is always going to be on the outside as well. When you’re facing the zipper and the zipper tab side of it is up, there will be a left side of the zipper and a right side of the zipper. This is important to note.
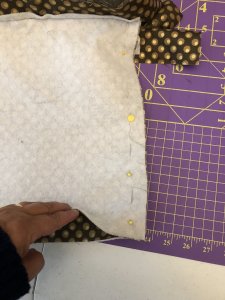
Sandwich the zipper between the Luxe Cuddle and the lining. Here’s where you need to pay attention. The zipper should be facing up. The Luxe cuddle goes right side together with the zipper, and the long edge is lined up with the zipper on the left hand side of the zipper. The lining is right side up under the zipper and the Cuddle, all lined up.

In the above photo, the zipper is sandwiched just like I described, but I am showing it from the lining side of things. See how the zipper tab is facing the Cuddle? Sandwich it and pin it well. Stitch through all layers. You will be catching the fabric casing of the zipper, the Cuddle and the lining.
Open out.
See how the zipper is outside now and the zipper tab is facing up and so is the cuddle? Great. Now do that same thing to the other side. Sandwich the left side of the zipper between the Cuddle, which will be right side down against the zipper and the lining, which is right side up against the back of the zipper. Stitch through all layers. Open it out. Open the zipper half way.
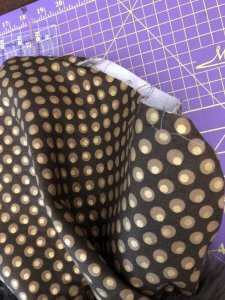
Now, bring the Luxe Cuddle up together and pin them right sides together, all around the 3 sides of the rectangle. 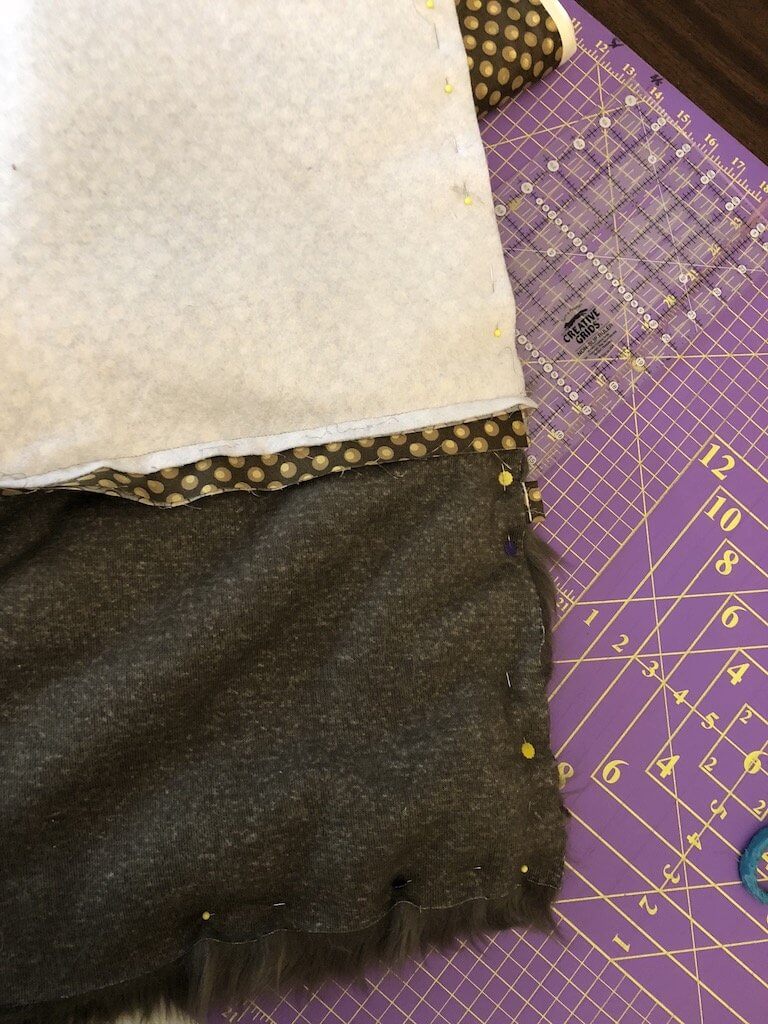
Before stitching, add your purse hardware. Insert the strips into the D rings, and place them inside, so that when you sew it will be caught in the seam allowance. Do this on both sides.
Start stitching at the edge furthest from the zipper, and stitch all the way up the side on both sides, being careful not to catch the zipper or the zipper casing. Go up as far as you can and back stitch. Stitch the bottom of the rectangle closed.
Repeat for the lining, excluding the D rings and leaving a 5 inch opening at the bottom of the lining.
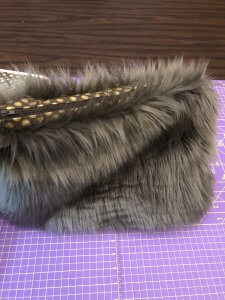
Turn the entire thing right sides out through the opening, and then stitch the opening closed. Push the lining into the bag. Work it so that it fits well and the zipper is worked to be well shaped. Add a strap.