So, when I wrote my first book, this is one of the first blocks that I had created. I had known that I would use only 3 template sizes for all of my blocks–3 1/2”, 4 1/2” and 5 1/2”. They played so well together in terms of least common multiple, and how well they fit together in combinations of their half square triangles and more. Well, I came up with a system for stacking them and cutting. This little block has been the jump off point for so many, many designs and I am still finding more. I’ll bet that anyone could find a hundred different design possibilities using this.
My main focus has always been scrap quilting, but it doesn’t have to be used only for scraps. This system would work well for so many fun fabric combinations.
If you want to make one of these blocks, this is how you start. Start by cutting 4 squares, 5 1/2” x 5 1/2”. Ideally they should be contrasting in intensity. Most of the time I use 2 squares using a dark fabric and 2 squares of a light fabric. They are usually the same fabric, meaning that the lights are the same print and the darks are the same print or solid.
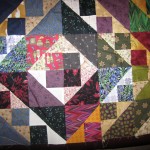
Here is a photo of one of the first very scrappy quilts that I did with this block–years ago.
There were definitely some very hard to place fabrics in this quilt. Since making this, I have had a ton of variations on this theme. The quilt that is actually in the first book looks quite different, but it’s the same block.
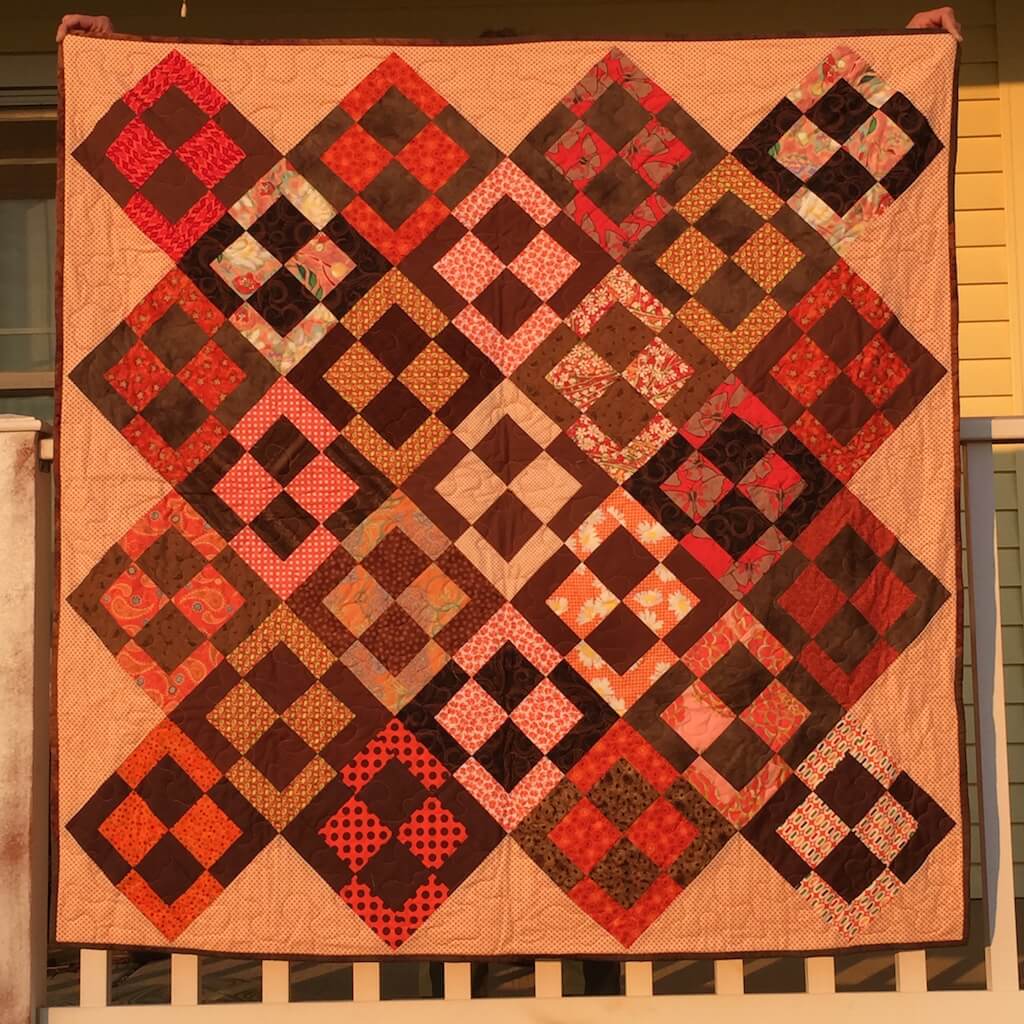
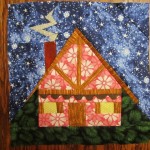
It’s definitely the same block just set on point, and it’s a monochromatic color scheme. So, one of the first ways that this block evolved was in the pattern “House Divided”.
In the House Divided block, half of the Treasure Box Block is combined with half square triangles.
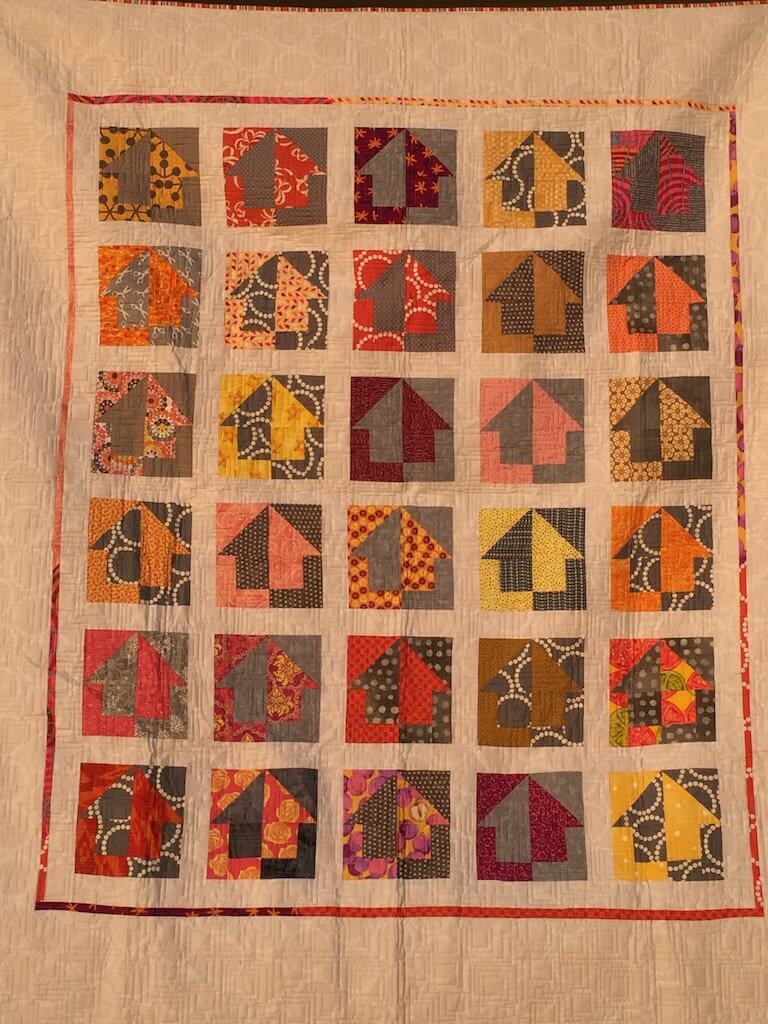
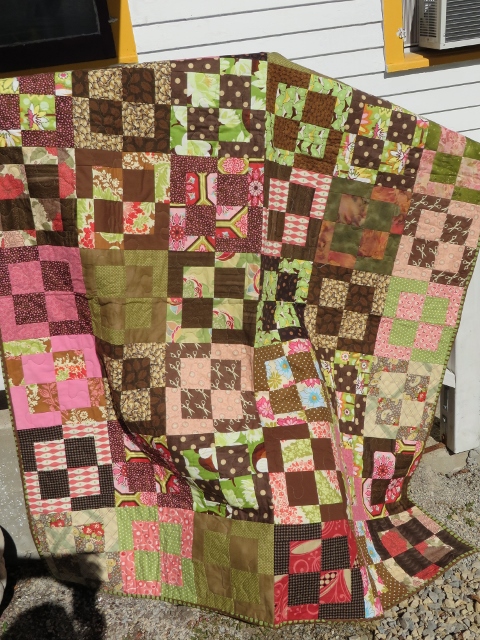
Of all of the quilts that I have ever made I would have to say that this is my favorite. I just love this quilt, and I can’t really even tell you why. It is a very addicting block. When you make it you just feel like you could make these blocks forever.
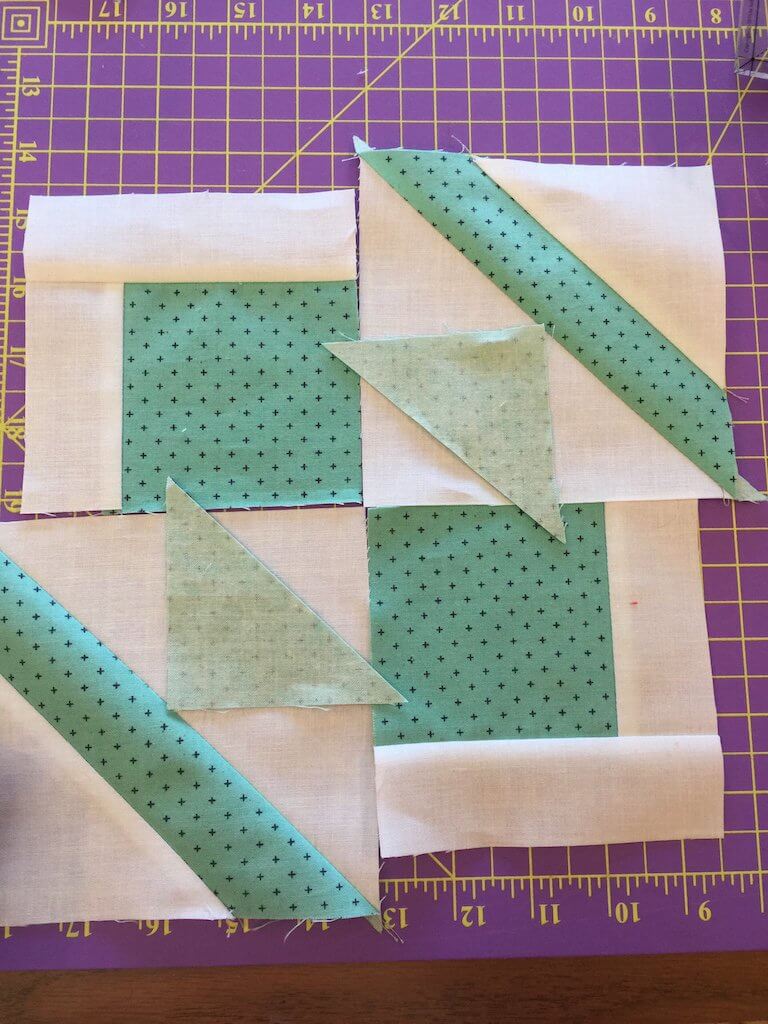
The next variation that came about from this block was the bowtie block.

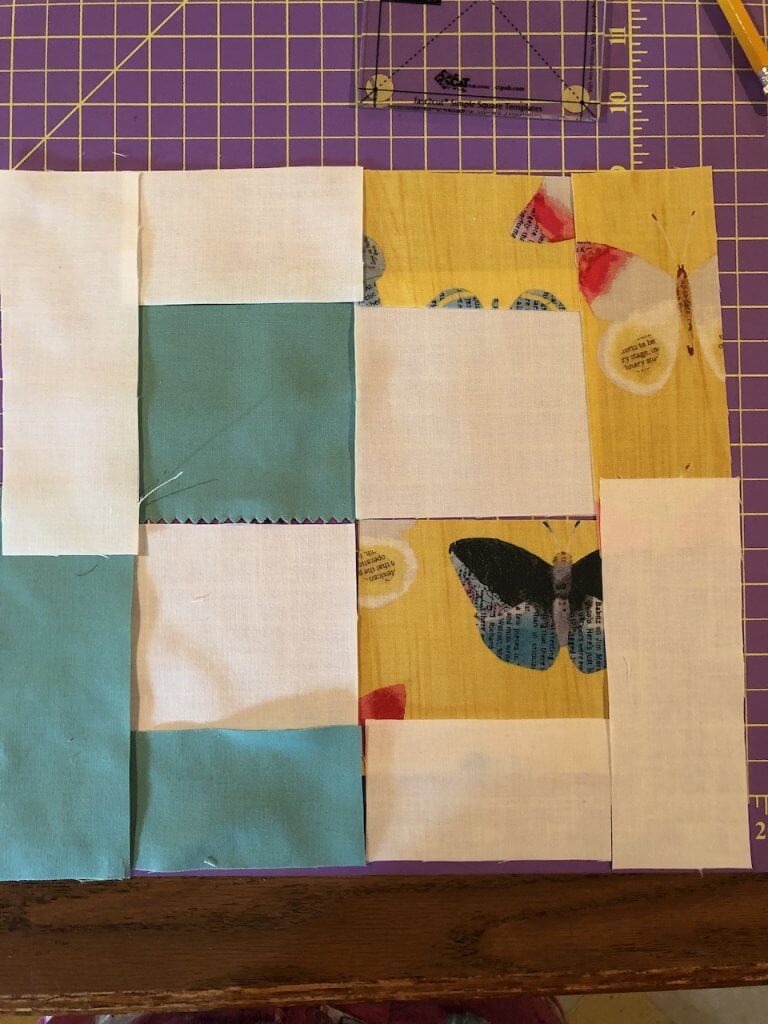
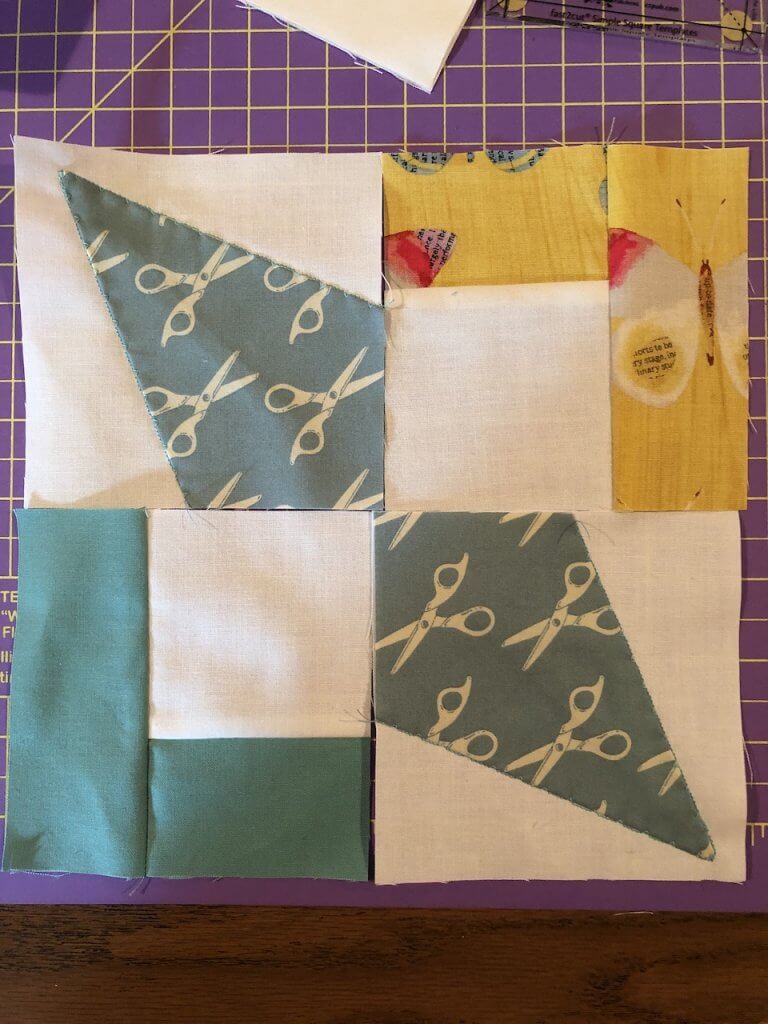
This block starts out as a treasure box block, but has a few added extras. You can see a little here of how it’s built.
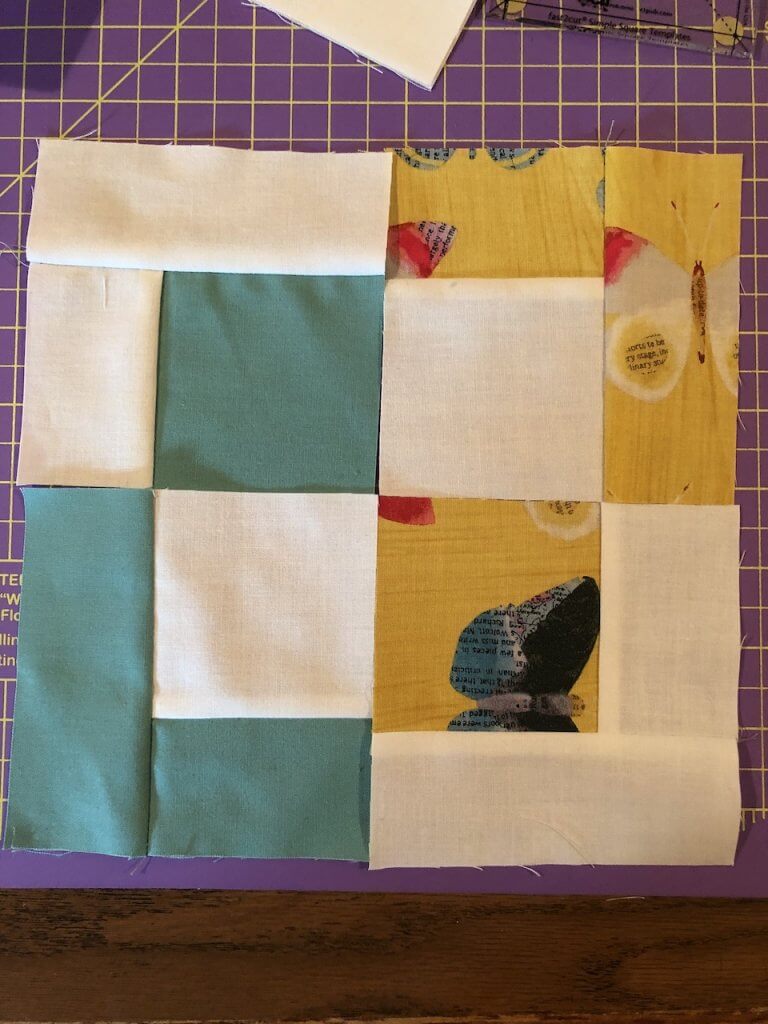
With the block above, the dark squares and light rectangles are used. I ended up using the dark colored rectangles that were left over on a different quilt that is in the Rainbow Quilts for Scrap Lovers book. So, I never ever waste fabric!
My most recent use of this block was for a quilt that I am doing for another book on scrap quilting. Here’s a sneak preview.
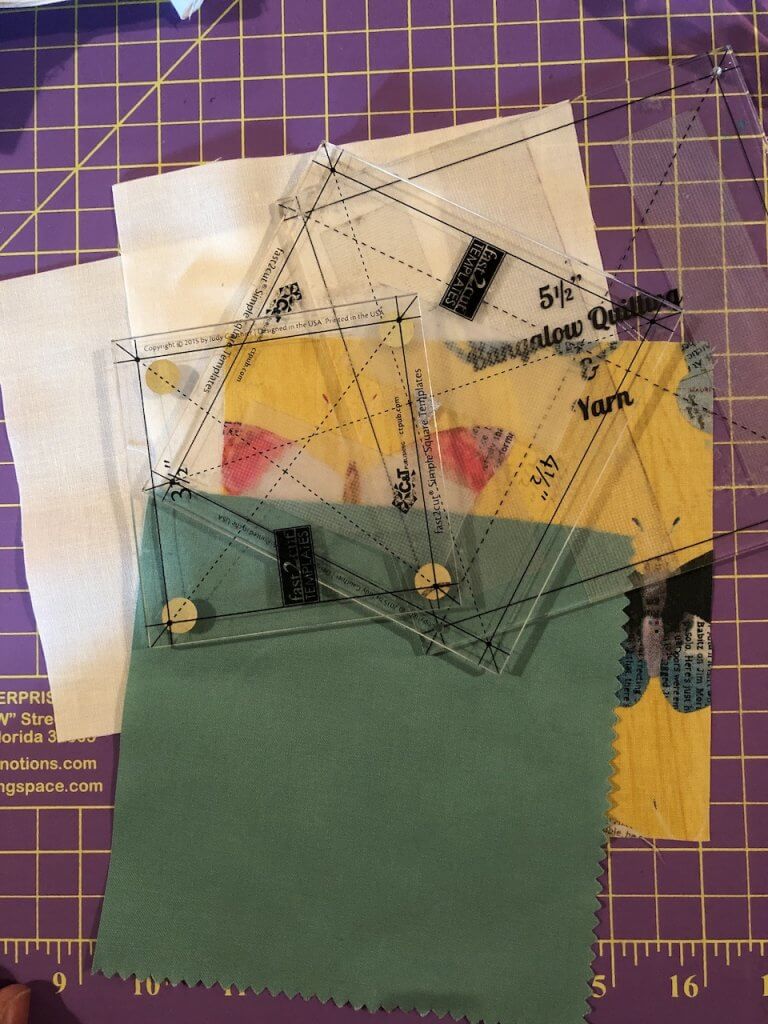
Once again, I start with 2 light squares that are 5 1/2” square. I have 2 colored squares. In this case they are different colors. This is because I am making a color transition in the quilt. I am moving from yellow-gold to minty green. Throughout the entire quilt I am transitioning color. This is the perfect block for color transition.
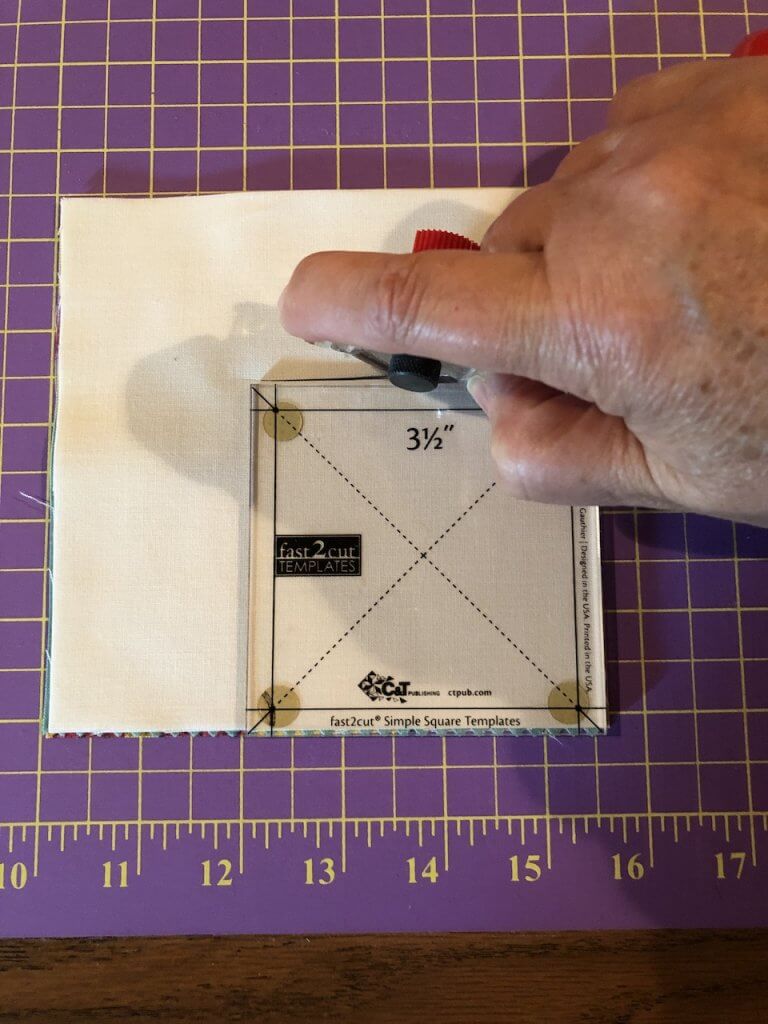
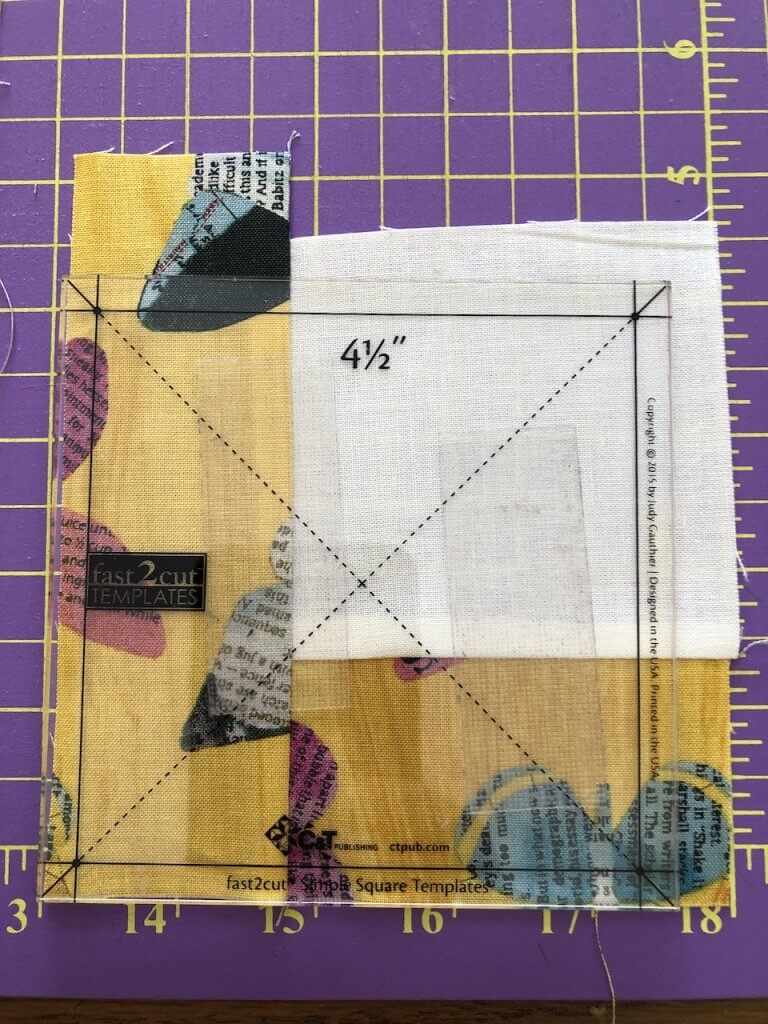
So, I start out with my 4 squares of fabric that are 5 1/2” x 5 1/2” and my 3 templates, 3 1/2”, 4 1/2”, and 5 1/2”.
I will then stack them and cut them.
Then, you cut across the top of the square using your rotary cutter. If you’re afraid that you can’t stop, stop prior to the corner of the square and rock the rotary cutter forward with pressure.
Then, without moving the 3 1/2” template, place the 5 1/2” template right up next to it. Go ahead, snug it up there.
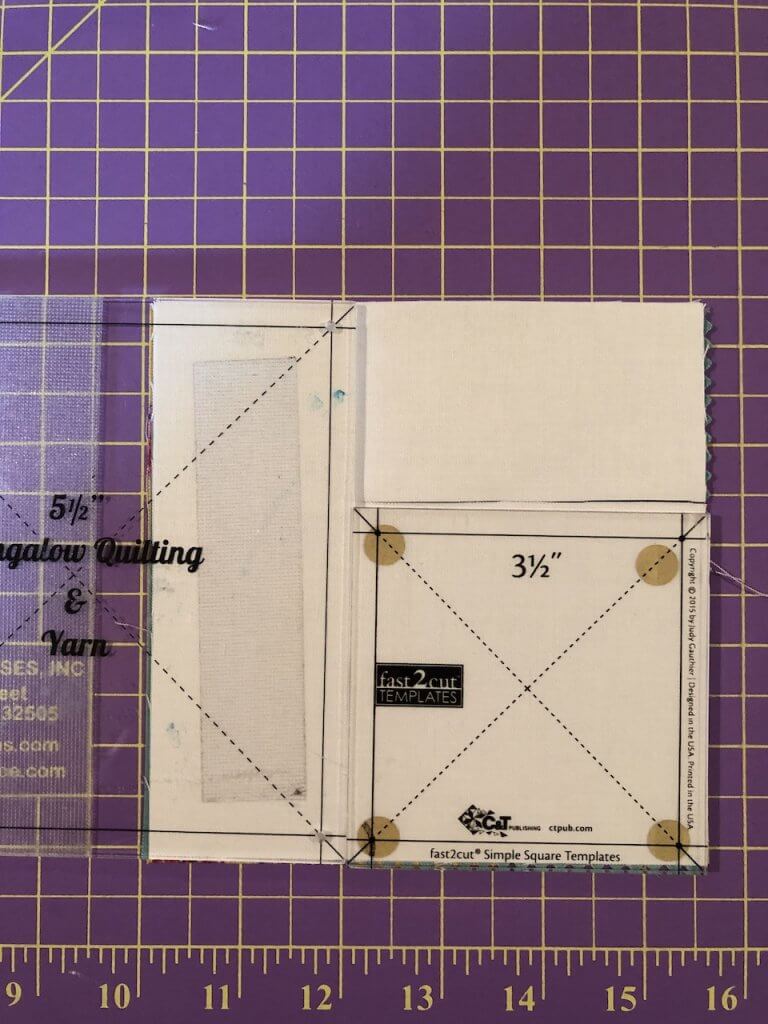
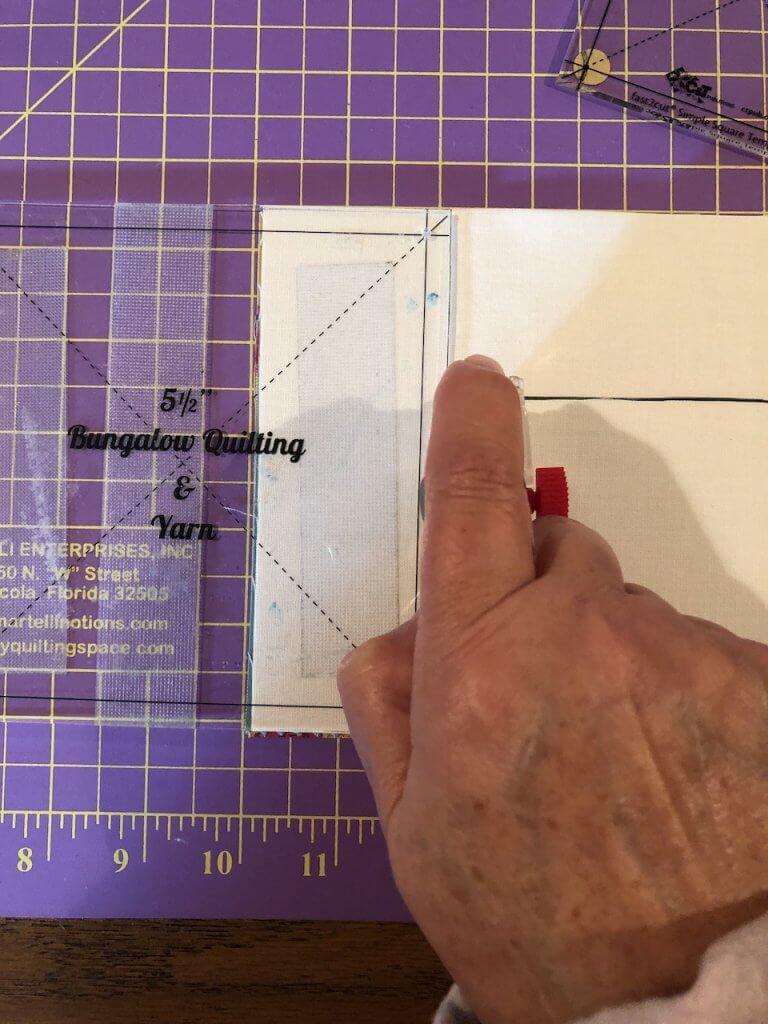
Then, remove the 3 1/2” template and slice along the side of the 5 1/2” template with a rotary cutter. All of the cutting for this block is done.

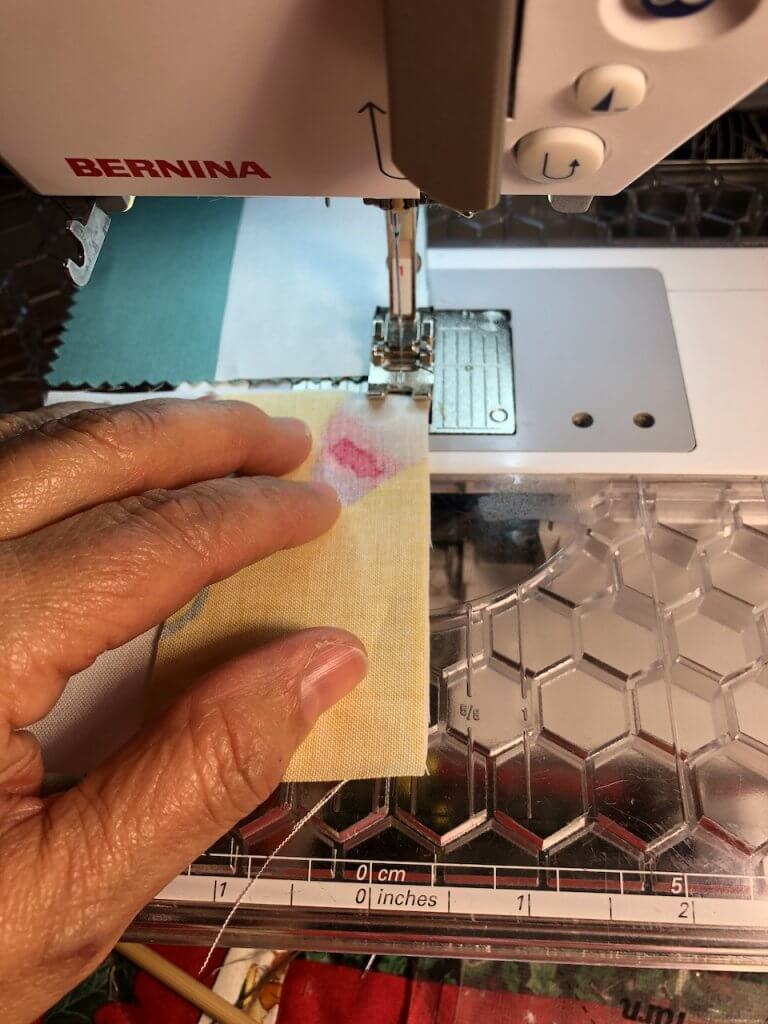
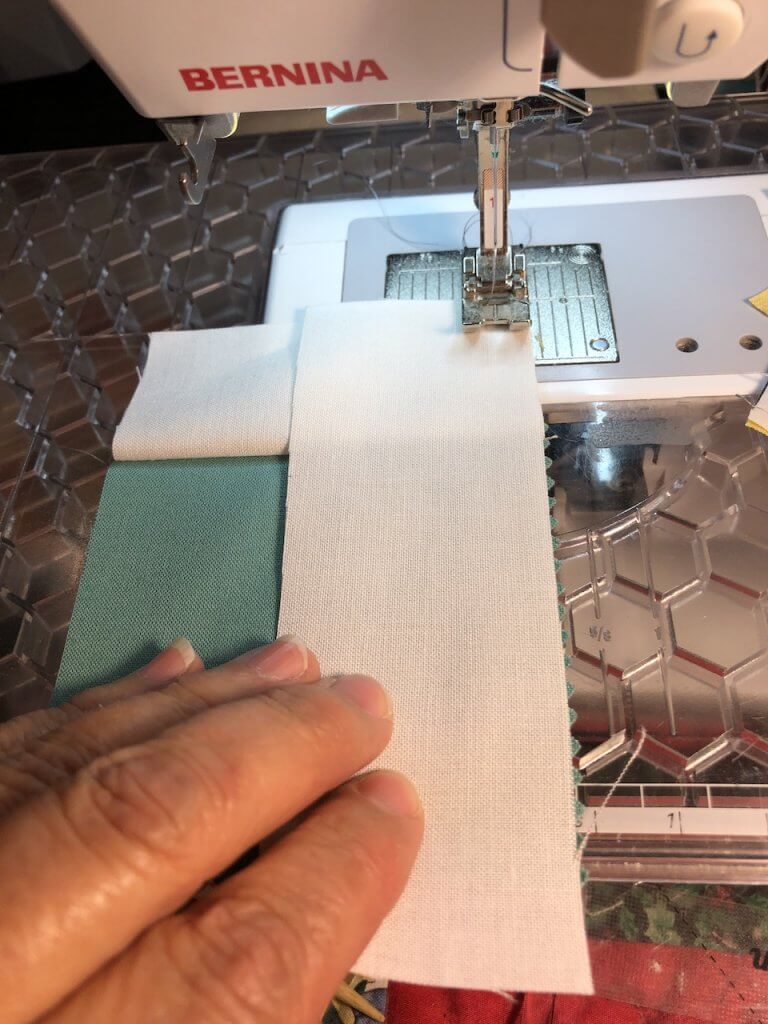
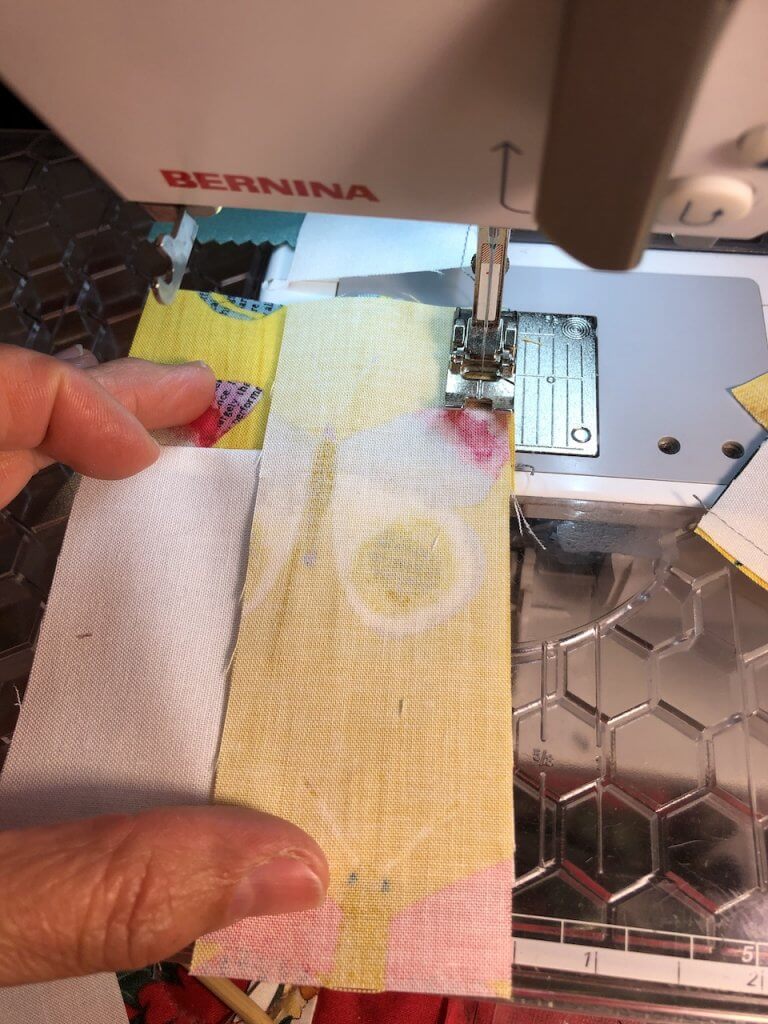
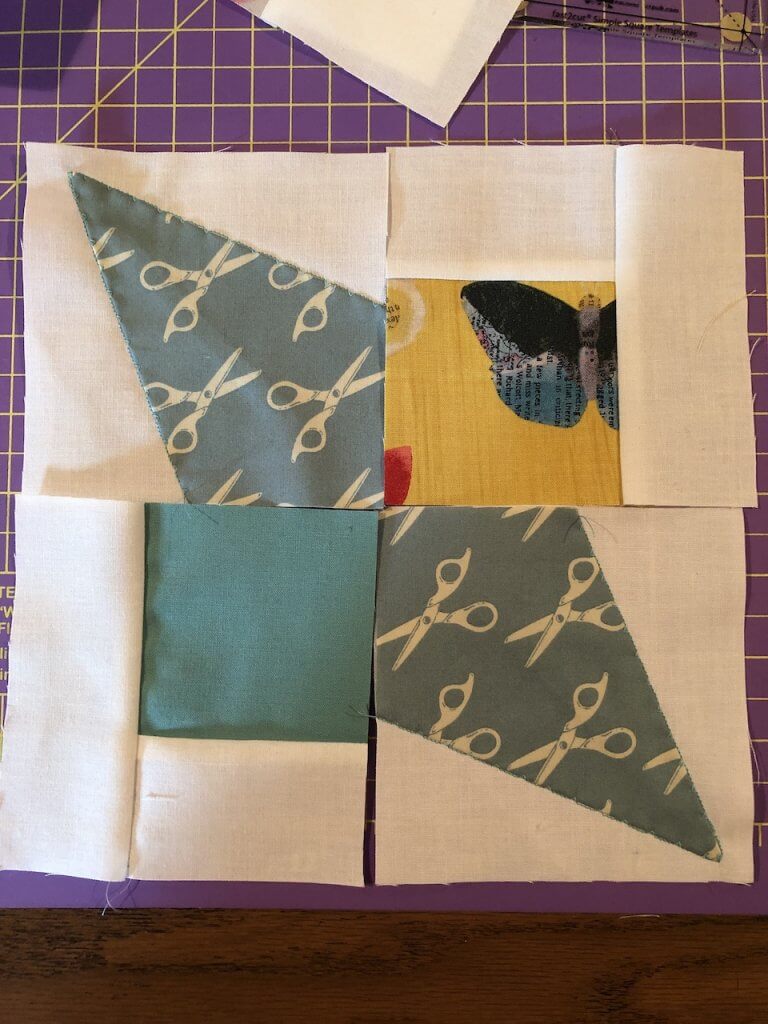
Now you are ready to stitch the rectangles to the squares. Sew the smaller rectangles to the edge of the squares first. The colored one gets sewn to the white one, and the white rectangles get sewn to the colored ones as shown.
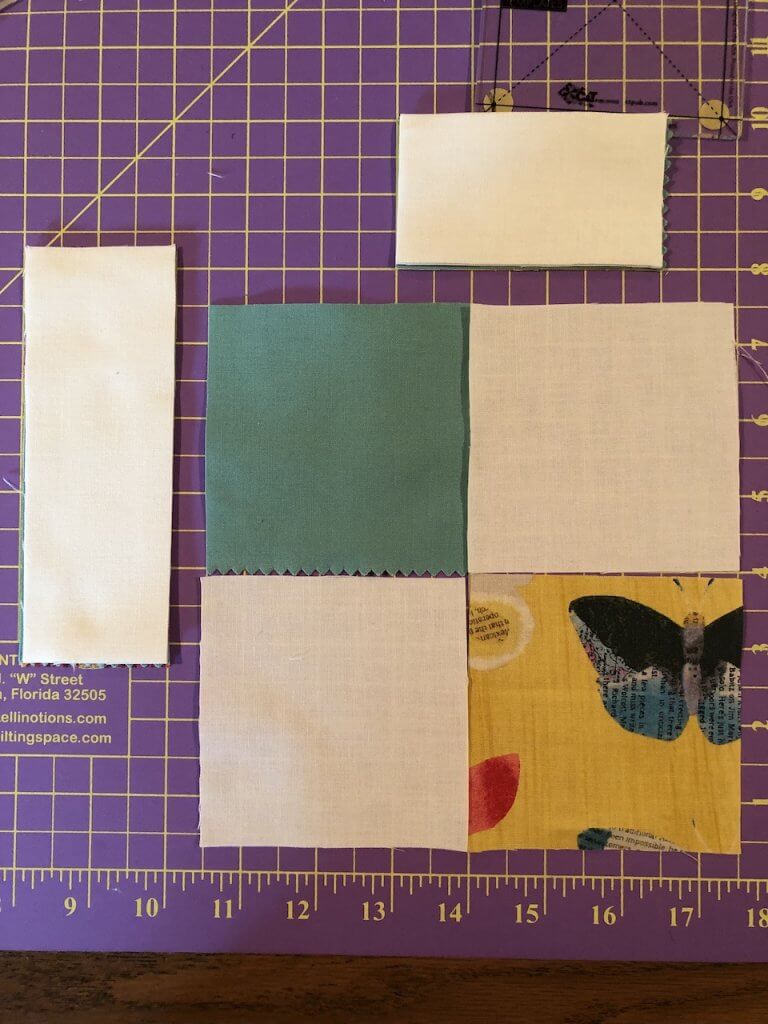
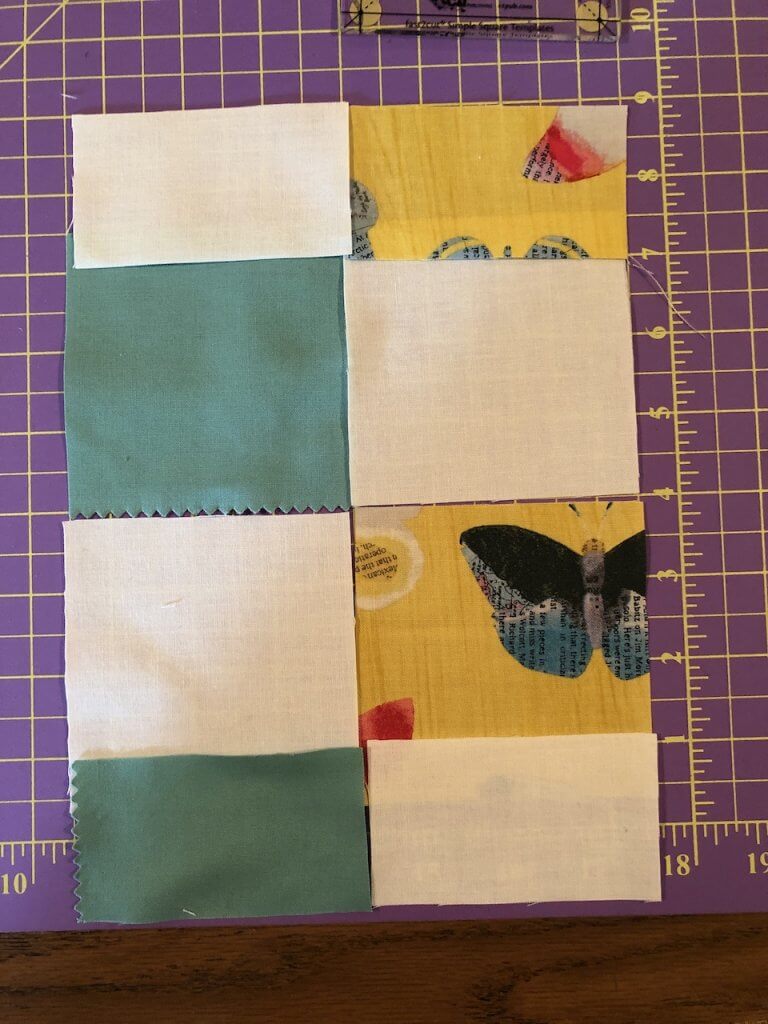
At this point we are only sewing the small rectangles to the squares. We are not sewing the squares together yet.
You can cut numerous blocks out at once and chain piece for a really long time. But, for the sake of this blog post we are only chaining the ones for one block.

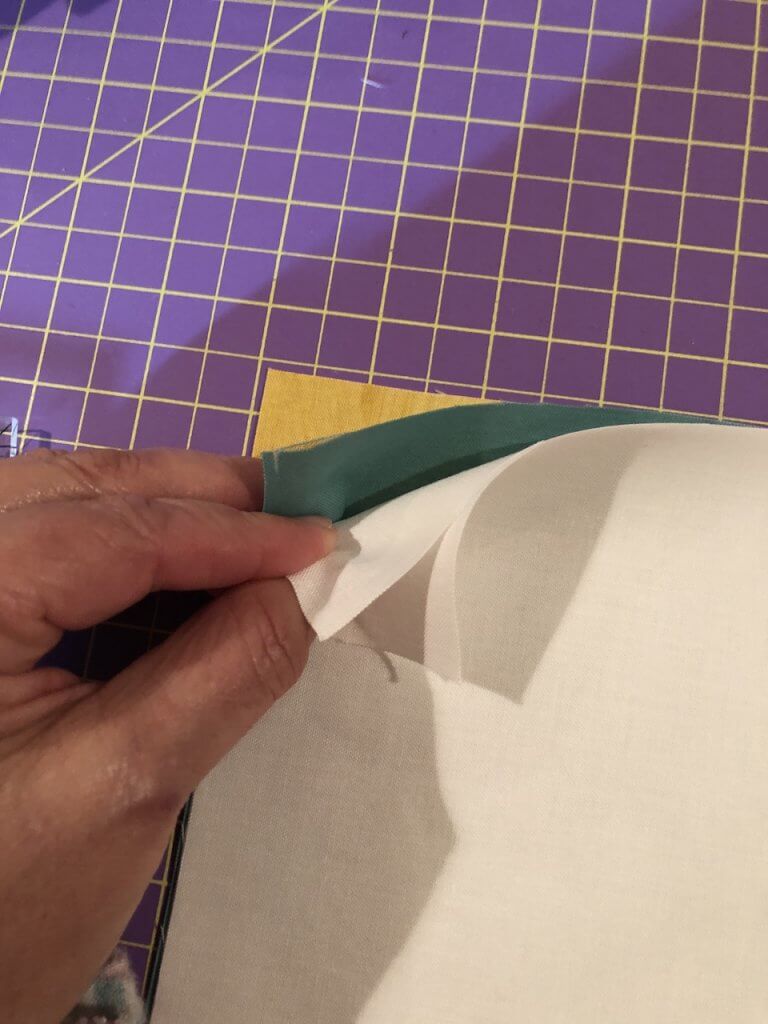
Now that these are sewn together, you can go to the ironing board and iron them open.
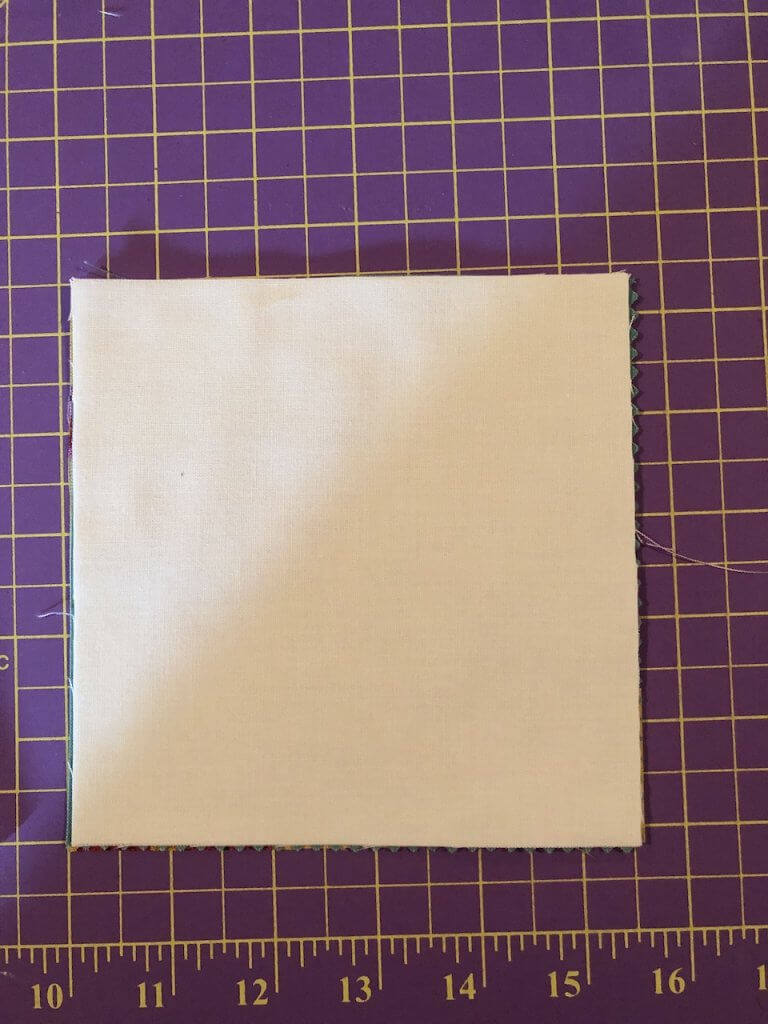
After ironing them open, you can add the long rectangles to the sides. But, the long rectangles are now longer than this square/small rectangle unit. That’s because we’ve made a 1/4” seam allowance.
After the long rectangles are sewn on you are going to square these down to 4 1/2”.
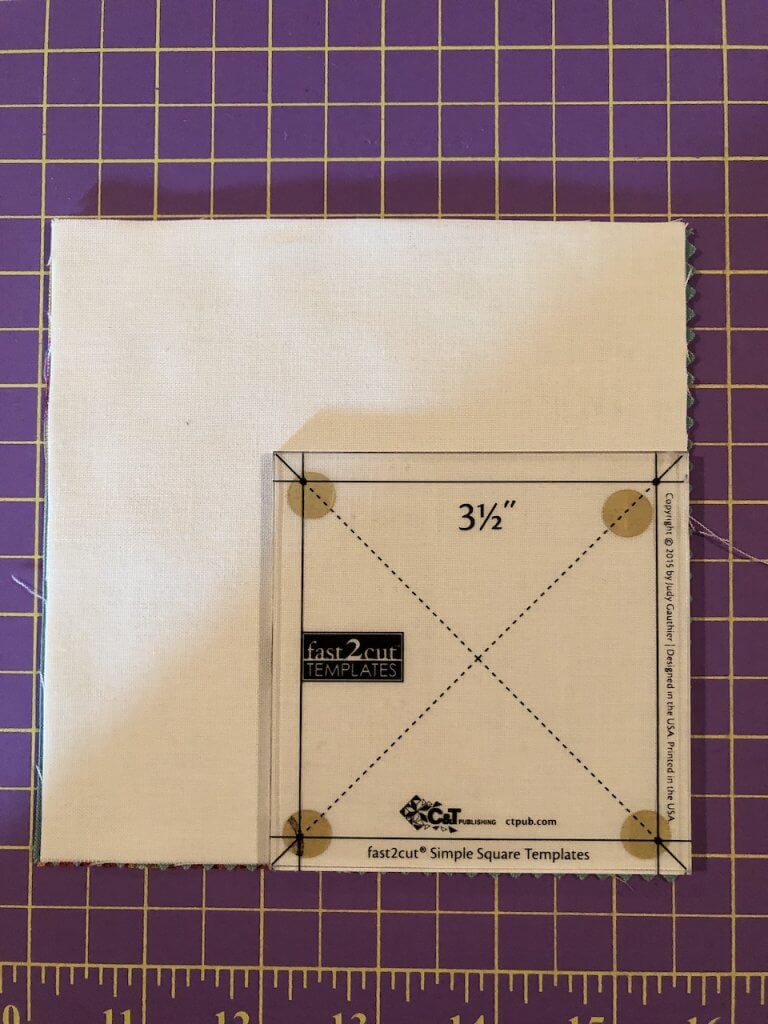
Now you are ready to square up the blocks. The 4 1/2” template will get put over the block and you will square away the excess fabric.
So, now square these up to 4 1/2”. Using the 4 1/2” template, square the block.
Now you are ready to put them together like a 4-patch. Here is where there are many, many different combinations. The one that I am currently working on uses only two of the 4 blocks, and two are put aside for another quilt.
Remember how I said that these work well for color progression quilts? They really do because you can move from one color to another by having 2 different colors in the block.
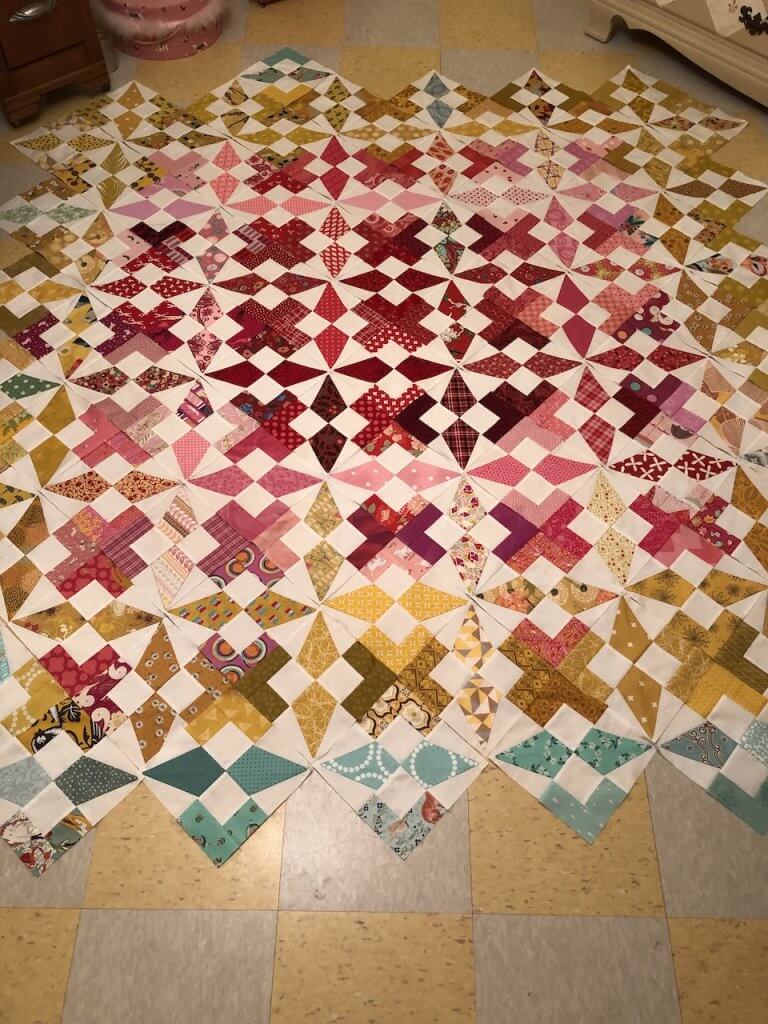
So, here’s the quilt that I am currently working on. I only used 2 of the 4 squares in the block and added 2 other pieces. You will see that the color progression goes from red to pink to yellow to mint. I am not completely done with the outer blocks yet. Here is one block–the one in the center of the picture. It has the red floral with the pink and white dot fabric.
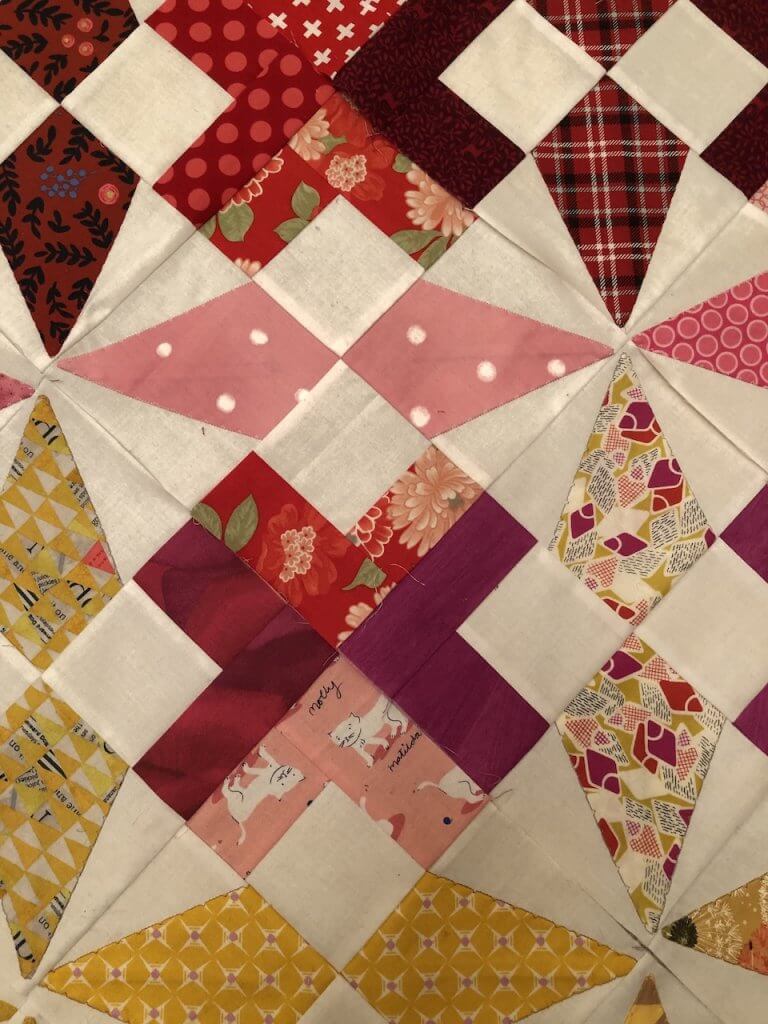
When it is joined with multiple blocks it has a most interesting design. And, it could have been laid out in many different ways.
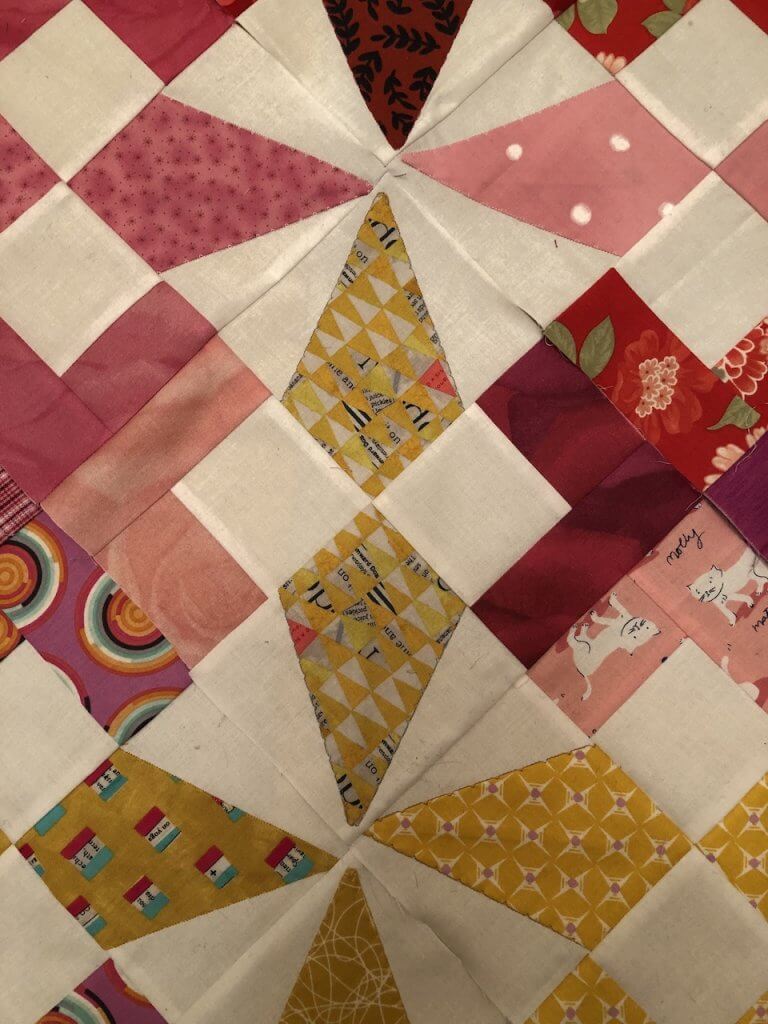
In these next photos, I used the treasure box blocks in 2 different ways.
So, wondering yet what the finished quilt will look like? Well, it’s not yet finished but here it is so far.
Since I am only using the parts of the Treasure Box block that have the colored rectangles and white squares, what am I doing with the colored square blocks? I don’t know yet, but there is another whole quilt in the works!