For this project you will need 1/2 yard of fabric and 2 yards of cotton cording cut into 2 pieces, 1 yard each.
I have so many projects going at any given time, and so do my friends. They are knitters and quilters and sewists. One of the best ways to store your projects and keep them free from dust, dirt and fading is to put them into project bags. We all have excess fabric around, and we can make these bags and label them.
If you embroider, you can embroider different things on them. Want to know how easy it is to make these? These by the way, are the kind where you pull the cords and they close up without you having to pull on the fabric.
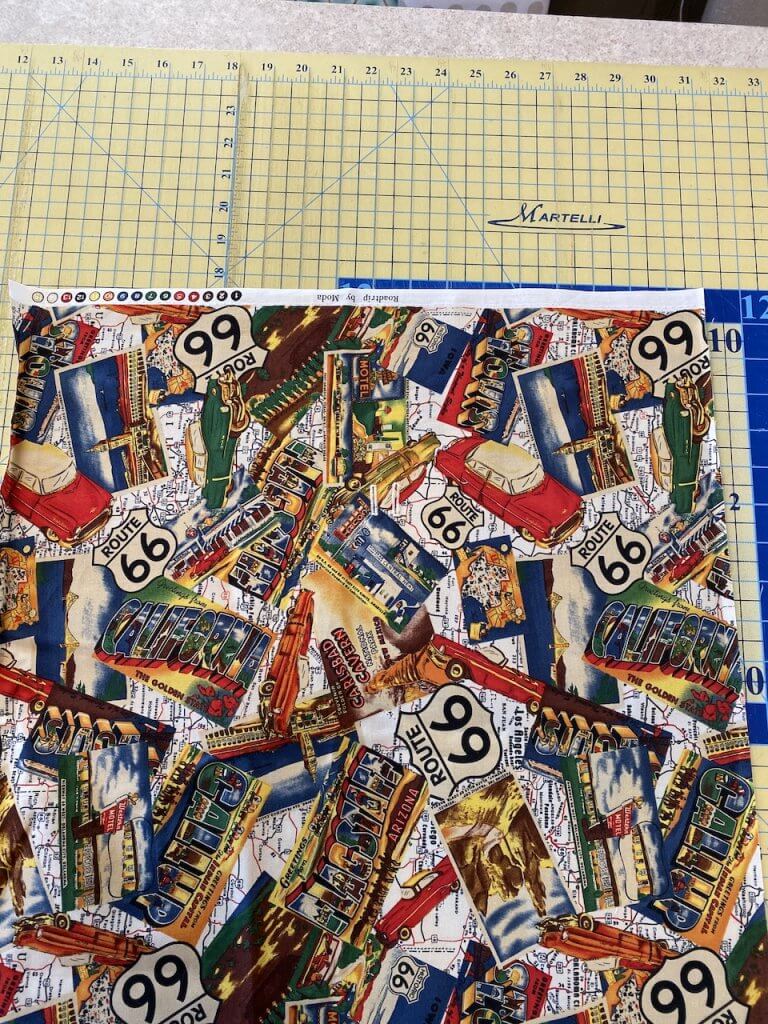
Step 1: I made this with 1/2 yard of fabric. I cut 1/2 yard, selvedge to selvedge.
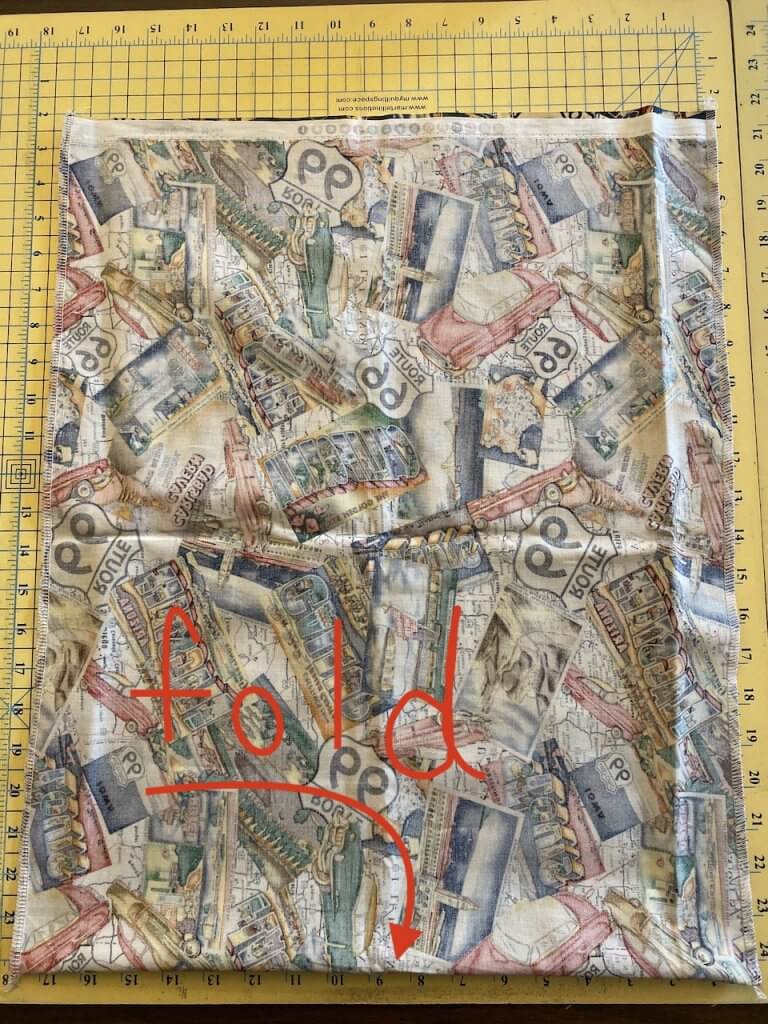
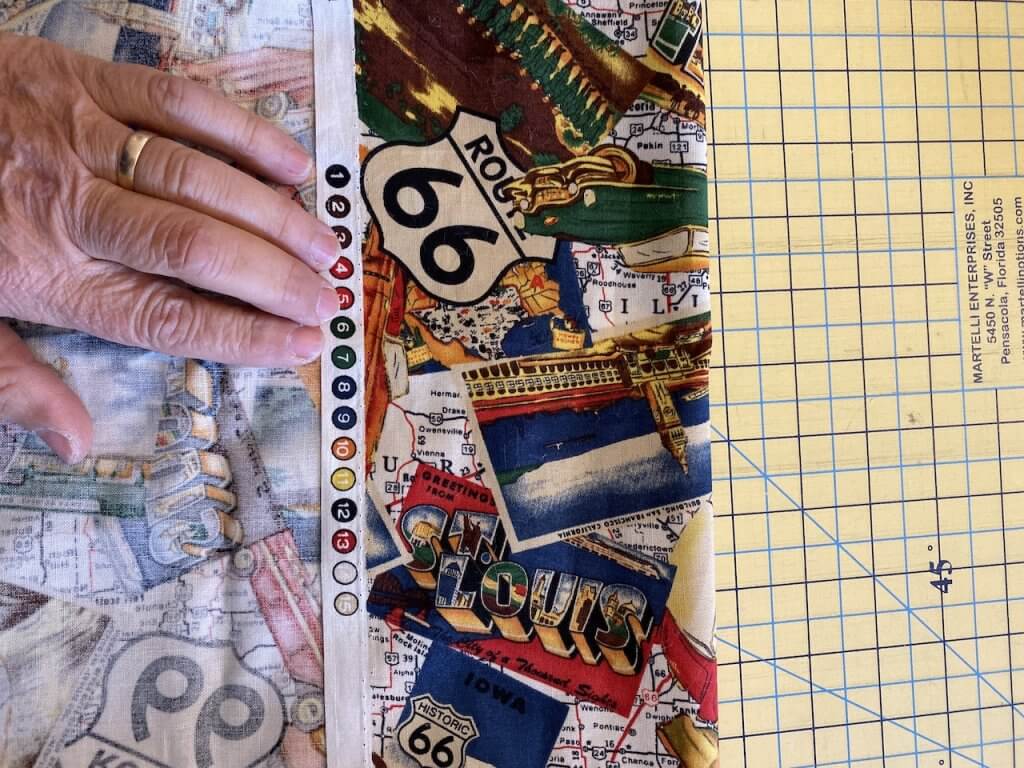
Step 2. Measure about 5 1/2” down from the selvedge edge of the fabric, directly in the center of the 1/2 yard cut and place a pin.
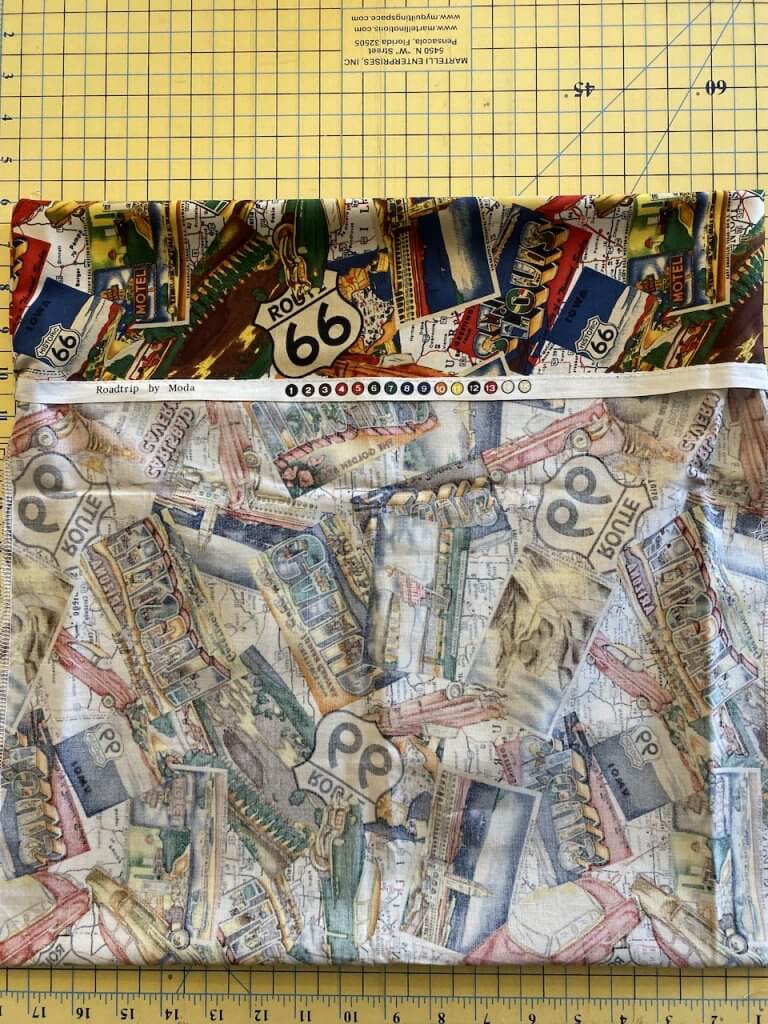
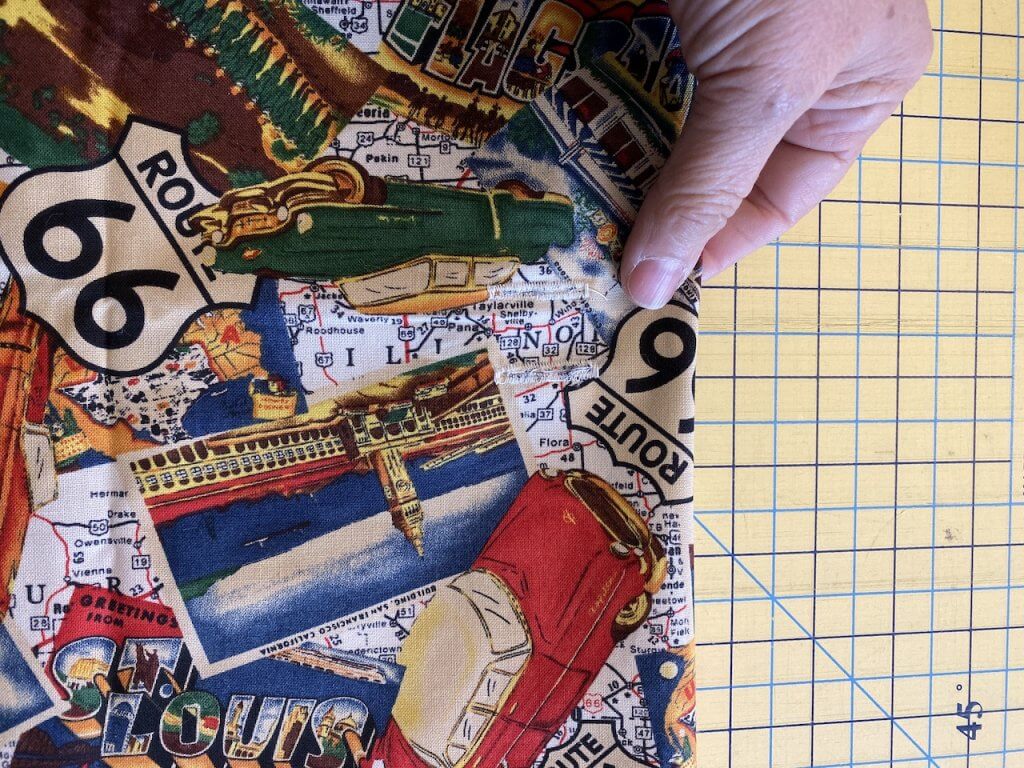
3. Reinforce the back of the area with a 2” x 3” piece of scrap fabric or fusible interfacing. Place 2 buttonholes side by side.
4. Turn the fabric to the other selvedge edge and repeat so that you have 2 buttonholes on one end and two on the other end.
5. Fold the fabric right sides together and stitch up the sides. I use a serger but you can use a regular sewing machine. If you’re using a regular sewing machine, make sure you finish the edges with a zig zag stitch or use your favorite way to finish it off.
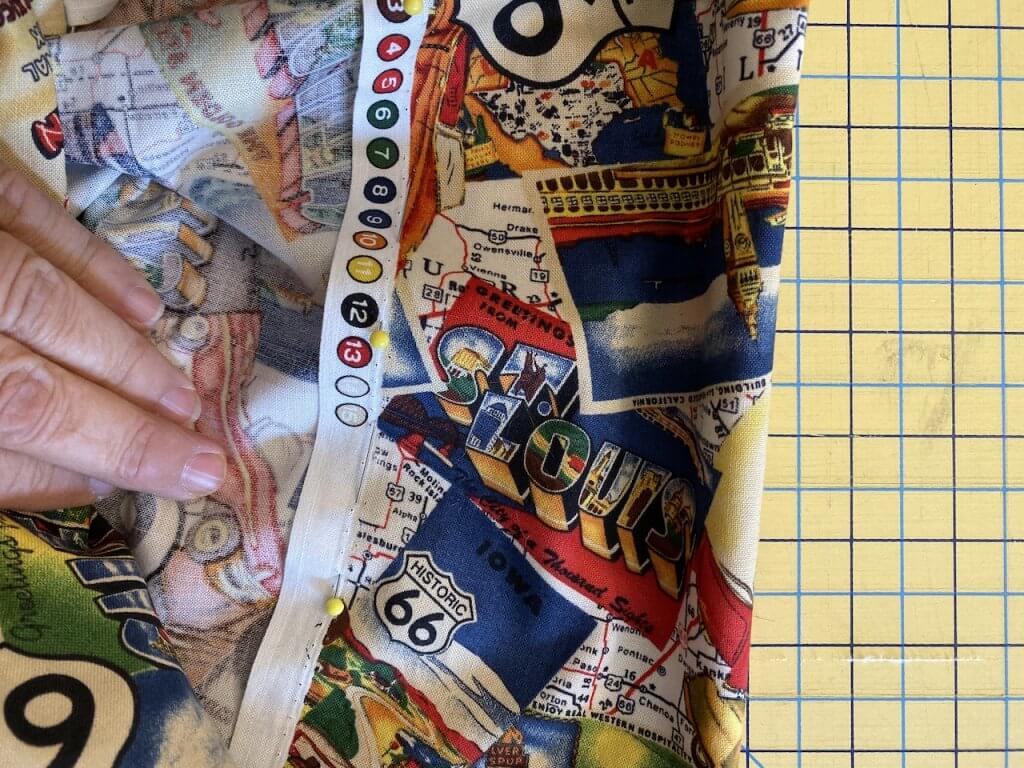
6. Make a cuff by turning the fabric to the inside about 4 1/2”.
7. Sew the cuff down all the way around.
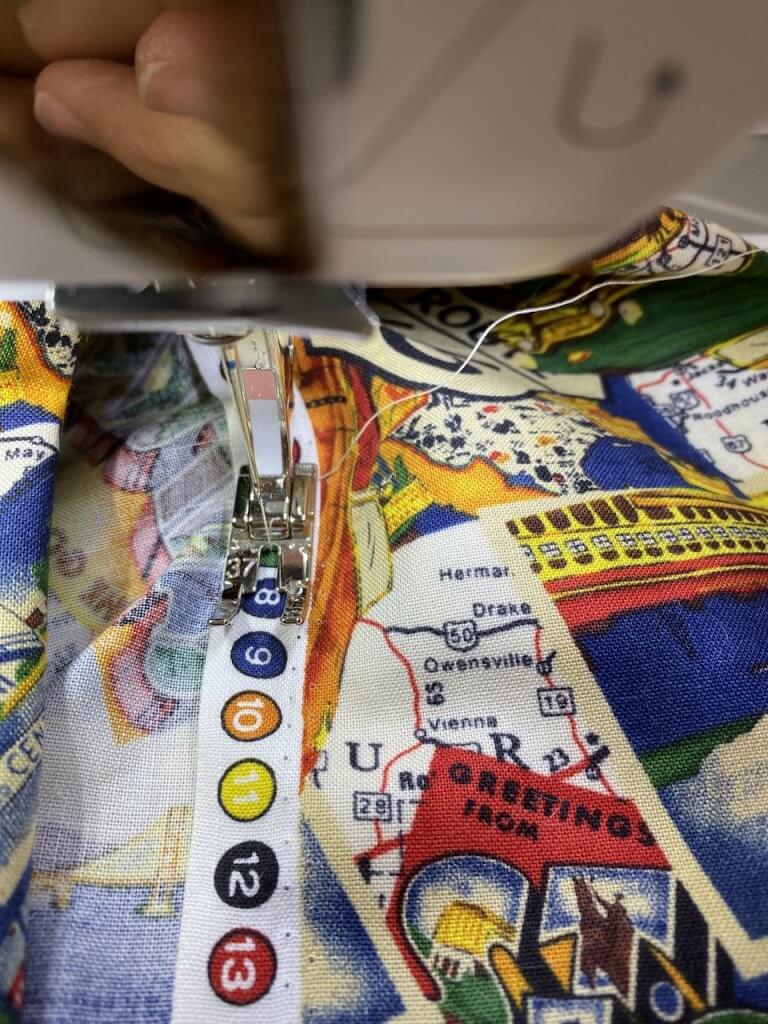
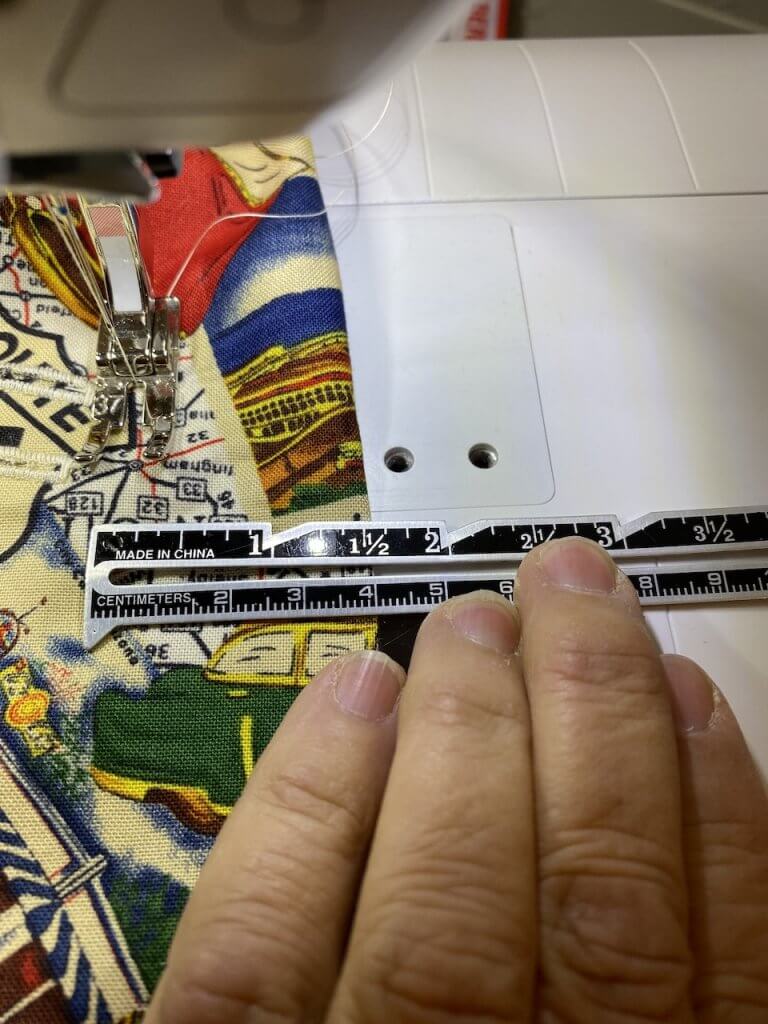
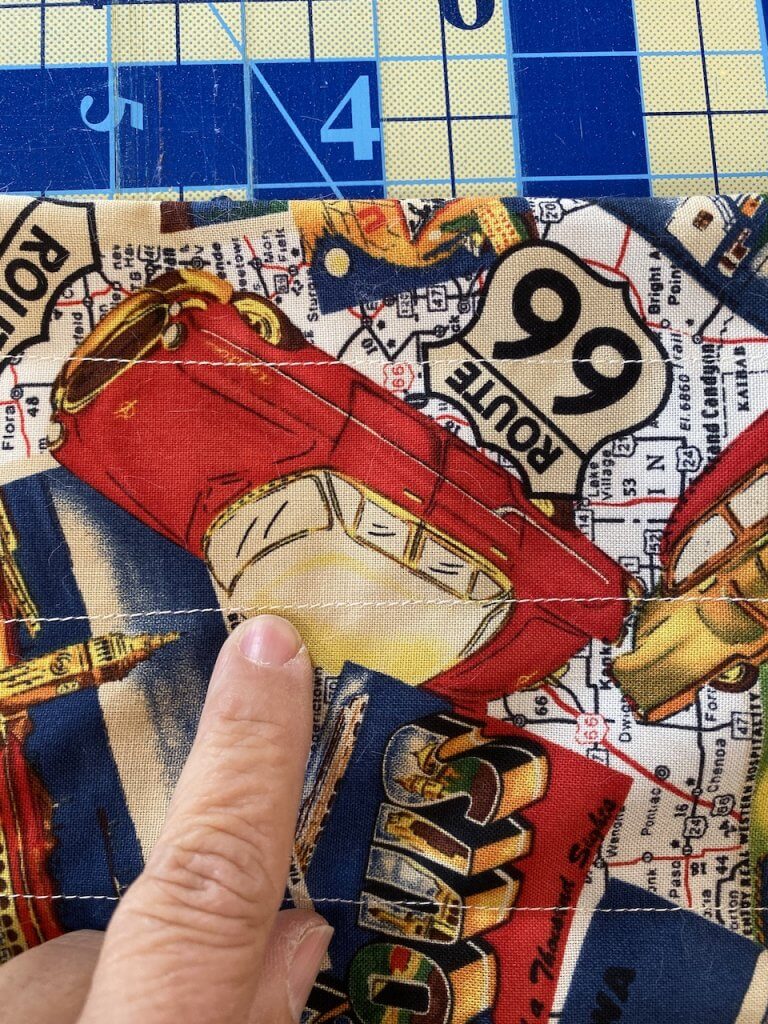
8. Stitch a line of stitching just above the buttonholes, keeping the folded edge of the cuff along a line on your sewing table so that it remains straight. It’s helpful to tape a ruler to the sewing machine or to put a piece of tape there to make sure that you are sewing straight.

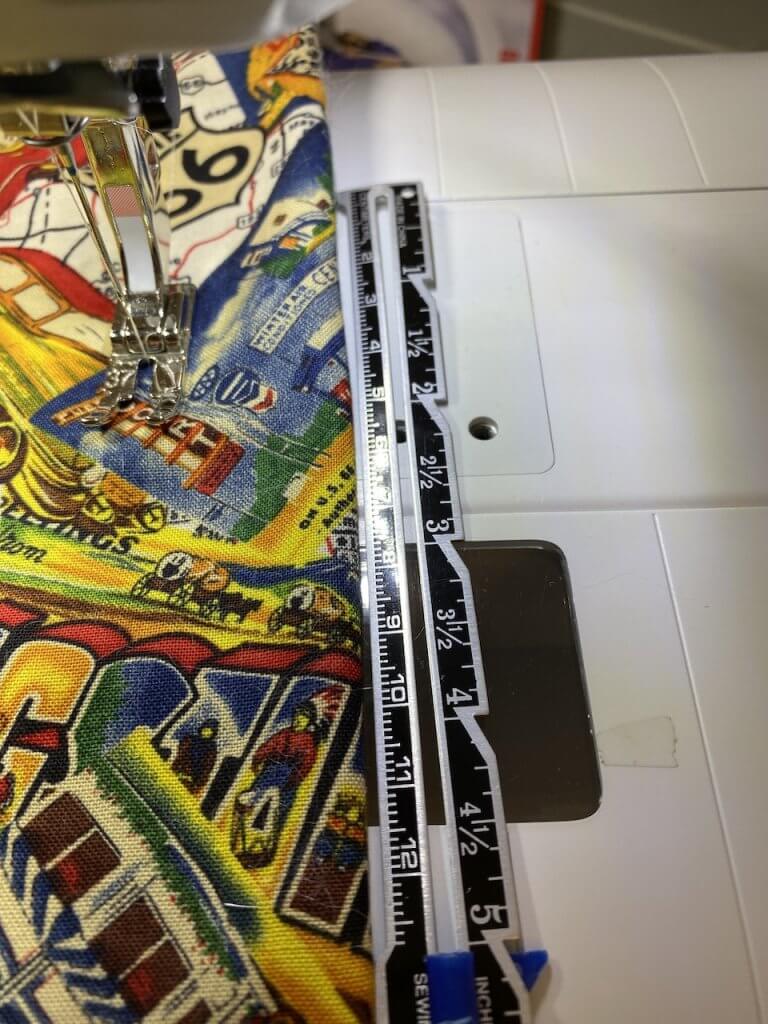
14. After you have gone all the way around the bag, make another line of stitching just below the buttonholes.
15. Stitch all the way around the bag.
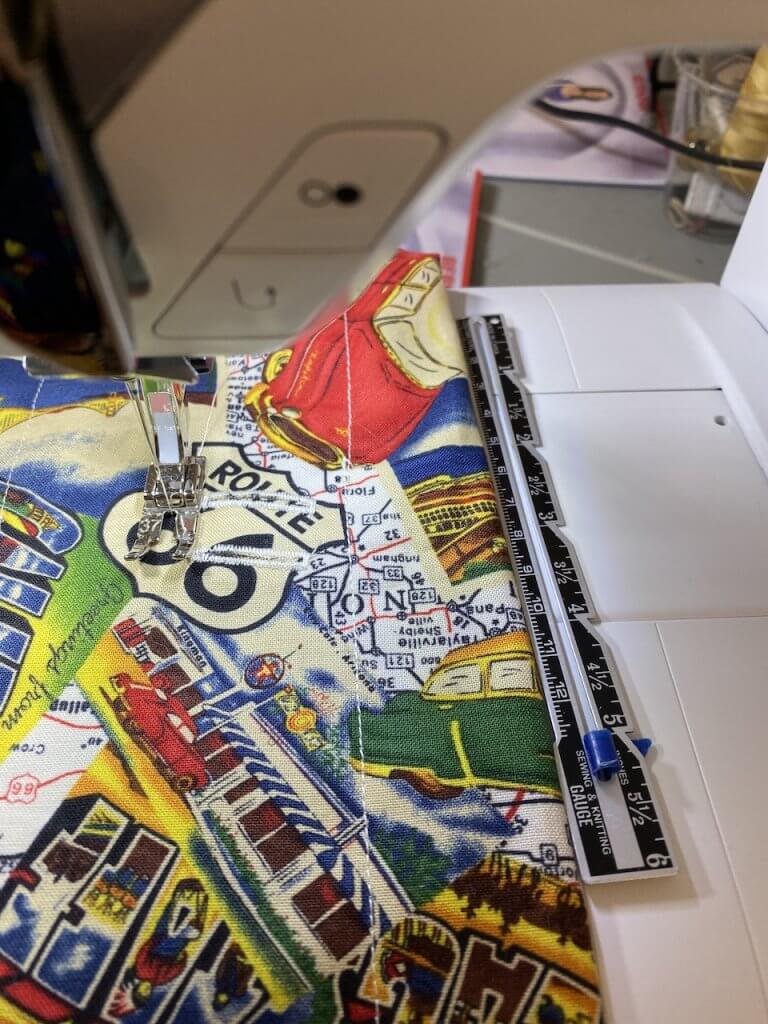
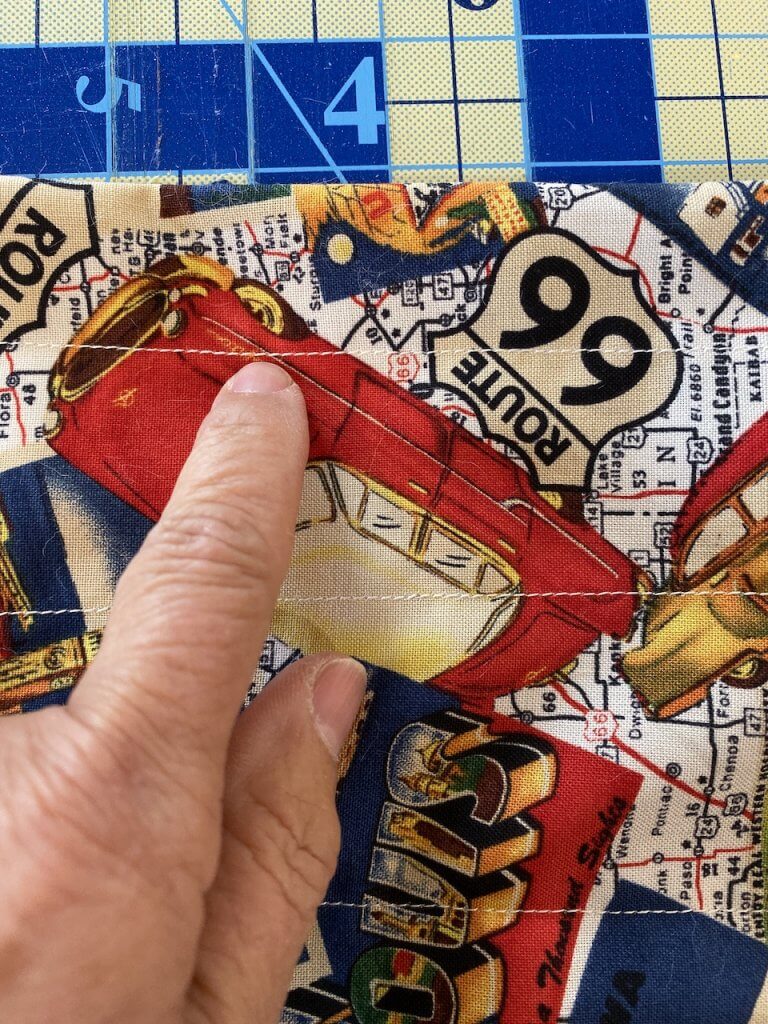
16. You now have several lines of stitching. You have one that keeps the cuff in place,
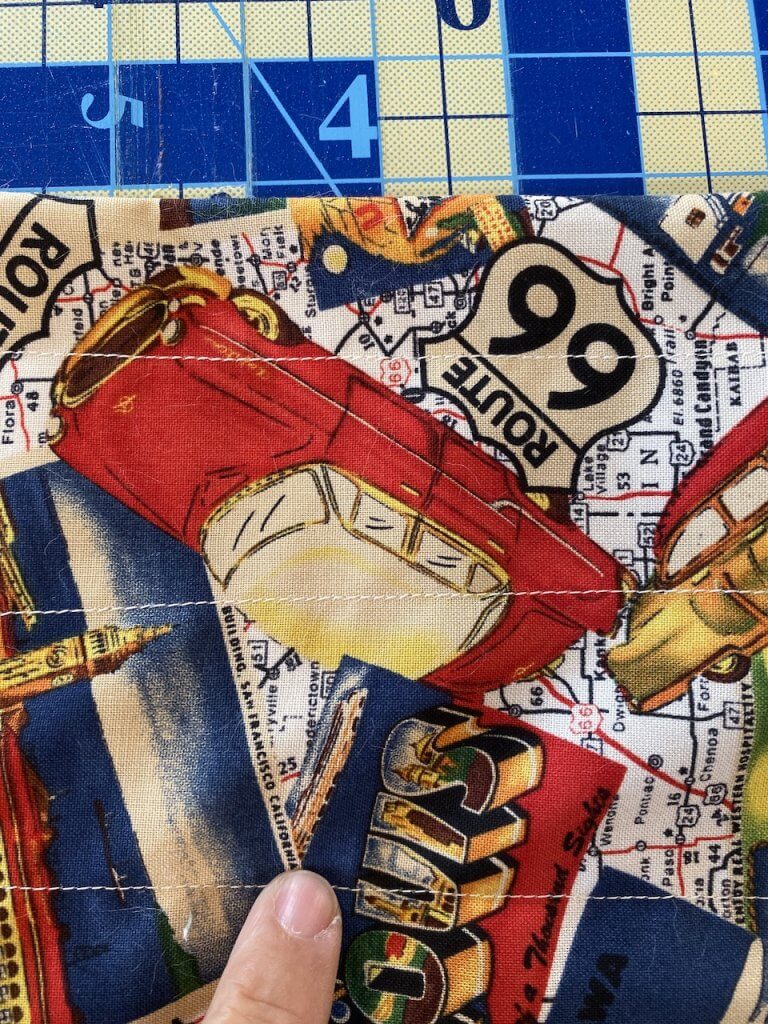
a stitching line below the buttonholes which is the lower edge of the casing,
and a stitching line that forms the upper edge of the casing.
16. Now you’re ready to run the cotton cord through the casing. Attach a safety pin to one end of the cotton cord. Run it through the casing by entering through one buttonhole, bypassing the buttonholes on the opposite side of the bag, and then bring it out through the buttonhole that is next to the one it went in through.
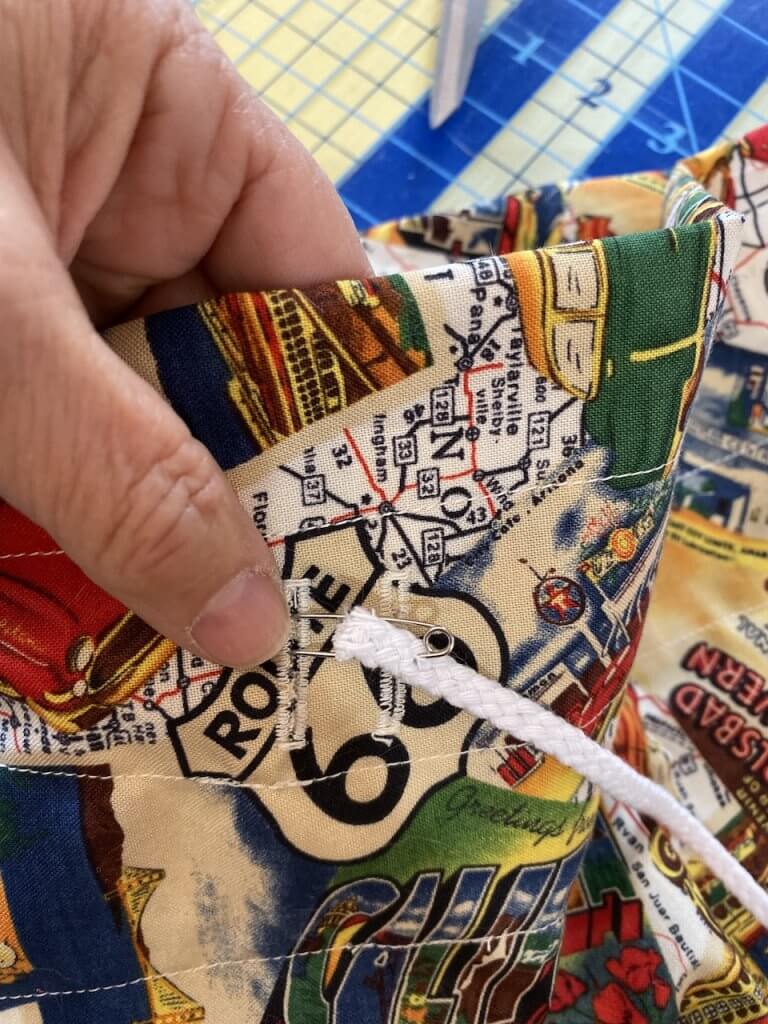
17. Now you have 2 buttonholes on the opposite side of the bag that have no cord running through them. Follow step 16 and put cotton cording through one buttonhole on the other side of the bag and do the same.
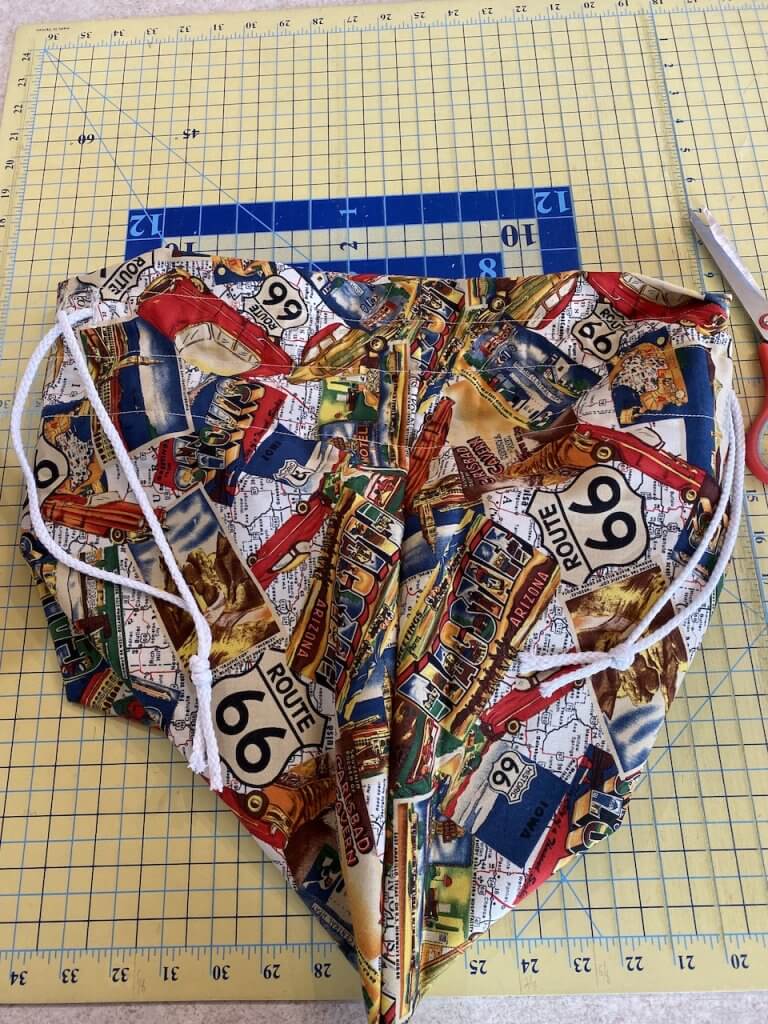
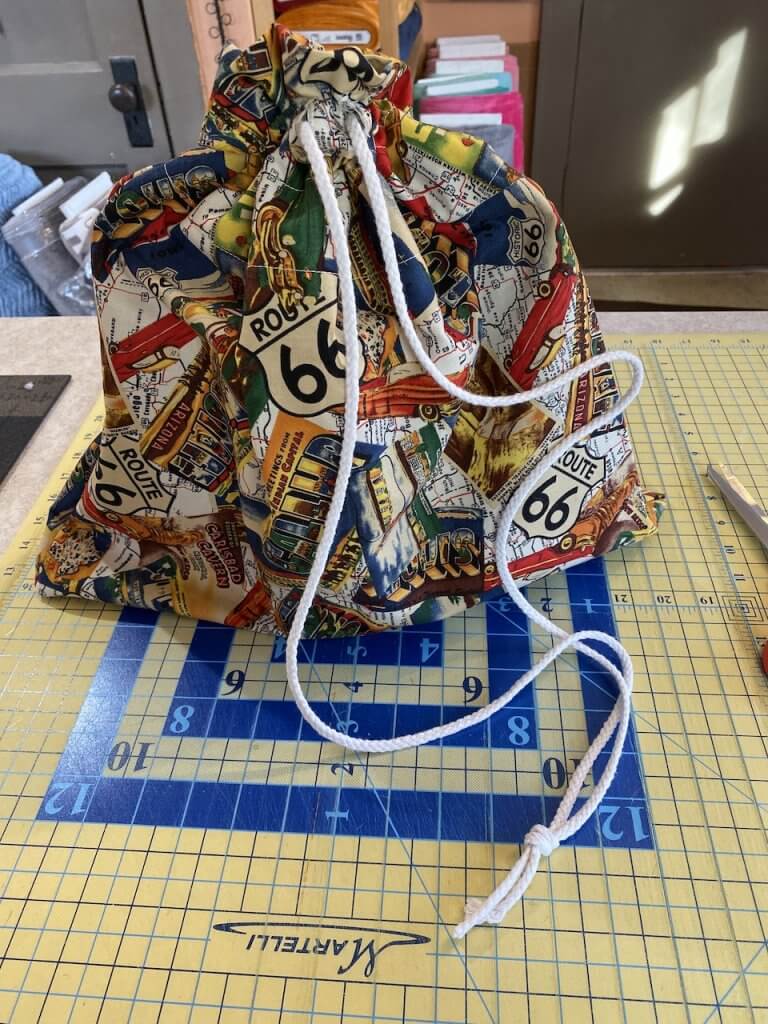
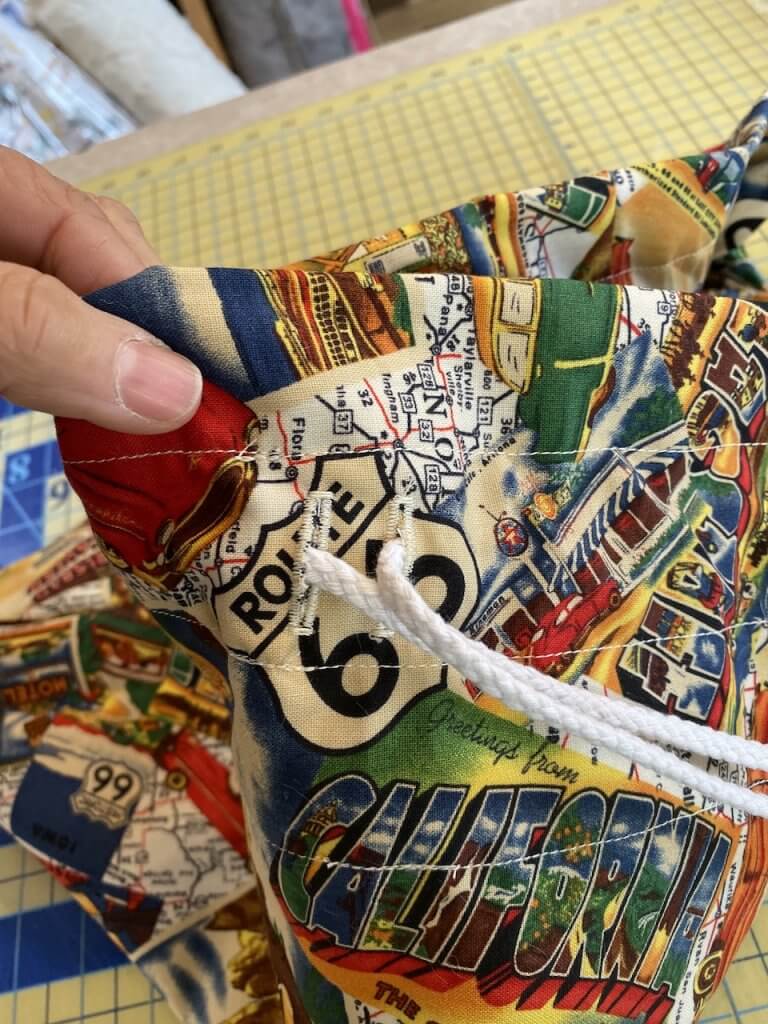
This is how the bag looks with the cords exiting the center buttonholes on both sides.
Now, when you pull on the cords simultaneously, you will pull it tightly closed.
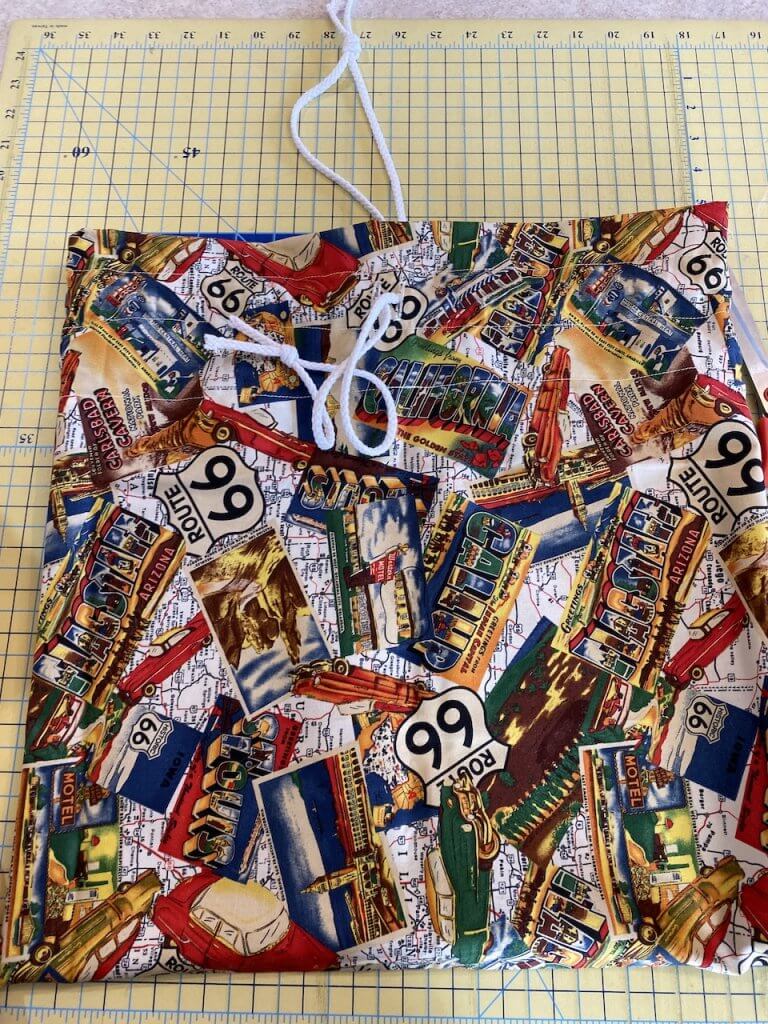

Now put your project into the bag! Or, put a fun gift into the bag. Best part of this is that you will be able to use this bag over and over and over!