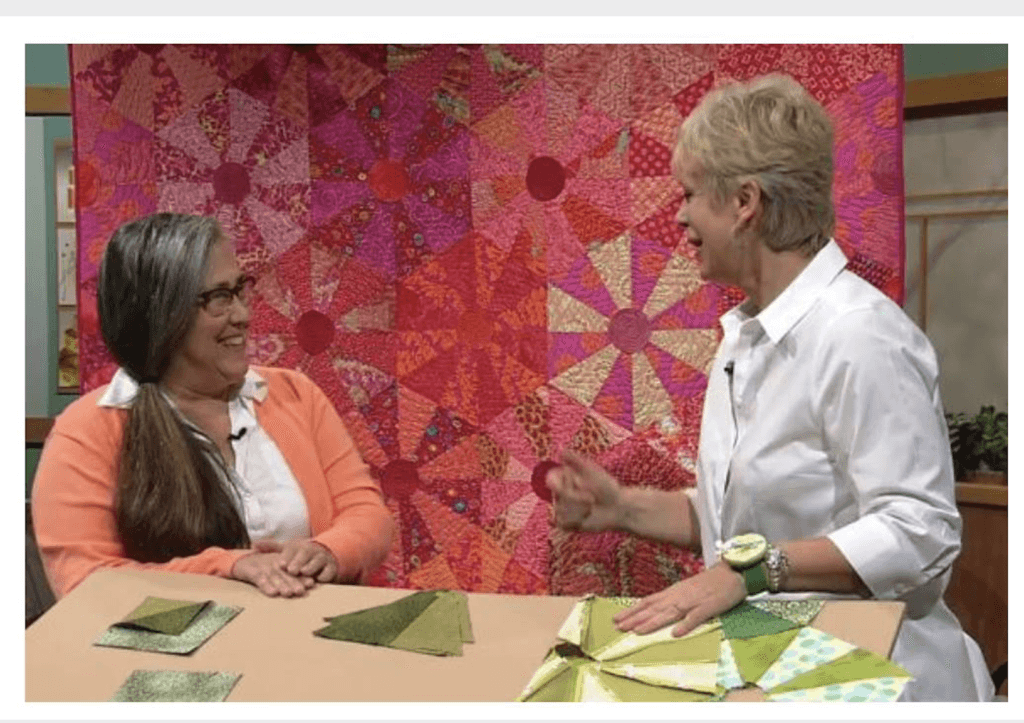
So, last year I taught this class. But, it was kind of done informally. I had a group of ladies That took my blended hexagon class in Houston. We added a stripe to the blocks and took off! Whoosh! They loved it. Here’s what I am talking about. I am going to give the directions, or the pattern, for doing this. There’s a magic number in this pattern. I cannot divulge that number. The reason for that is that it is in my book. The ladies that took this class paid for the class and the book, so I can’t be unfair and reveal that number.
However, I am going to show how this unbelievable block is made.
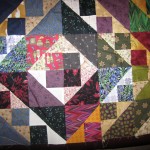
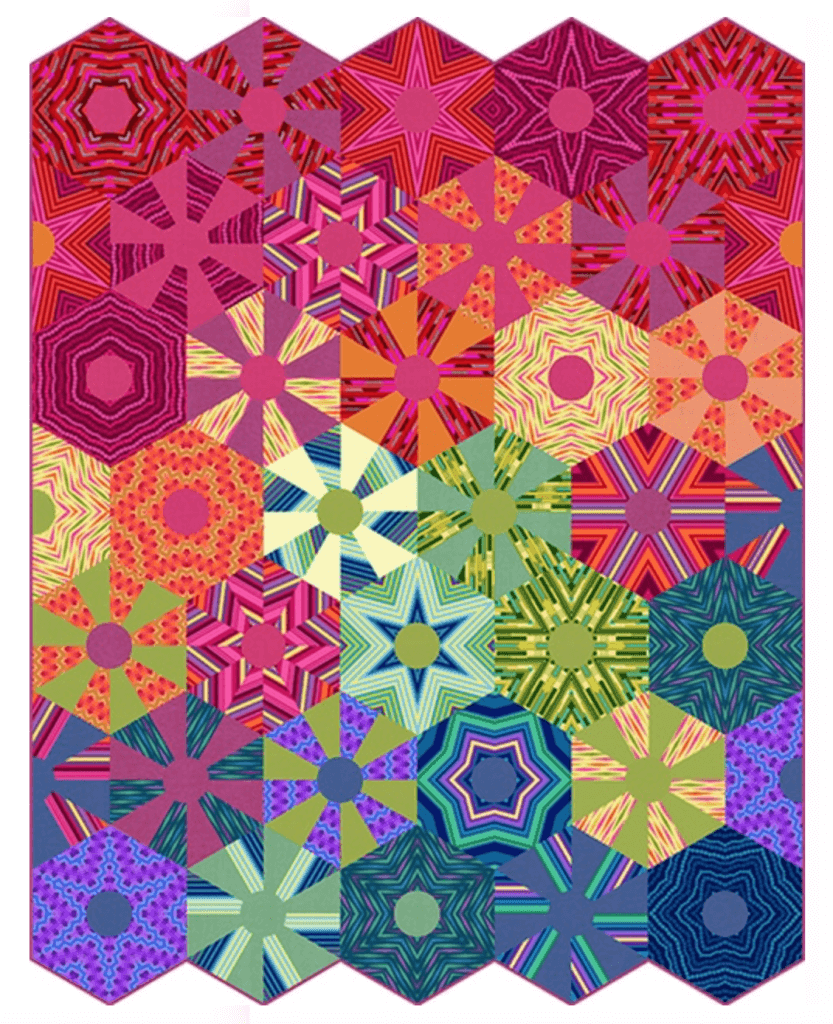
These blocks were made by ladies in my class and we put them all together. You can see how the addition of the strip makes a lattice pattern.
So, if you have my book, Rainbow Quilts for Scrap Lovers, you know that the blended hexagon quilt is super easy and fun. Now you can add this fun little detour and end up with a lattice quilt.
Here’s how it’s done with the lattice.
Now, remember, this is not a “complete” pattern, as you need to buy my book to understand the cutting instructions and the amounts for the quilt. This is just the variation on the Blended Hexagon.
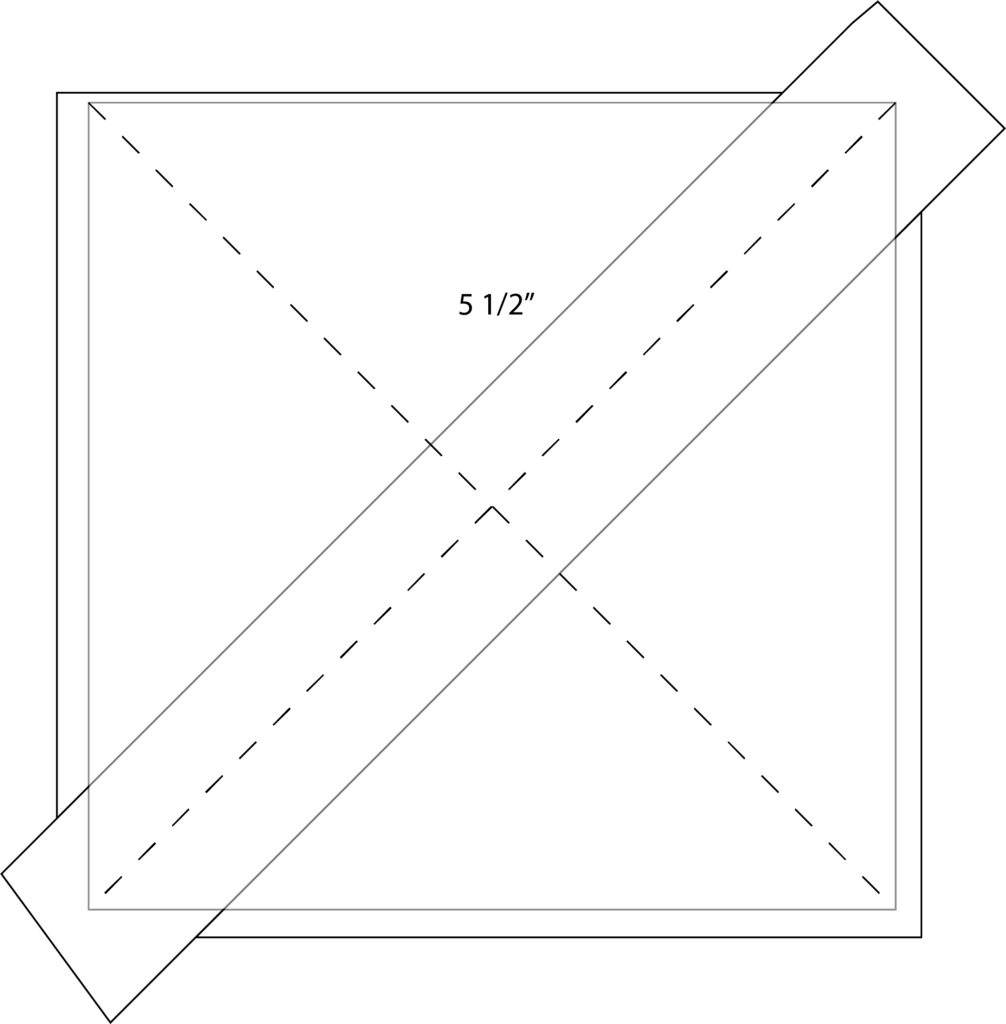
First off, take those 5 1/2” blocks and put them right sides together. You need 3 pairs, remember? Okay.

Now slash them corner to corner.
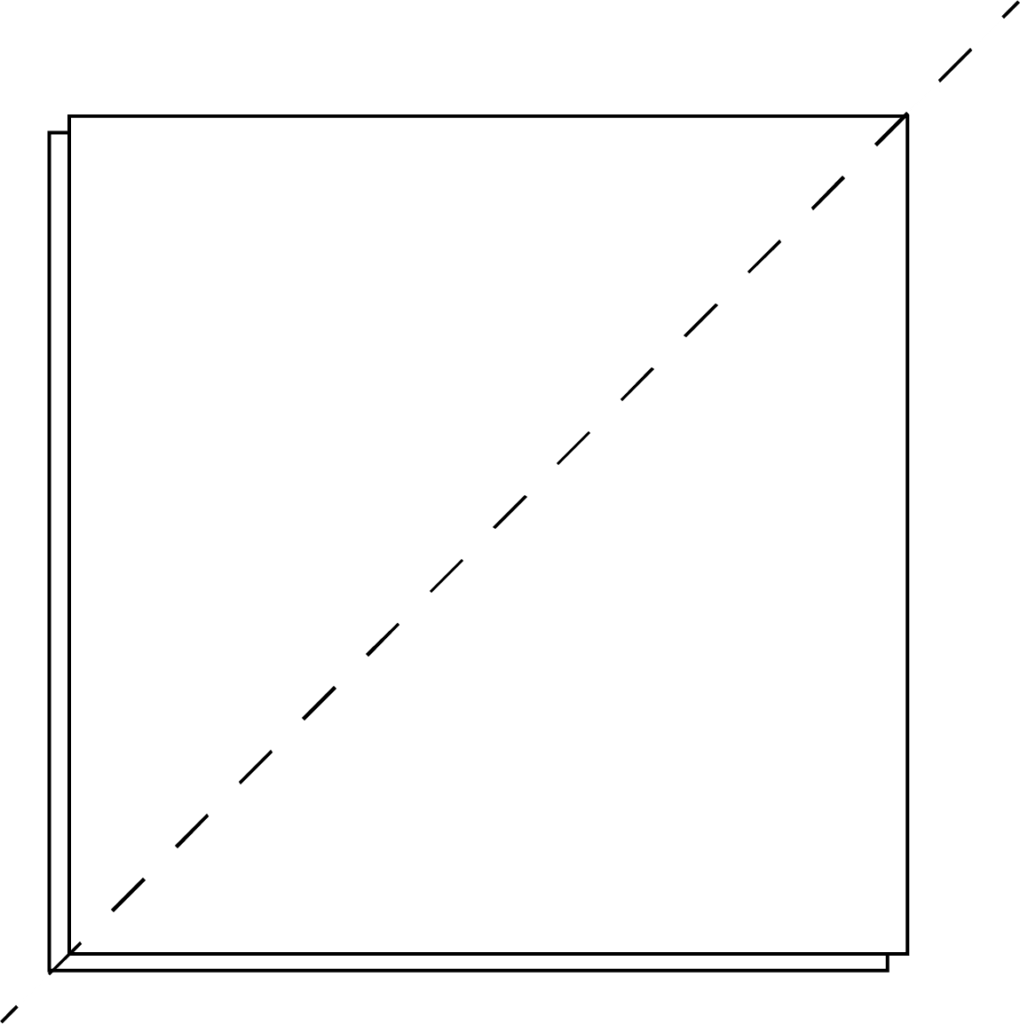
Now you will have 4 triangles.
Cut all of your pairs this way to result in 12 triangles.
Cut 2 strips that are 2” wide by the width of fabric of a coordinating fabric, one that you want to be the lattice. This should be the same color, but not necessarily the same fabric, as you want running through the entire quilt. You will need to sew 6 of the triangles to one side of it, and 6 triangles to the other side. You will need more than one 44 inch strip. If you’re using fat quarters, you will need 3 strips that are 2” x 22”.
You will sew 6 triangles to one side of the strip and 6 to the other side, directly across, right sides together. Then press them open.
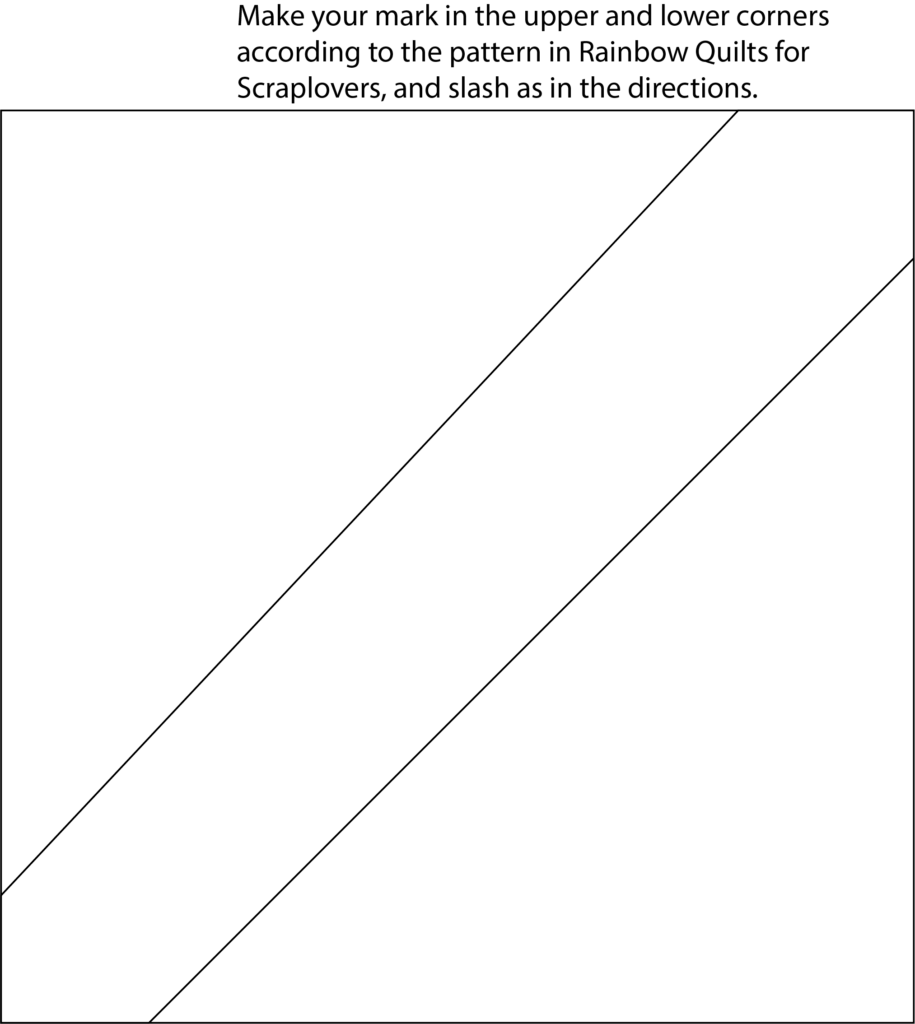
After they are pressed open, cut them apart. They will look like this:
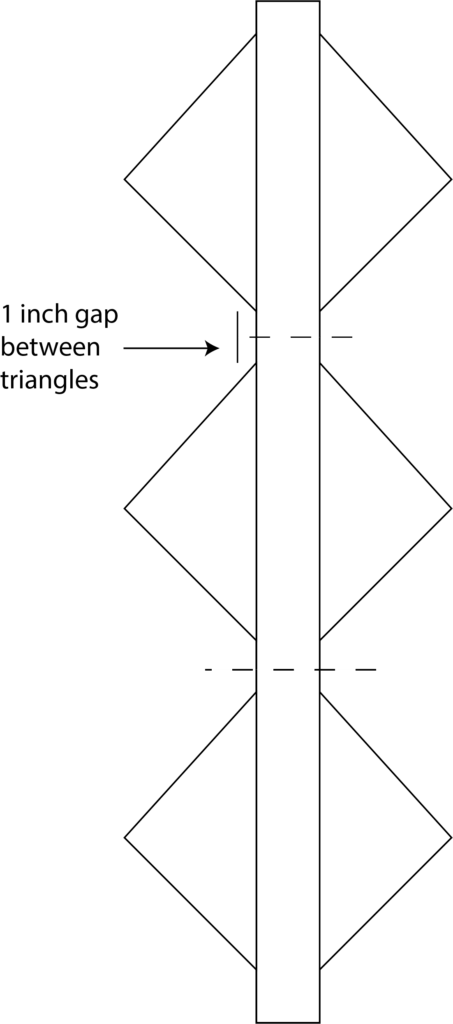
Cut the units apart as shown with the dotted line.
Now you will have units that you can square to 5 1/2”.
When squaring the units up, make sure that the crosshairs of the diagonal lines are centered on the square as best as you can, and the dotted line is centered on the strip.
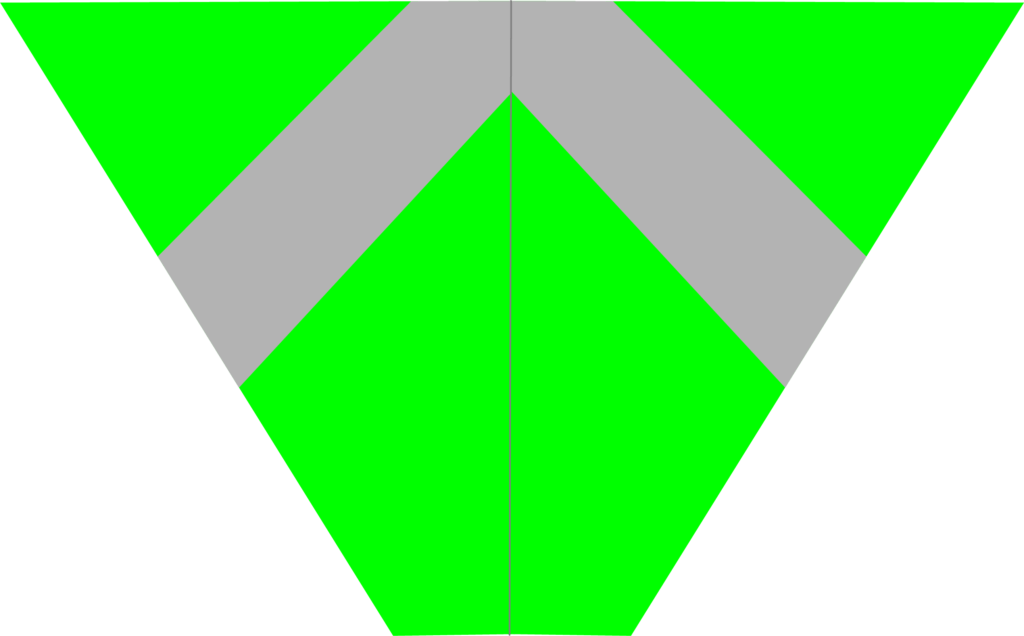
Now place them in pairs, right sides together, matching the strips and corners. Mark them when they are placed in pairs, right sides together with the magic number, in the upper left and lower right corners.
Your pieces will now look like this:

Keeping the pieces right sides together, stitch along the long unbiased edge and open out.
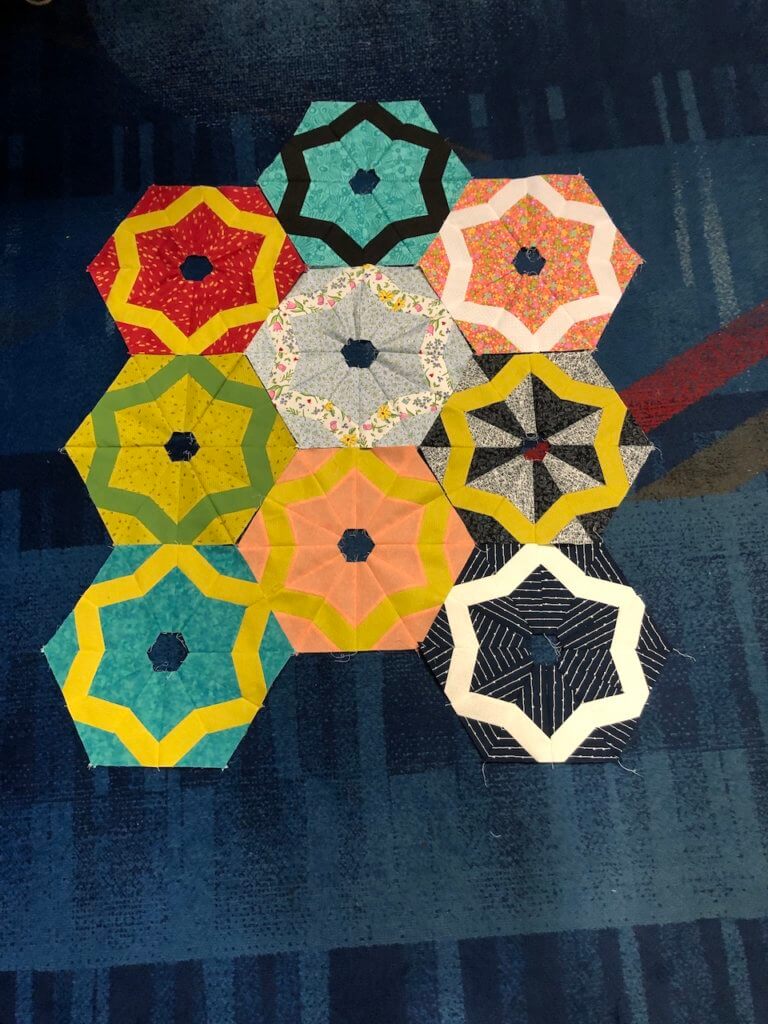
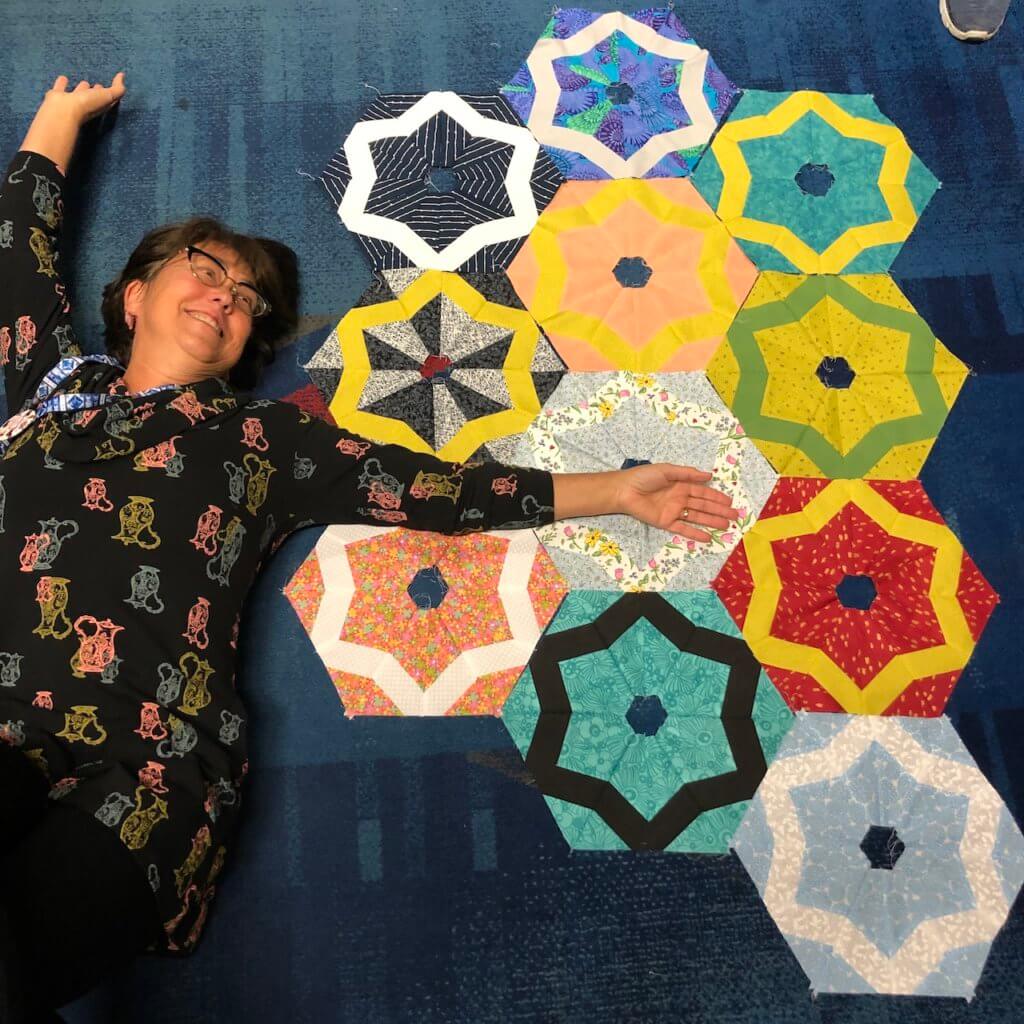
Repeat with all 3 pairs, so that you have a total of 6 of the above units. Stitch together along the diagonal edges and you will have a hexagon with a star! When these are all placed together, you will have a lattice within your hexagons.