I remember those days. I am trying to forget, actually. I loved having my babies but I love them as adults even more. I remember the days of waking up in the middle of the night in a puddle of breast milk. Sure, I had nursing pads stuffed into my bra (because you couldn’t go to bed without a bra). But the nursing pads I had were the cheap paper-ish disposable ones. I wish I had thought to sew some of these ahead of time.
As many of you know we are having an event at the Bungalow on June 26th. It’s the Bungalow Baby Shower. At this event we are going to show off some great items. The nursing pads are one of them.
Young moms put things on their registry. They want certain things for the care and rearing of their infants. But quilters and sewists alike want to make something personal. Here’s your chance.
I would have wanted this when I was a new mom. I hated throwing all of those nursing pads into the garbage. With these non-disposable nursing pads you can easily throw them into the washing machine and dryer. I made them for my daughters when they were expecting, and they loved them. Ready to hear all about them? Ok!
What you will need:
2 fat quarters
1 piece of fusible woven interfacing, the size of a fat quarter
1 nylon zipper 12” in length or longer
batting scraps, enough to make 42 5” diameter circles
1 charm pack
1/2 yard PUL vinyl
Basic sewing supplies
Serger or sewing machine with ability for zig zag stitch
Thread to match
Making the pads
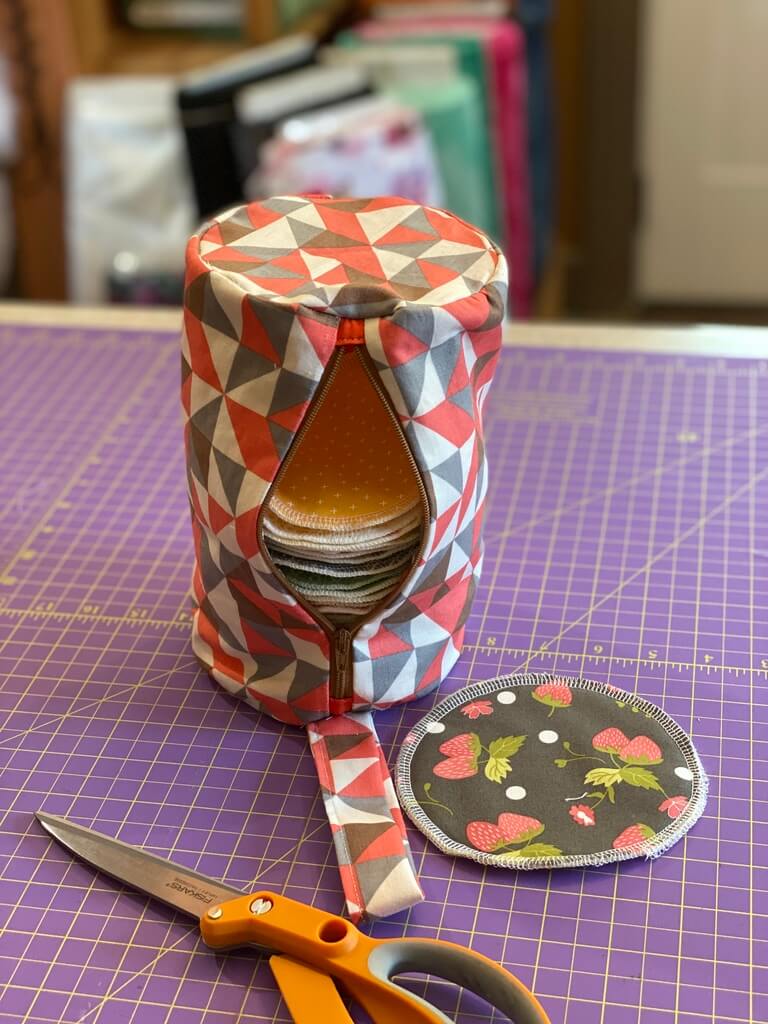
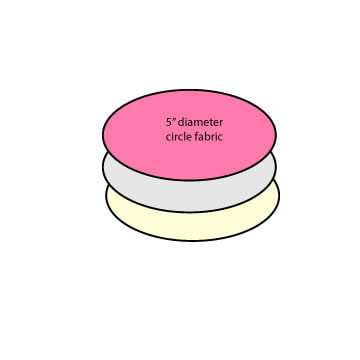
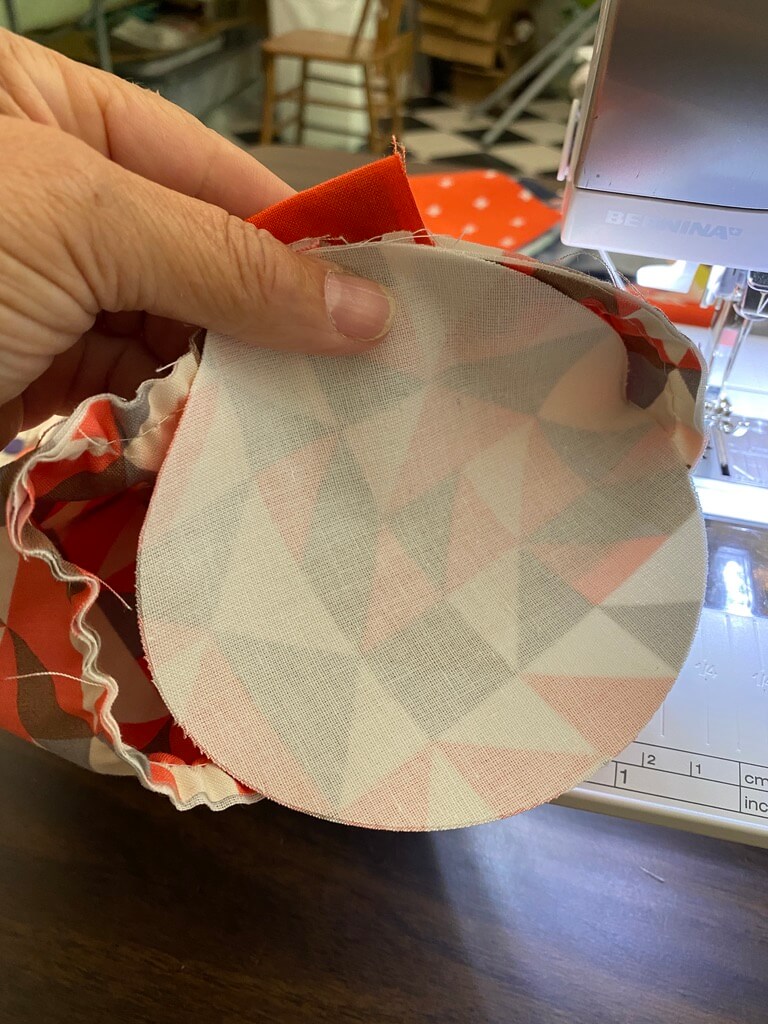
- Cut 42 circles 5” in diameter from the charm square pack. A Go Cutter with the circle shape works great for this. If you have a cricut, I believe you can use that as well. If not, make a template out of cardboard and create a 5” diameter circle. Trace the circle onto the charm squares.
- Cut 42 5” diameter circles from the batting scraps.
- Cut 42 5” diameter circles from the PUL vinyl.
- Layer the circles in this manner: PUL vinyl at the bottom with the shiny slippery side up, batting circle in the middle and the fabric circle right sides up on top.
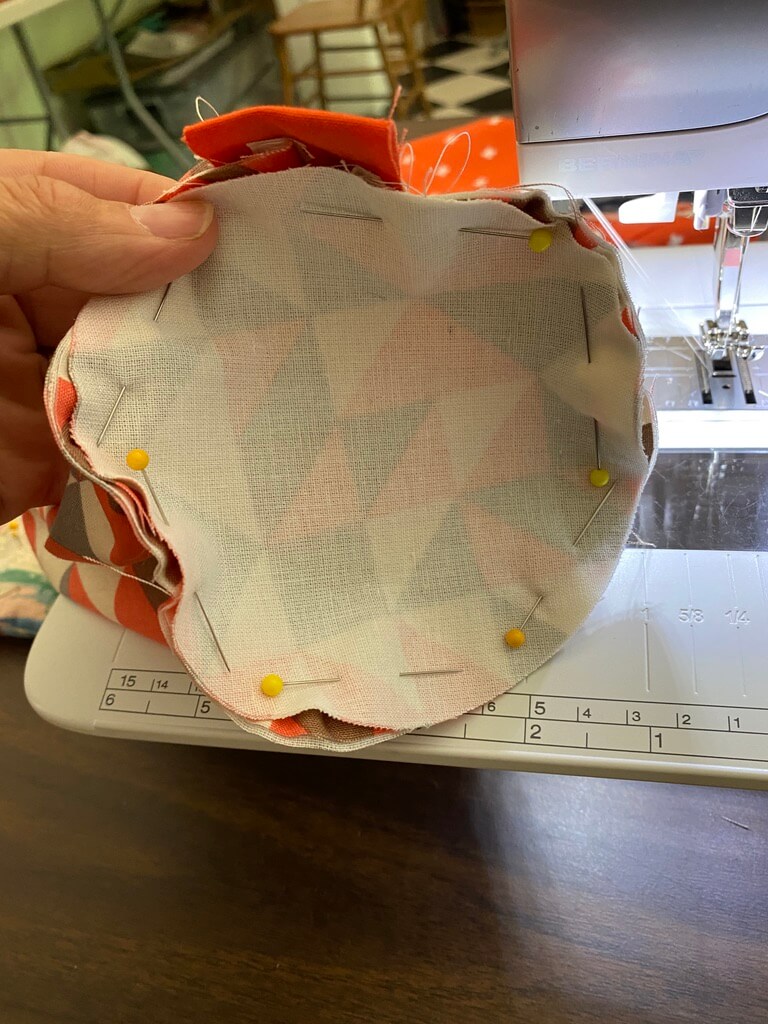
5. Serge the edges of the layered circles. If you don’t have a serger, you can zig zag the edges. You can also do a straight stitch around the entire circle to keep them from slipping apart before you do your serger stitch or zig zag. Note: it is helpful to turn the layers at the same rate that you are sewing it to keep the stitching straight. If you don’t you will have more of a cup shaped finish rather than a flat one. It gets easier as you do more and more of them.
Making the Bag:
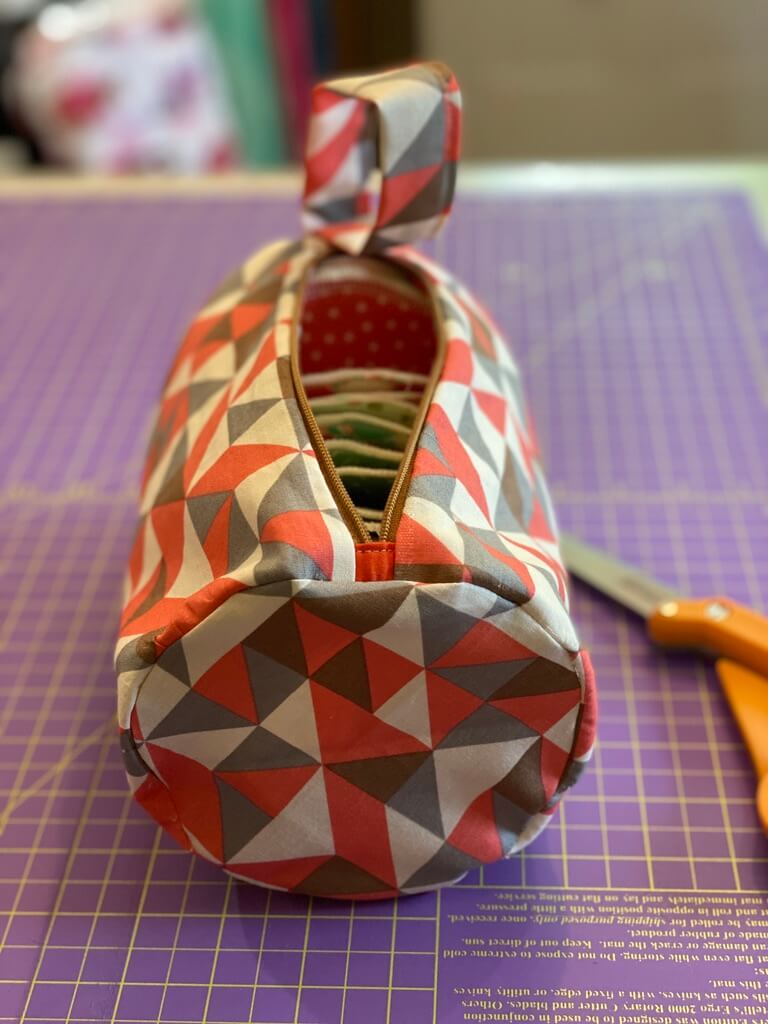
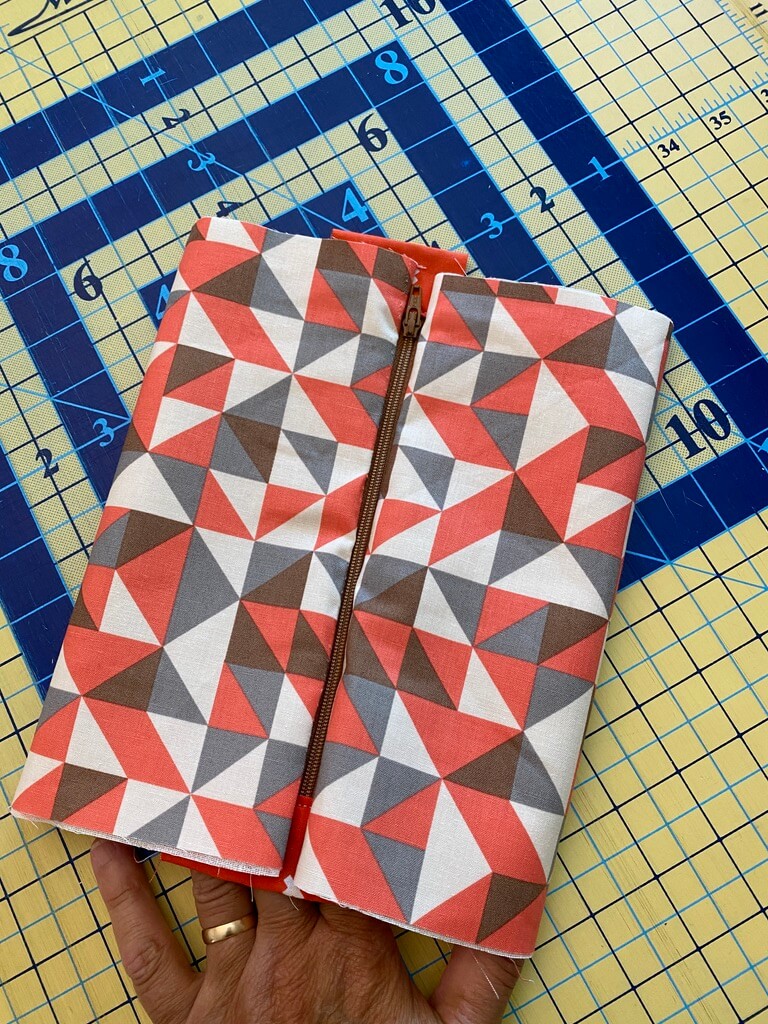
As you can see I made a little bag to put them in. This is helpful as moms are not going to just sit home with that baby. We are mobile! And, we have careers and our breasts leak between feedings.
Cutting:
*****Please note that the circles for the ends of the bag are 5 1/2” in diameter******
From the Fat Quarters:
- 2 rectangles 16 1/2” x 9 inches
- 2 circles 5 1/2” x 5 1/2” diameter
- 1 rectangle 10” x 2 1/2”
From the Interfacing:
- 1 rectangle 9” x 16 1/2”
- 2 circles 5 1/2” x 5 1/2” in diameter
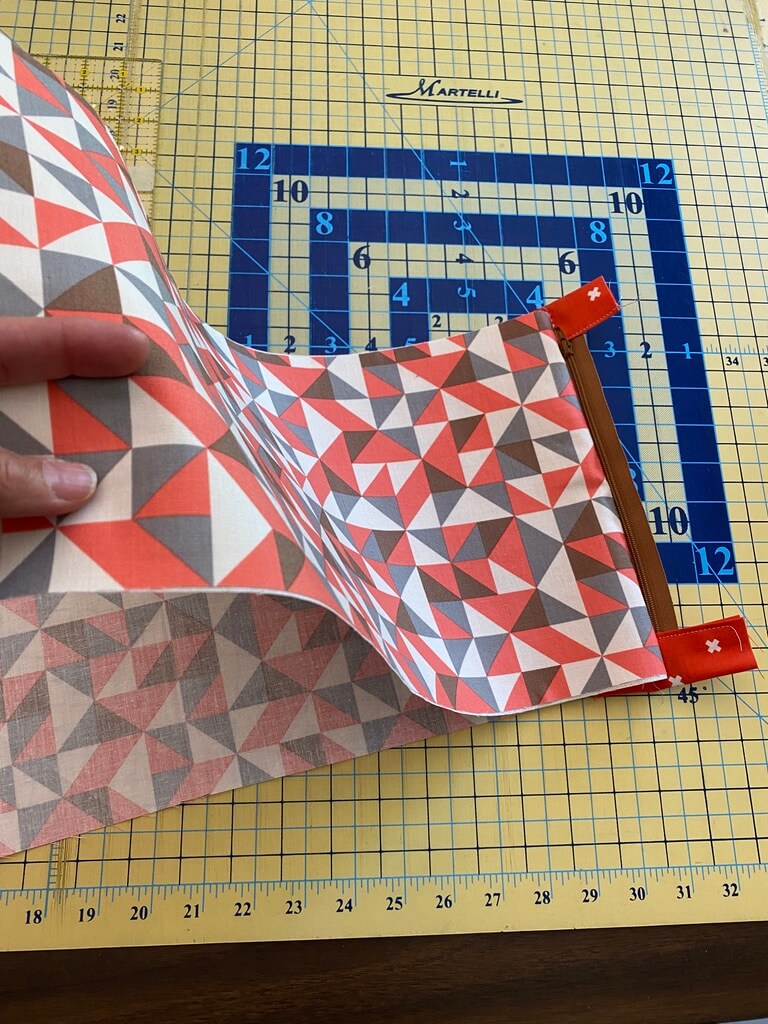
Prep the Zipper:
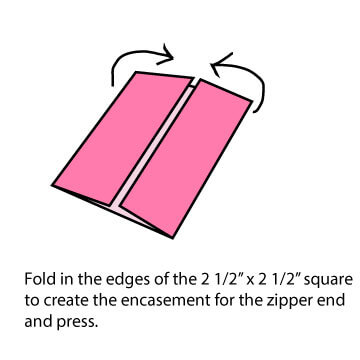
- Cut a scrap of fabric into 2 squares measuring 2 1/2” x 2 1/2”. It can be any scrap of fabric that matches in color, or a piece of the fat quarter that is left from cutting your bag pieces.
- Cut the zipper so that it measures 9” in length. You can cut some from the top and some from the bottom of the zipper. Make certain if you are cutting from the top to pull the zipper tab down so that you don’t cut it off.
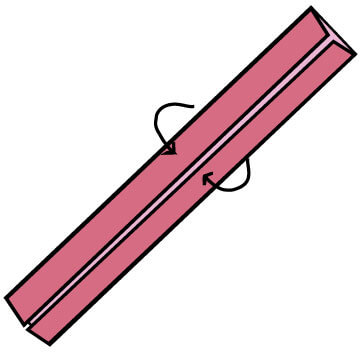
- Fold the edges of the square in toward the center on 2 sides.
3. Wrap the bottom edge of the zipper using the unit created above and stitch across the folded edges.
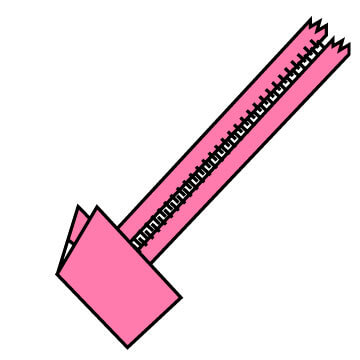
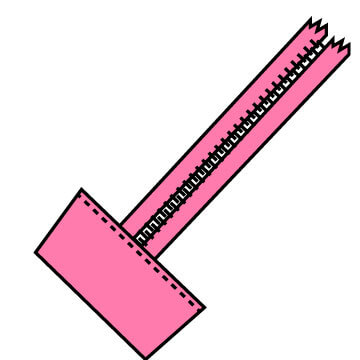
4. Repeat for the top of the zipper making certain that your zipper tab (which is not shown in the above photos) is pulled down so that you don’t stitch over it.

Now your zipper is prepped. Do not trim it yet at this point.
Interfacing:
- Iron the interfacing onto the wrong side of one of the 9” x 16 1/2” rectangles.
- Iron the interfacing circles onto the the 5 1/2” fabric circles.
Sewing the Zipper
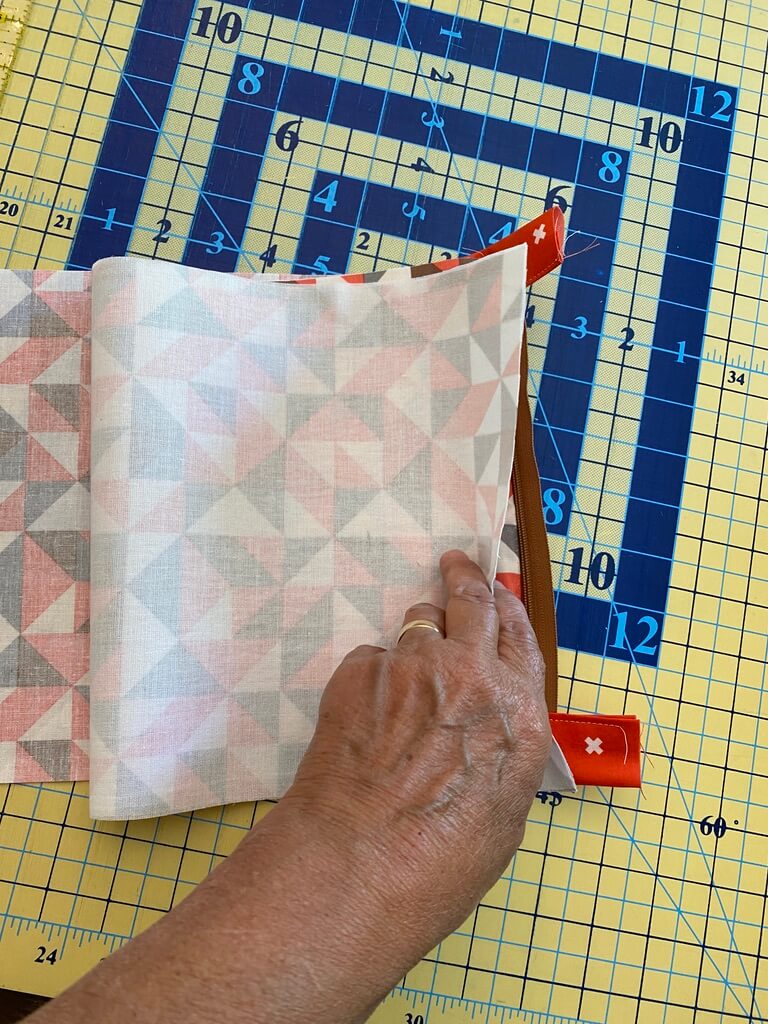
- Lay the non interfaced 9” x 16 1/2” fabric rectangle right side up. Lay the zipper right side up on top of it, along the 9” edge.
- Lay the interfaced 9” x 16 1/2” fabric rectangle right sides together over the zipper and bottom fabric, matching edges.
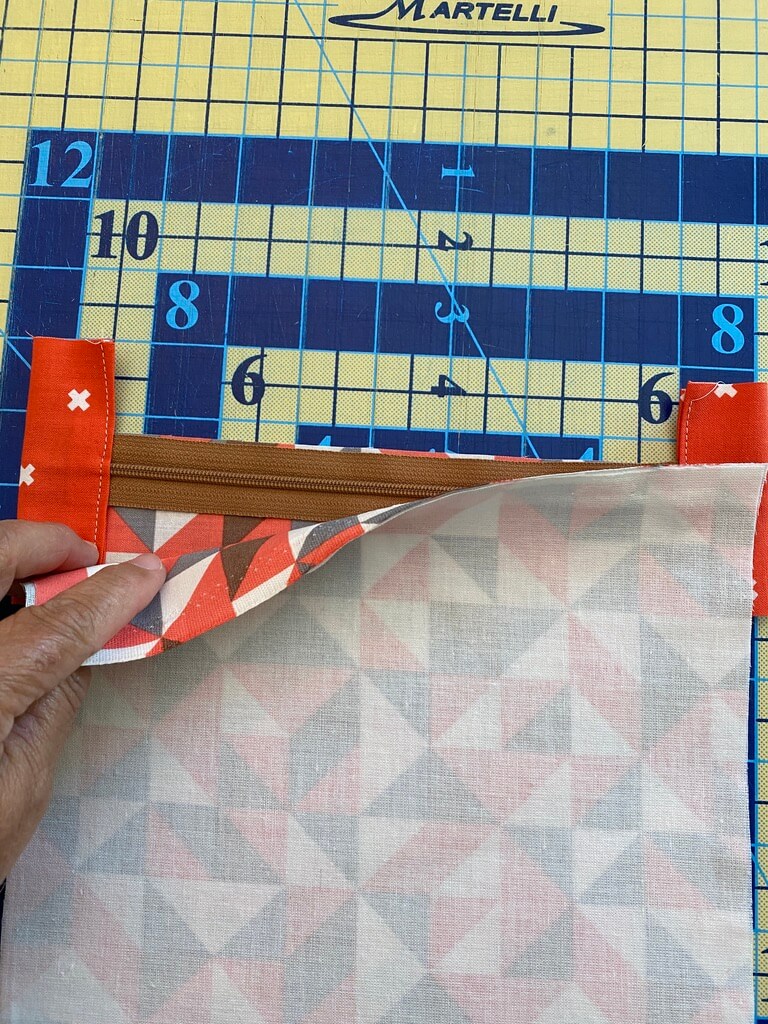
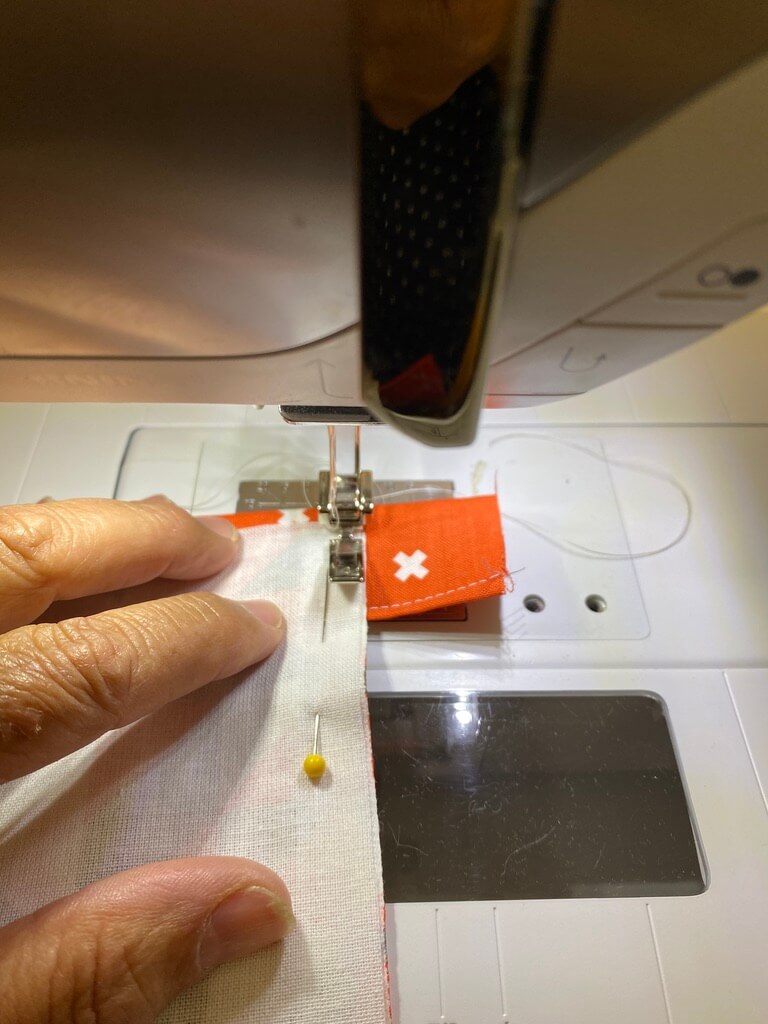
3. Pin the sandwich together making certain to pin through both the fabrics and the zipper.
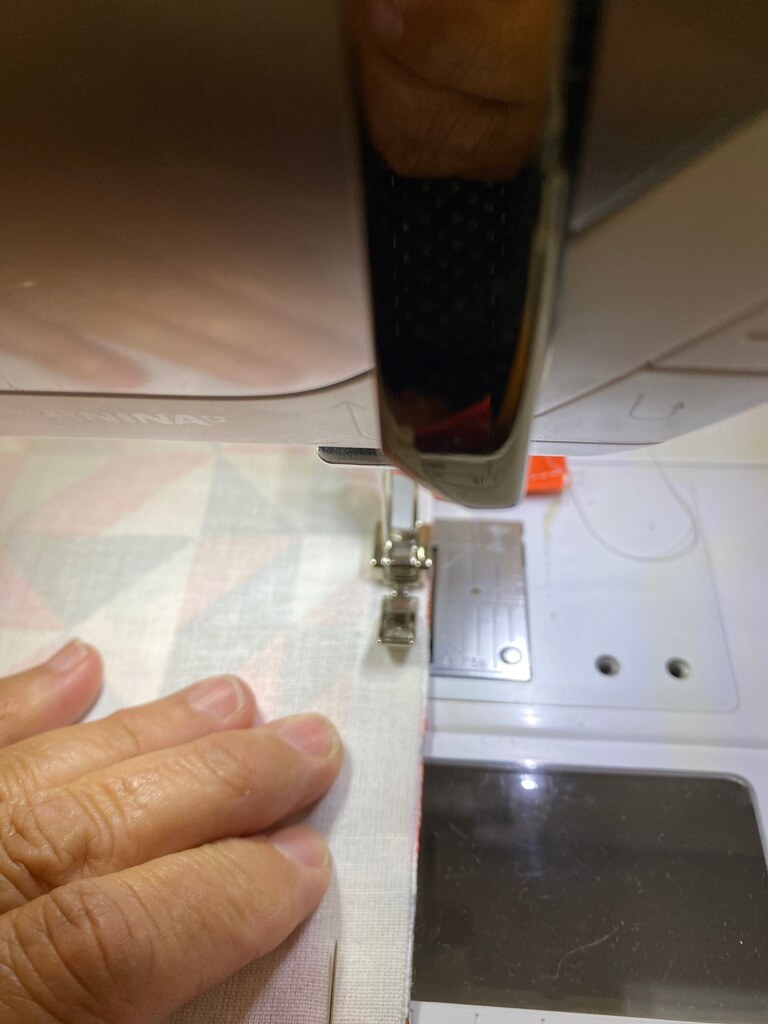
4. Using a zipper foot, stitch through all layers as close as you can to the zipper teeth.
5. Open right sides out.

6. Bring the unsewn 9” edges of the fabric rectangles up toward the zipper.
7. Fold the rectangle so that the right side of the fabric is together with the remaining unsewn side of the zipper. Do this for both rectangles.
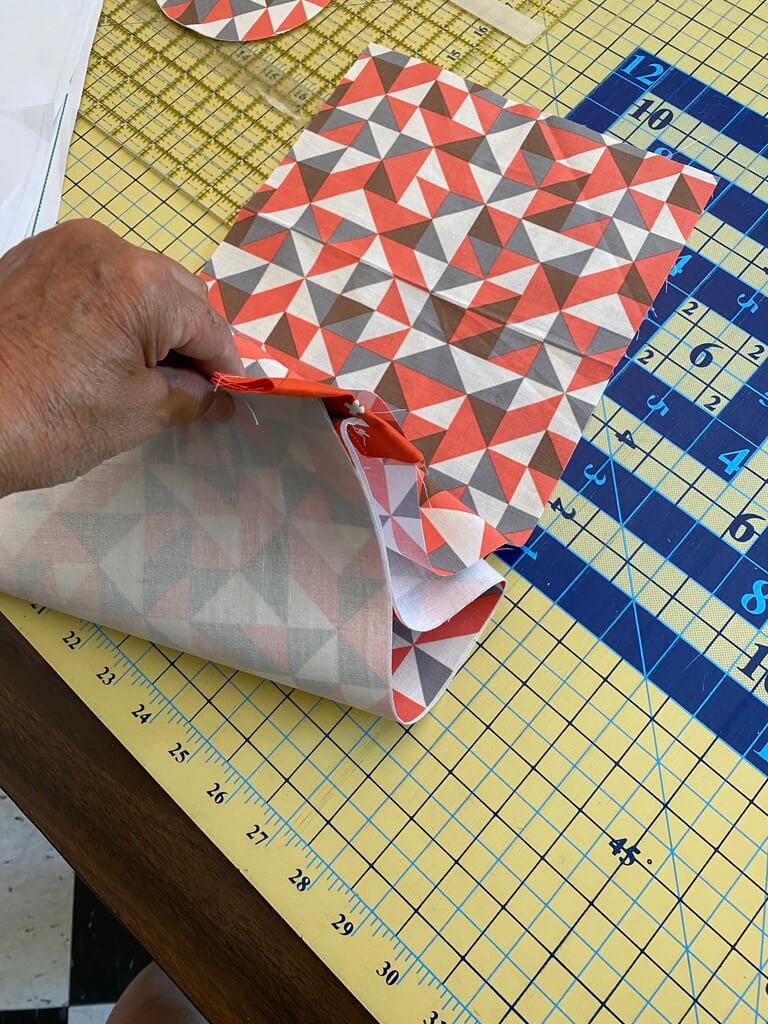
8. Stitch the three layers–the interfaced rectangle, the zipper and the other rectangle along the 9 inch edge and close to the zipper teeth.
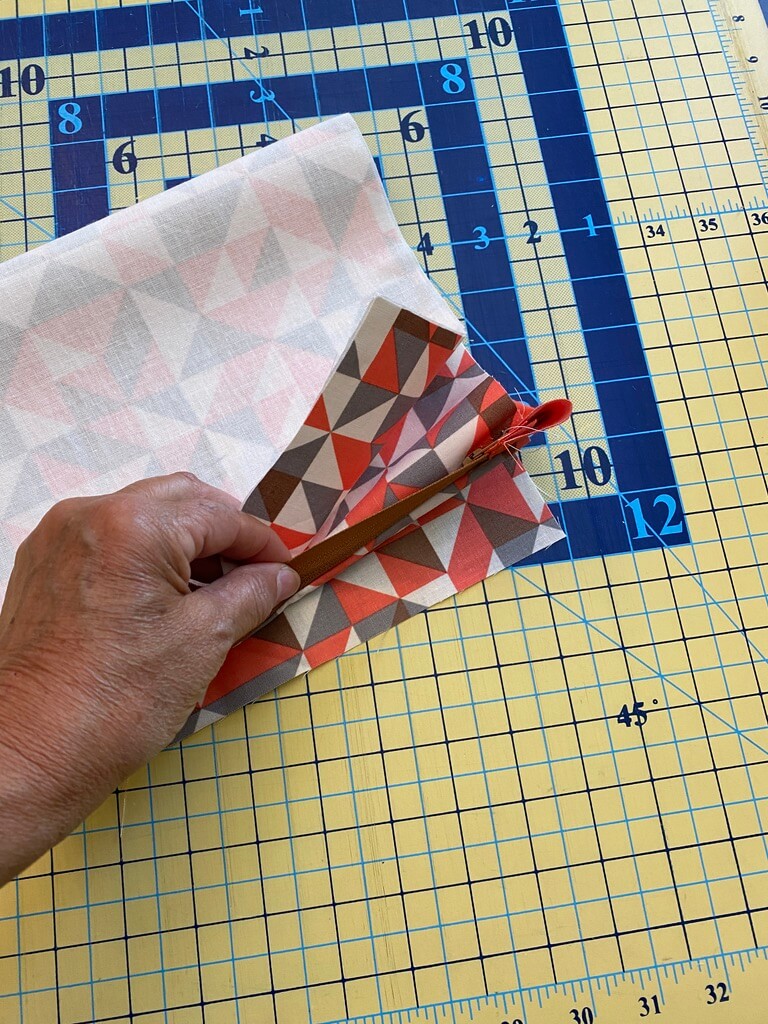
9. Turn right sides out.
9. Press the fabric along the zipper. If you want to topstitch along the edges of the zipper you can do that now.
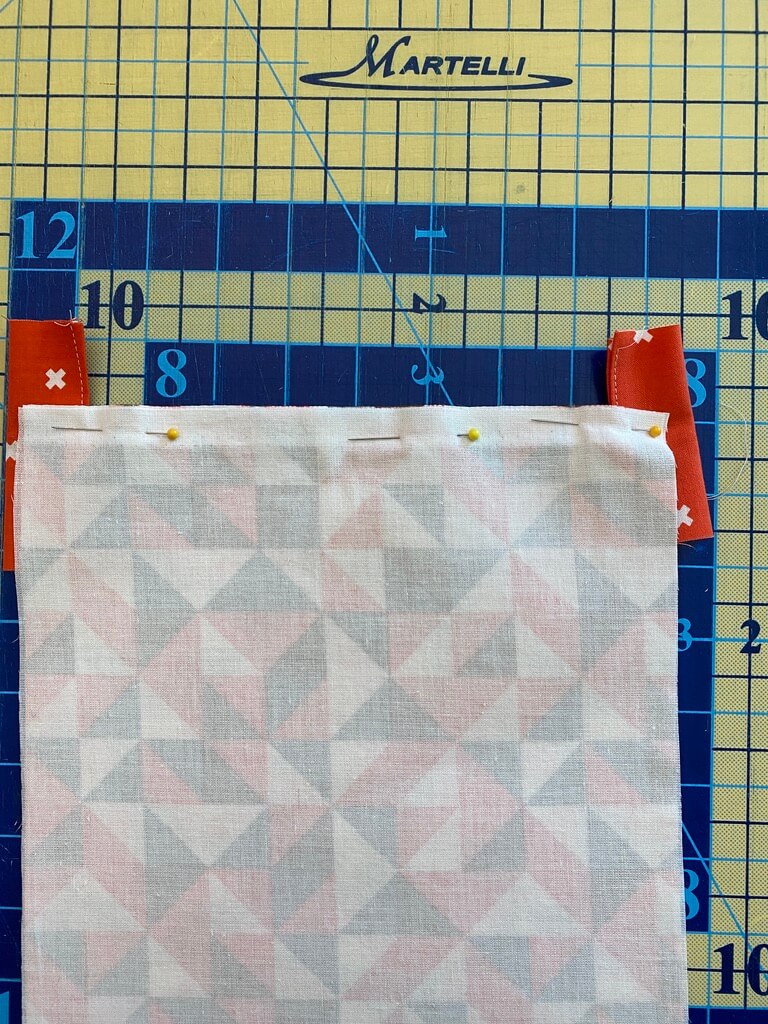
10. Stitch along the open edges through both layers to keep the layers together and to allow for easing if needed, using a long stitch. Do not sew the unit closed.
11. Turn wrong side out.
12. With right sides together, pin a 5 1/2” diameter circles to one end of the bag unit, easing as needed. Stitch with a 1/4” seam allowance.
Make the Strap:
- Using the 2 1/2” X 10” strip make the strap by folding the long edges of the strip in toward each other, 1/2 inch on both sides.
2. Fold again along the center. Stitch the long open edge closed, stitching very close to the edge.
3. Bring the short ends together to form a loop.
4. Pin the two edges to the right side of the bag at the point of the zipper.
5. Pin the second 5 1/2” diameter circle to the end of the bag, right sides together making certain to catch both ends of the strap.
6. Stitch with a 1/4” seam allowance, making certain to catch both ends of the strap and through all thicknesses.
7. Zig-zag or serge the raw edges or finish the seam allowance with a binding.
8. Turn right sides out and fill with breast pads!