My son called me the other day from school. He’s away at college. He asked me if he could use the credit card to purchase some pajama bottoms online. He said that all of his pajamas had rips in the crotch. So, like a good mother I said…..NO! I have a ton of NHL fabric that just arrived at the shop. I will make you several pairs. Well, I made the first pair. I made them out of Chicago Blackhawks fabric. I was a little leery of the fit after I finished them. So I sent them to his apartment and he told me that they were like genie pants.
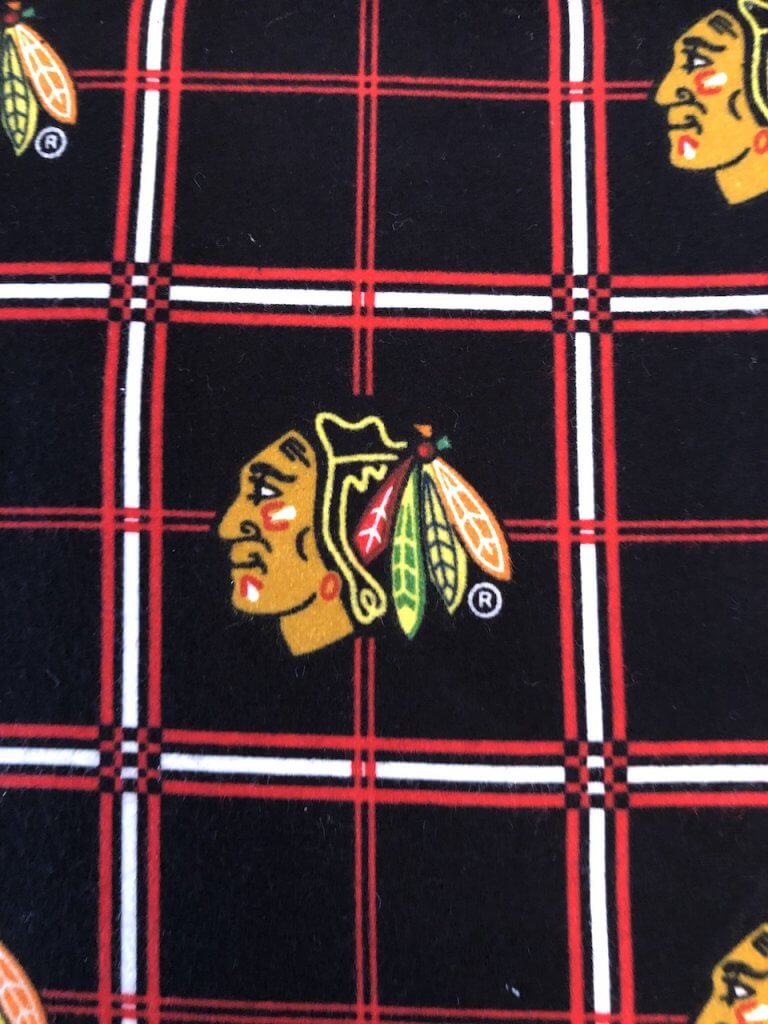
This is the fabric I used. It’s expensive fabric. So I told him to wash them in hot water and see if they would shrink. Well, they didn’t shrink much. So, I decided that I had to adapt the pattern. Who makes up these patterns anyway? He’s a medium size guy, so I made him a medium. He’s a 32 x 30. Sounds medium doesn’t it?
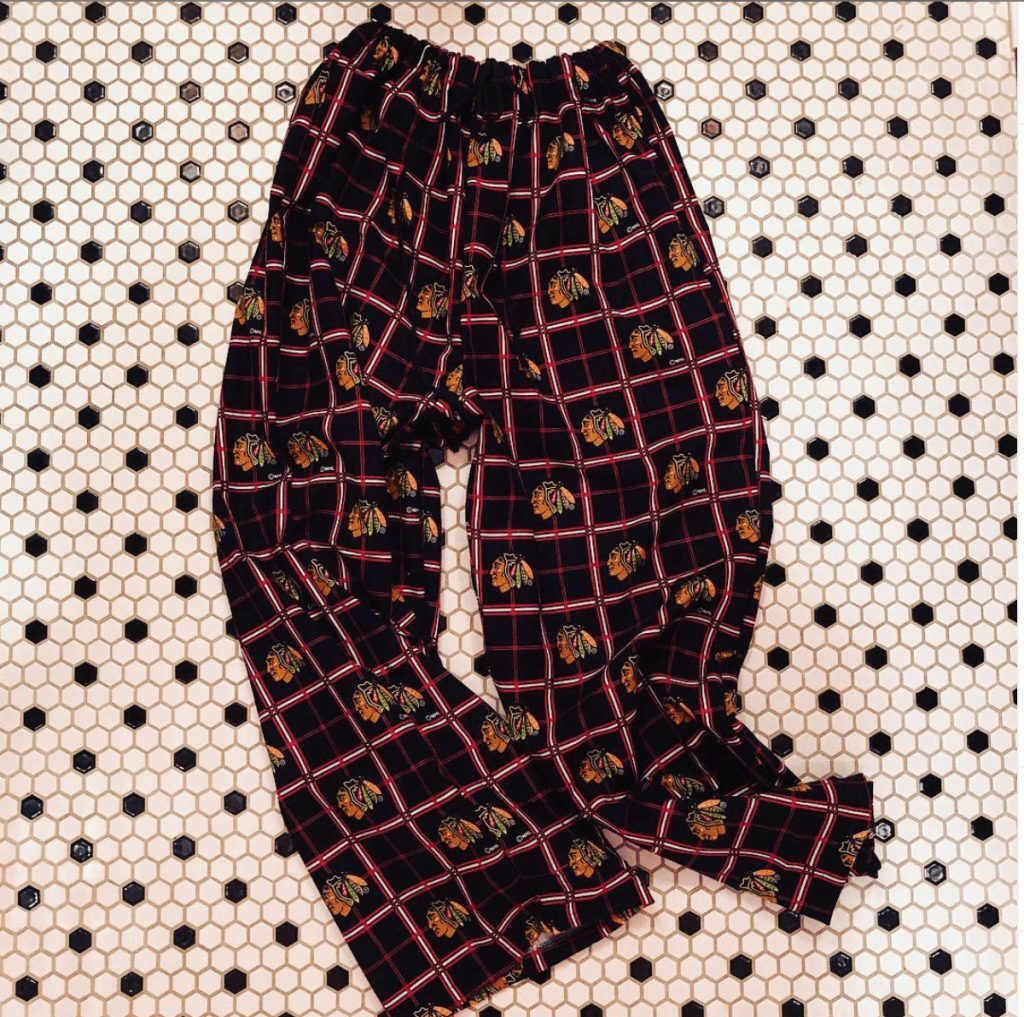
Here’s a photo of the pjs. They don’t look all that big when they’re laying there.
Well, I had a feeling that even if I cut the smalls they would still not be right. So this is what I did. I grabbed the Pittsburg Penguin fabric and the pattern.
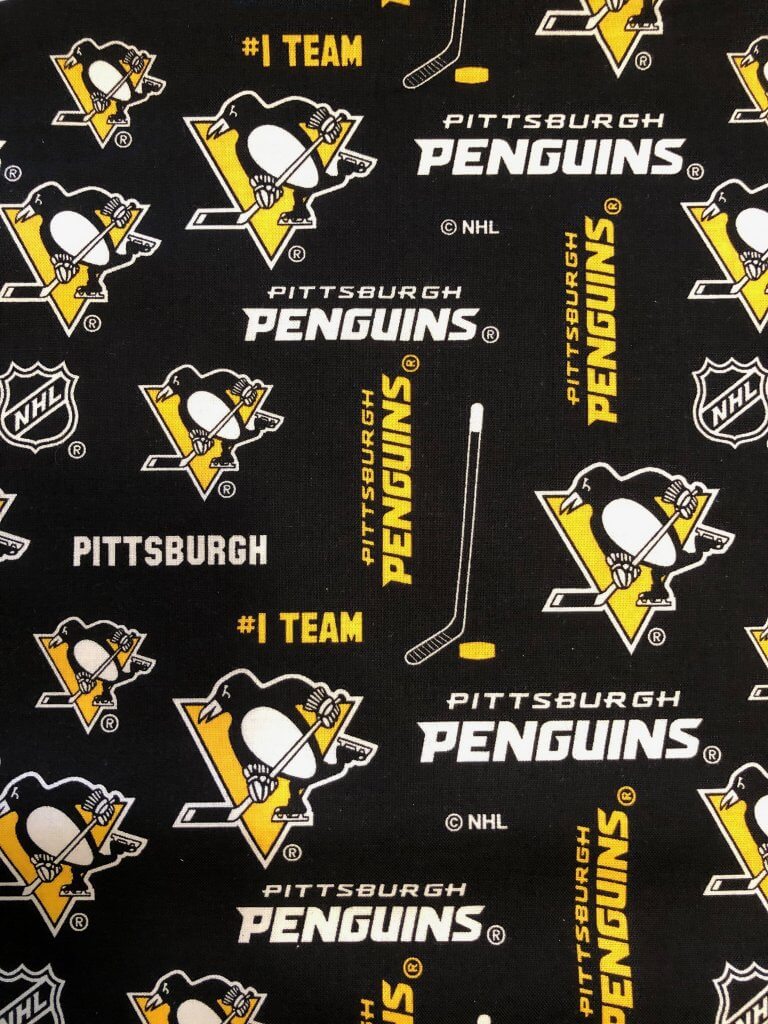
The Penguins and the Blackhawks are like the winningest teams in hockey. So, I can’t very well mess this fabric up. I overlapped the pattern in the legs considerably. I will show you a photo on the next cutout pair that I did. And, I shortened the crotch. I sent these away, and he said that they turned out great. He said they were perfect! I was so happy.
I have made countless pajama bottoms before, and they have never ever turned out this baggy and big. I have a friend that made his and hers ones for her son and his wife for Christmas, and she said they were way too big too. So, if you are going to make pajama bottoms, a word to the wise…measure the person first and take a good hard look at the pattern and measure it as well.
Pajamas are supposed to be baggy. We toss and turn at night, and they get significant wear and tear. But this–this is ridiculous.
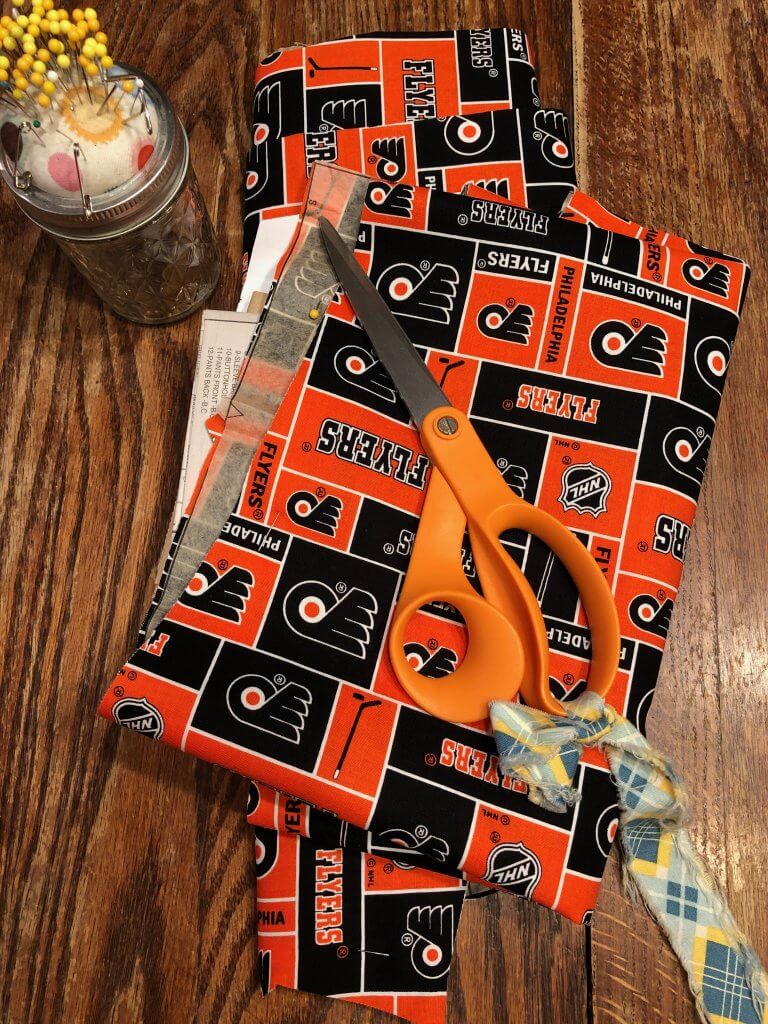
Anyway, I was thrilled. So I started to cut out some more with the Philadelphia Flyer fabric.
I have to say that my son loves hockey. He played for many years.
That’s my sewing scissors in the picture. It has fabric tied on to the handle so that they are easily identified by anyone that may be tempted to cut paper with them.
So here’s what I did.
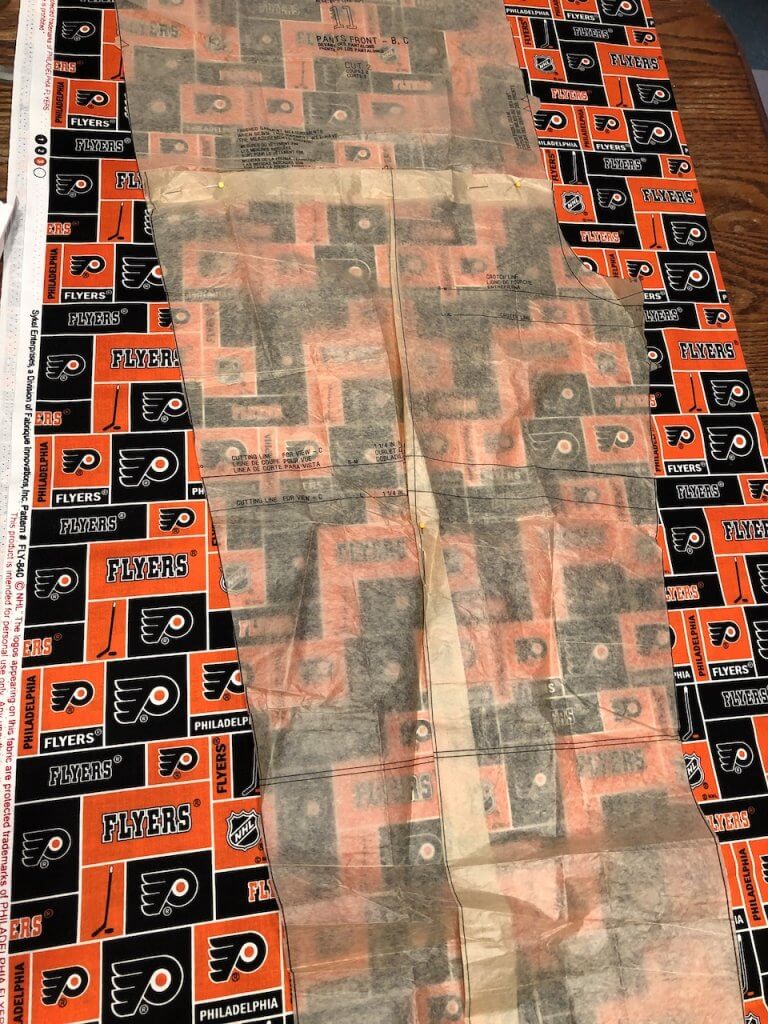
I laid the pattern on the fabric, and I creased the leg the long way, significantly. I creased it and tapered upward. You want to be careful not to take too much out of the belly and but of the pattern, but the legs, oh, yeah. They needed a lot of adapting.
Here’s how much I had in the middle of the pattern, and here’s how much I had at the bottom.
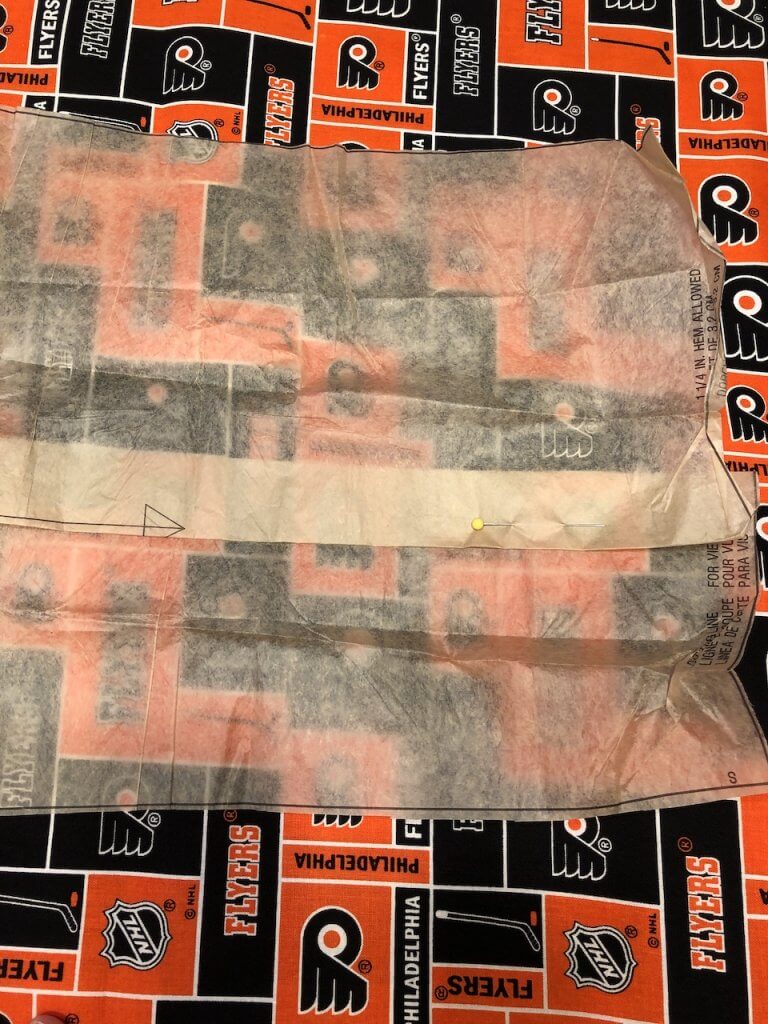
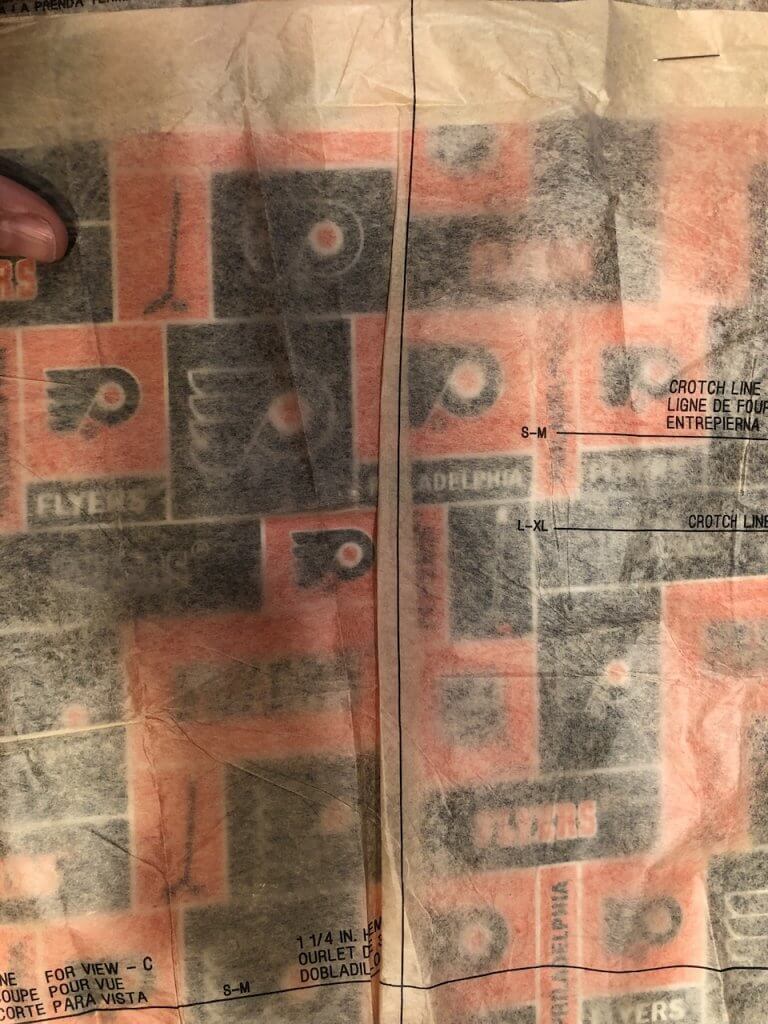
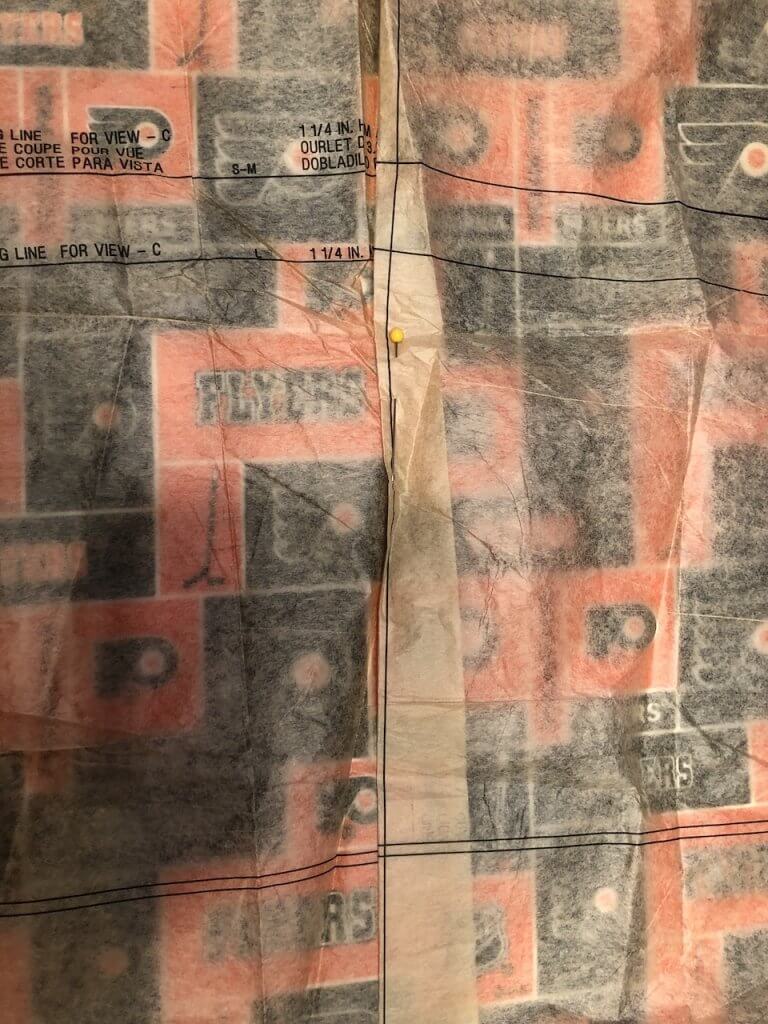
Toward the top I tapered it off, but I shorted the crotch. Can you see the top of the photo? I folded it over considerably to shorted the length of the crotch. This was done on the front and on the back so that they would be even. The length of the legs, oddly enough, was fine. So, I set to laying them perfectly flat, pinning and then cutting.
Here’s what I typically do with pajama pants. I put elastic in the casing at the top, but I also add a drawstring. This can be done simply enough. Why add a drawstring when you already have elastic? One good reason is that the drawstring alone without elastic is a crummy way to make a pair of pants. Ever wear scrubs? Well, I did for over 30 years, and they’re not comfortable. You have to tie the drawstring so tightly to keep them up that when you do finally get to go to the bathroom you have to go so badly that you can’t get that tie untied. Trust me. I have been an ICU nurse for over 30 years. You get one shot to get to the bathroom in your shift, so you have to make it good.
Putting elastic in alone isn’t a great option, but it’s okay. If the elastic wears out or isn’t just perfect, you can also tighten the drawstring. If your weight fluctuates, well, then, just tie the pants tighter. It’s kind of a belt and suspenders approach, and I never make them without doing this.
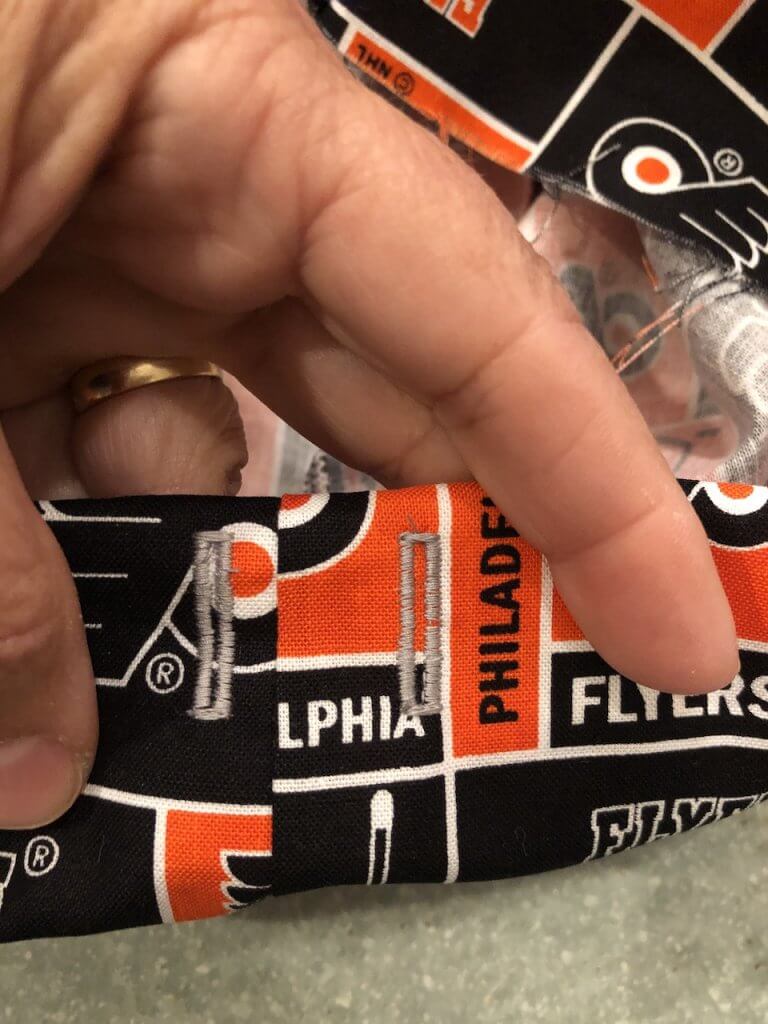
So, what I do is this. Determine how much you are going to turn over for the casing. Find where the fold is. Then, on the front, mark where you are going to make 2 buttonholes. There should be one on each side of the center seam.
After you have marked them take a small piece of fusible interfacing and iron it to the wrong side of the fabric where the buttonholes will go.
The buttonholes will be on both sides of the seam, over the reinforcement from the interfacing.
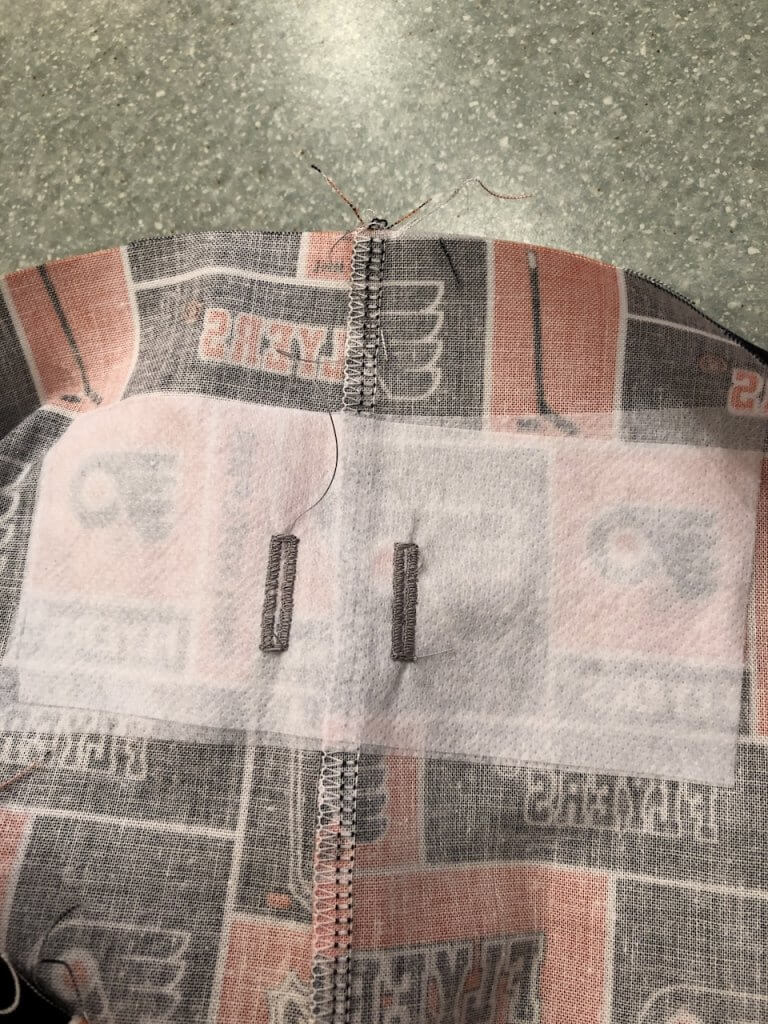
They will need to be slit open with a seam ripper. Fold the casing over.

You will need to fold under 1/4” and then fold it over again so that it is large enough to accommodate a 1 inch wide elastic.
As you make your casing, you are going to leave enough open to slide the elastic in. Then after the elastic is in and sewn together, you close the opening in the casing. After that, you thread the cord through the buttonhole, and then around and out of the other buttonhole.
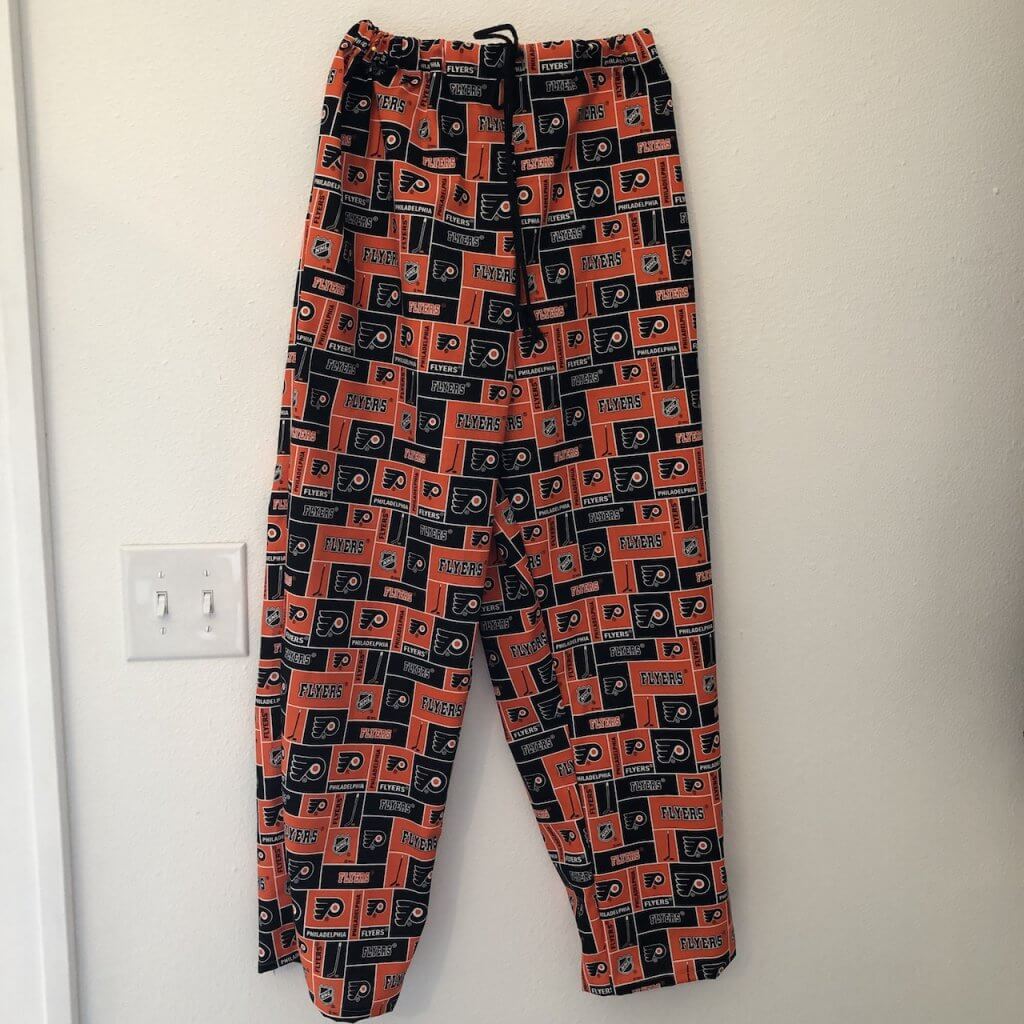
Here’s how they looked when they were finished. I went on and made yet another pair using University of Minnesota fabric.
I don’t know why more people don’t make pjs. How about making some for a graduating high school student? How about his and hers pjs as a shower gift? Everyone loves them so get to it!