Every year it seems I make these in some form or another. I have made them for weddings, for holidays and just to hang out on the porch in the summer. They’re so festive and they’ve been around for centuries. I love pennants. They just yell out “It’s a party”.
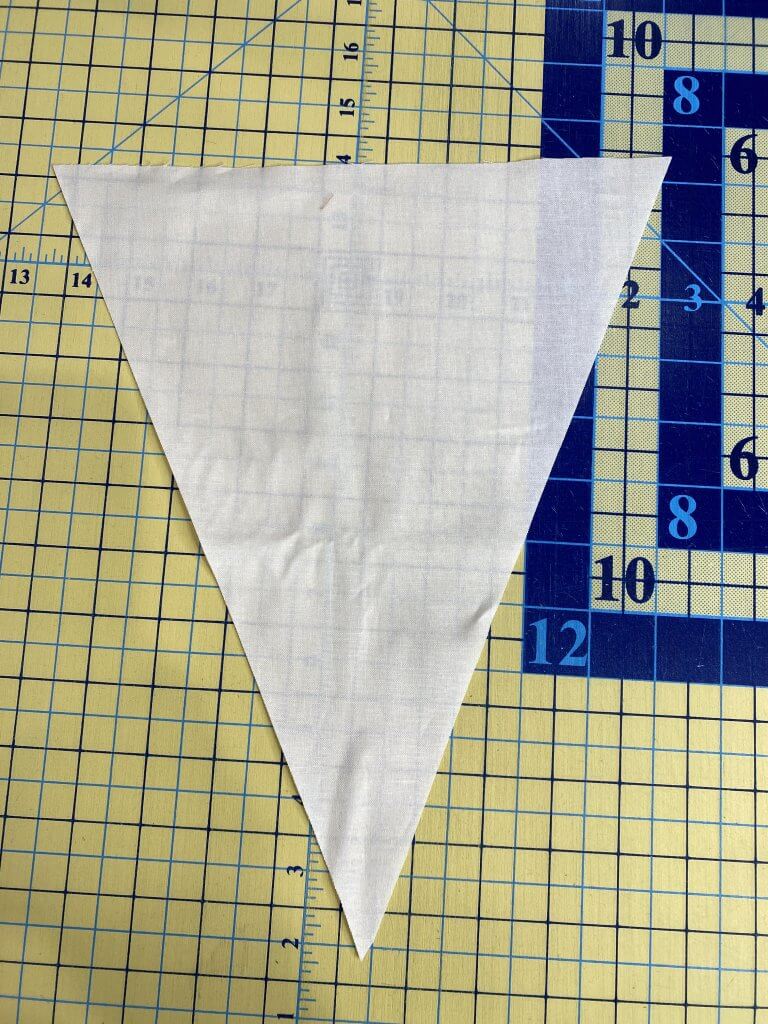
I am making Christmas ones, and this time I am adding lettering. They say “Merry + Bright”. I used my Go! Cutter from AccuQuilt to cut the letters. The pennant pattern is just one that I cut out on my own. I started by cutting the pattern out of muslin. Once I decided that the shape was the right size and composition for the letters I was good to go.
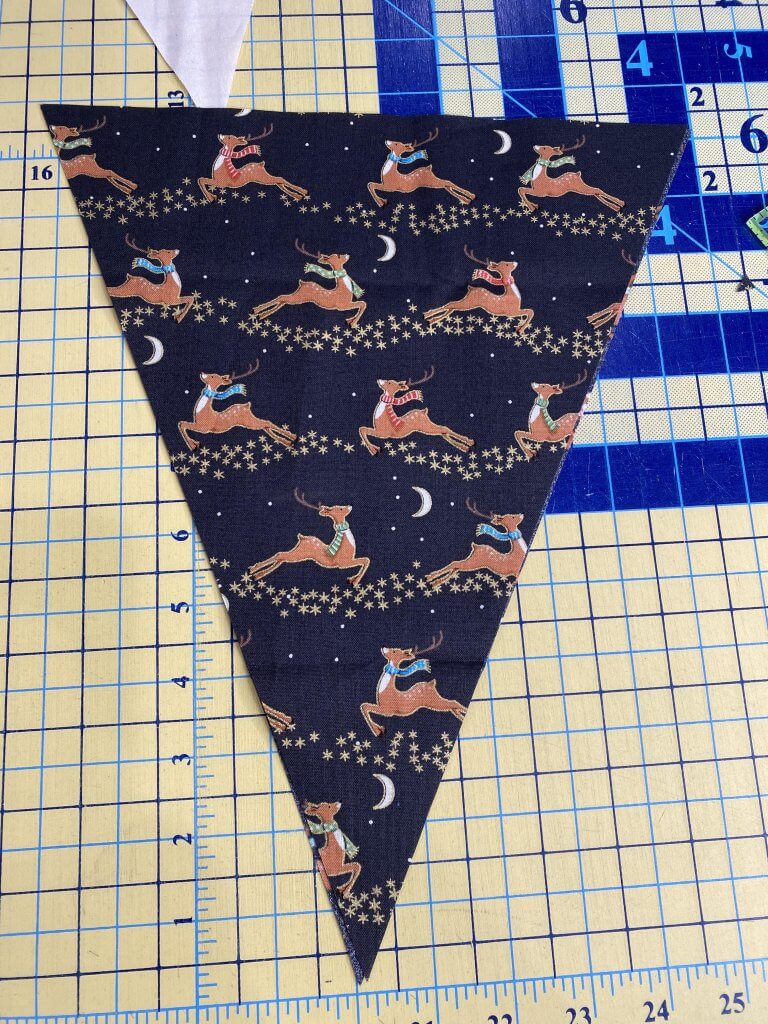
I found the right fabric and the fabric for the backing. I had to cut out enough fabric for all of the letters in Merry + Bright, so that was 12 pennant fronts and 12 pennant backs. So, here’s what you will need:
- Pattern for pennant which can be picked up at the Bungalow or copied from the bottom of this page.
- 1 yard fabric for pennant fronts–You may get away with less if not using a one way print.
- 1 yard fabric for pennant backs
- Batting scraps for 12 pennants
- Thread and basic sewing supplies
- Walking foot
- Letters for the words using AccuQuilt Go! Cutter or any method of making letters
- 1/3 yard fabric for binding
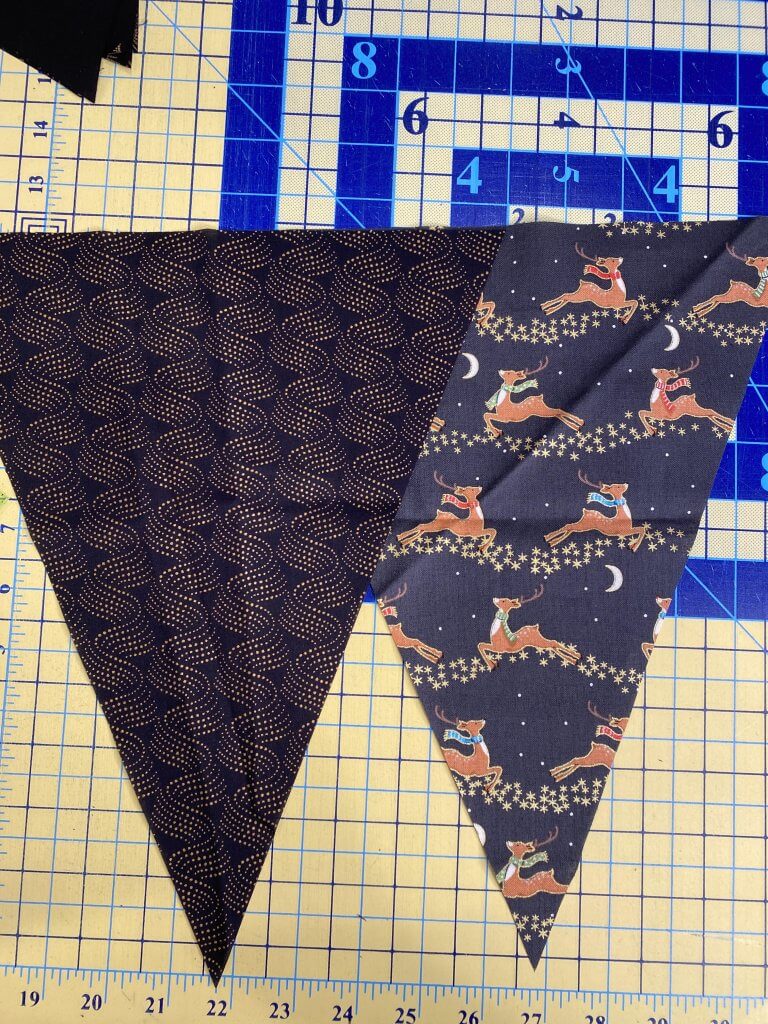
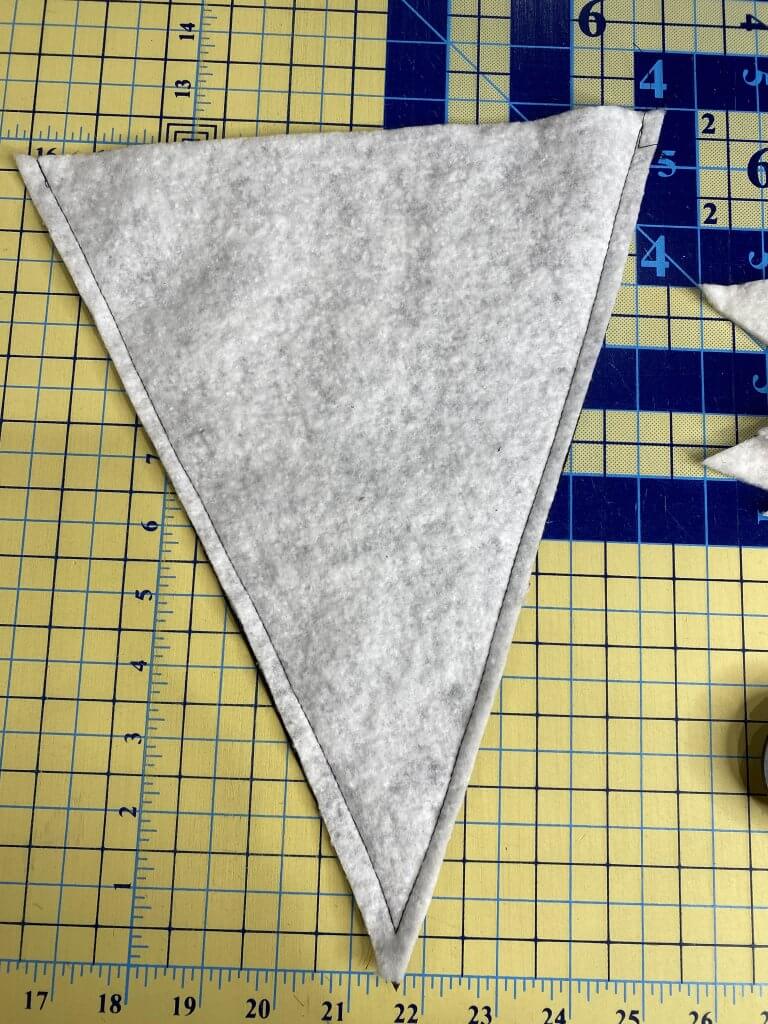
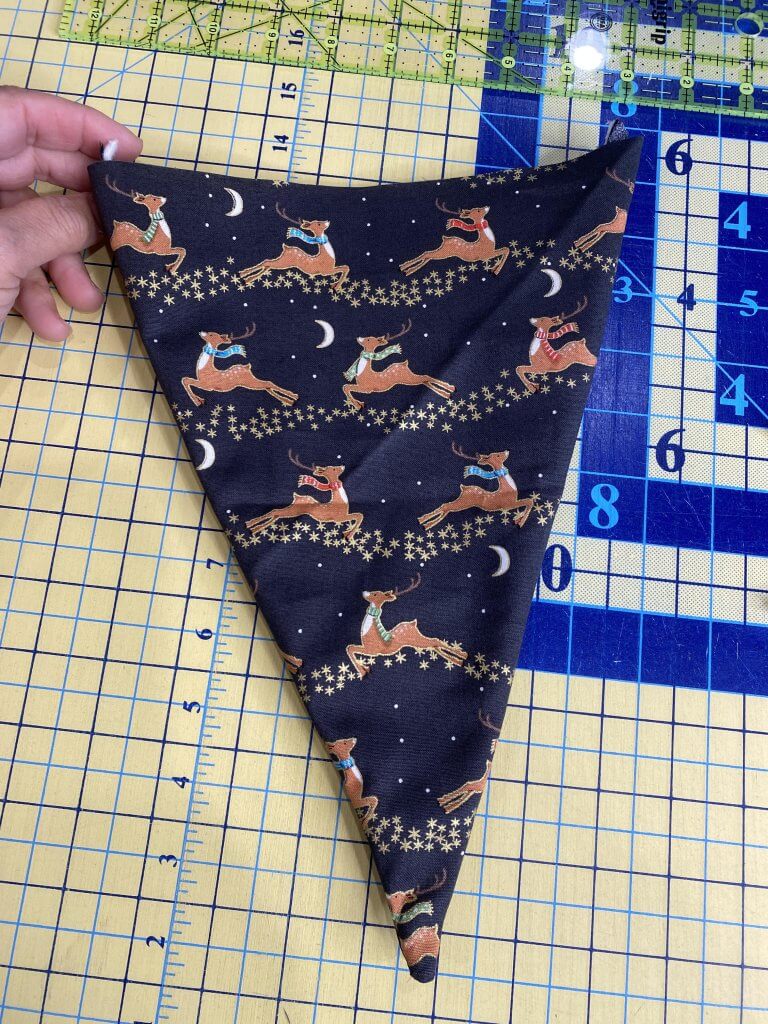
Begin by cutting 12 pennant fronts and 12 pennant backs. You will also need to cut 12 of the pennants from batting.
Lay the pennant front right sides together with the back, and layer the batting on top of that as well.
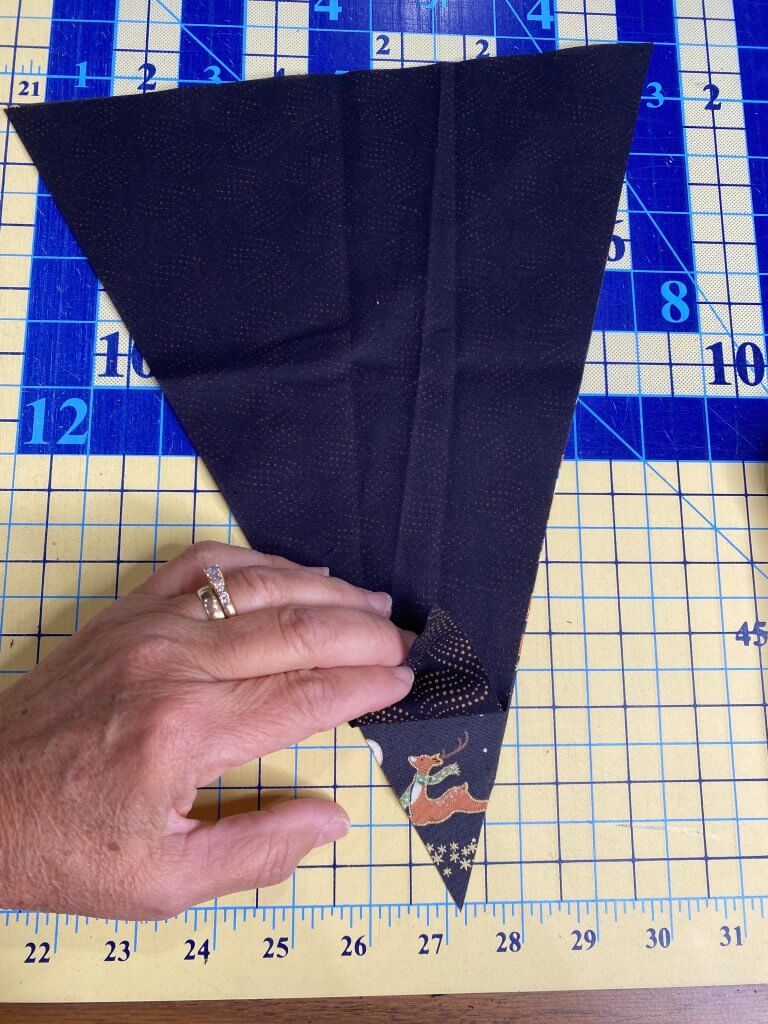

Stitch around 3 sides of the pennant using a very scant 1/4 inch seam, making certain to catch all 3 layers. The top of the triangle will be left open for turning.
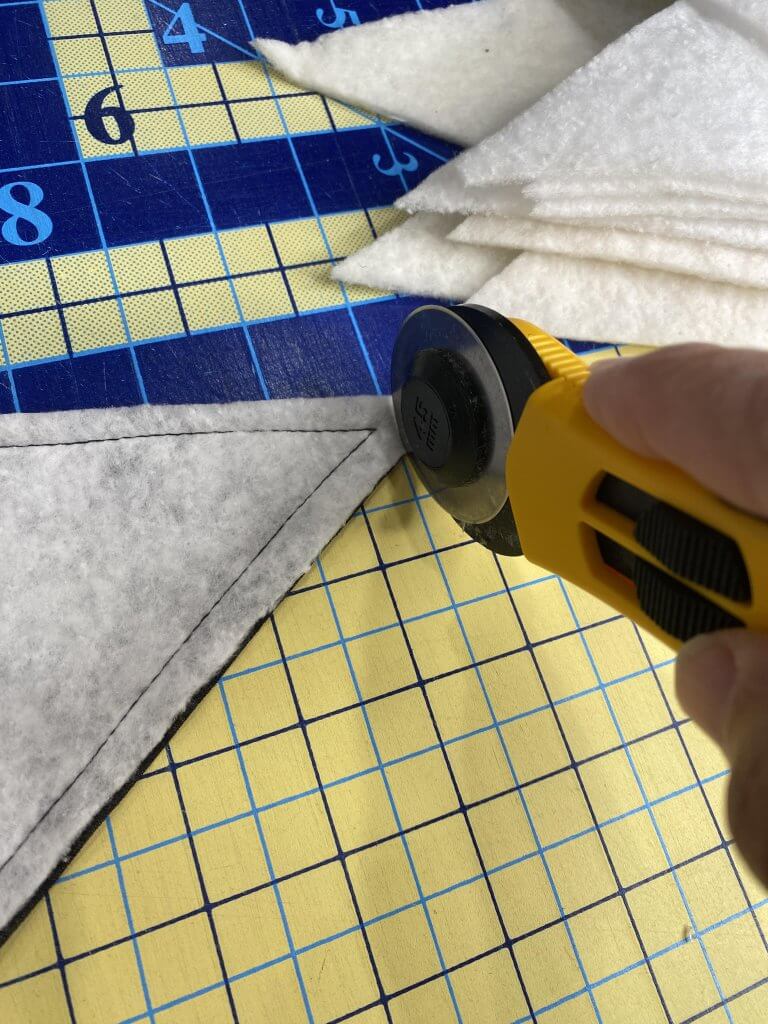
Trim the bottom point without cutting the seam.
Turn the pennant right sides out and press.
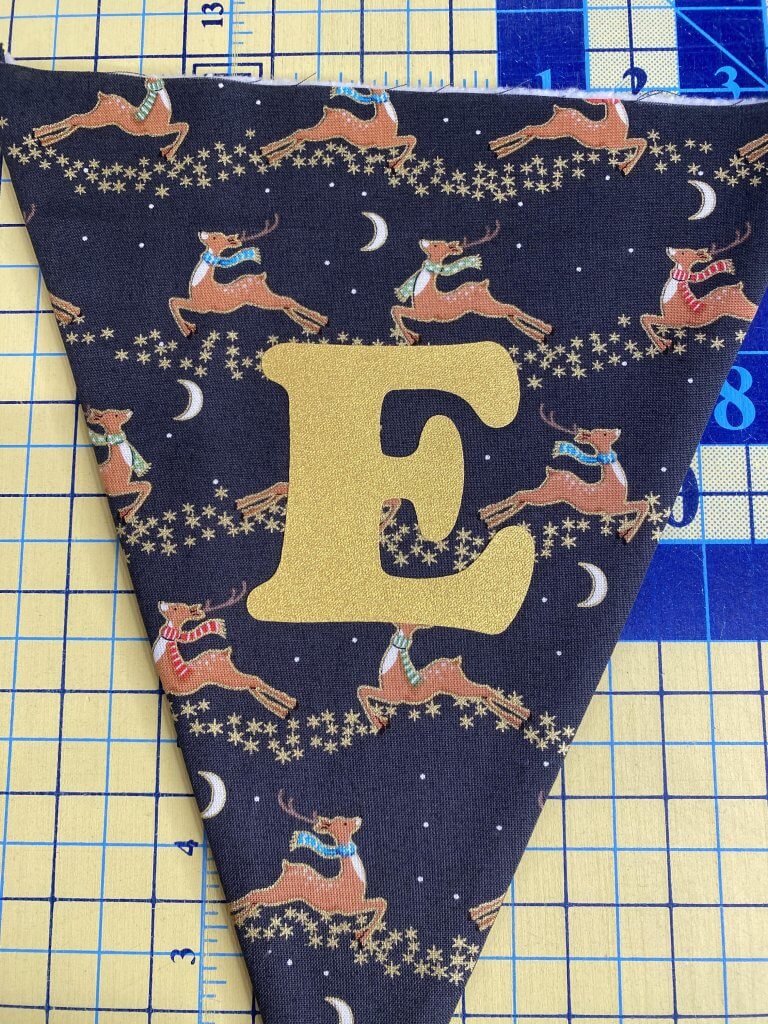
If you are adding letters to the pennants, now is the time. The letters that I cut were from a metallic gold fabric that we carry in the shop. I applied Heat ‘n Bond to the wrong side of the fabric, then cut the letters out. I peeled the paper off of the Heat ‘n Bond and then pressed the letters onto the pennants.

Once all of the letters were fused to the pennants I made my binding. The binding is made by cutting a
2 1/2” strip x width of fabric. I cut 4 of these, and sewed them together, right sides together in the same manner that you would do a binding. I then pressed the long edges in to the center of the strip on both sides of the long edges. I then folded it in half. This way, I could insert the pennant right into the binding and sew it enclosed in the binding. This is not the only way to add a finish at the top. You could certainly stitch up the top edge and then add it to a ribbon or some type of sturdy yarn or decorative twine.
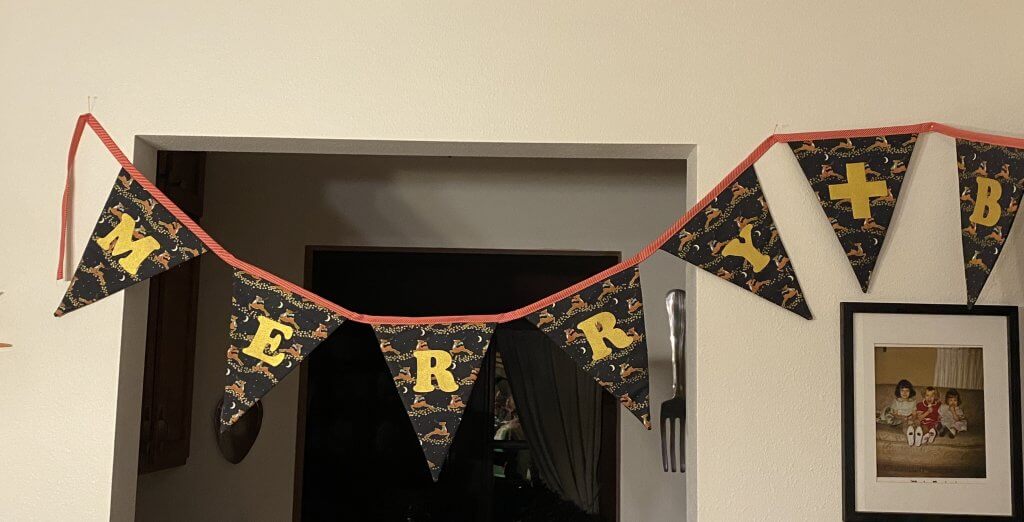
Here is how it turned out. It would be really cute with some twinkly lights added around it. The photo on the left is an enlargement of a picture that was taken at Christmas time. It was taken in 1964. That’s me on the far right. My sisters both got moccasins that year, but I didn’t. It’s funny how I can remember that and I was only 2 years old. Maybe it’s because of the picture that I am able to remember being cheated out of those amazing moccasins. Well, my life turned out pretty okay even sans moccasins.
Have fun!