Have you ever wanted to make pennants? These little decorative goodies are simple but they can require a lot of cutting. Well, what if you could just make them using charm packs? Yes, you can accomplish this and I am going to show you how.
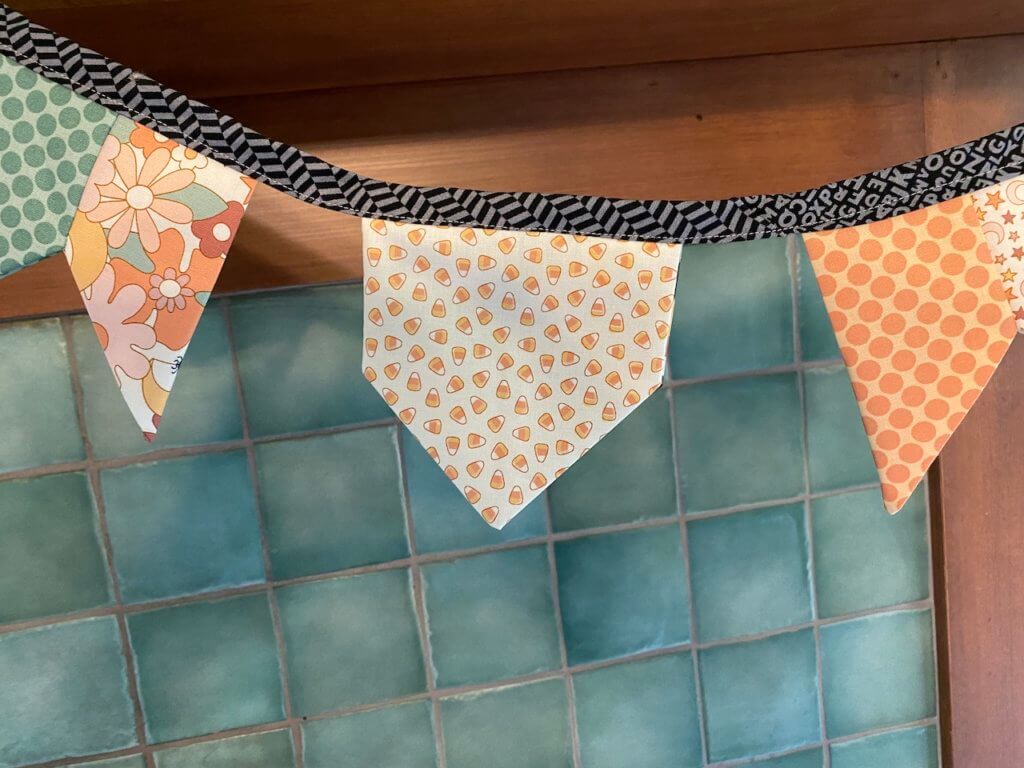
Here’s how they look when finished.
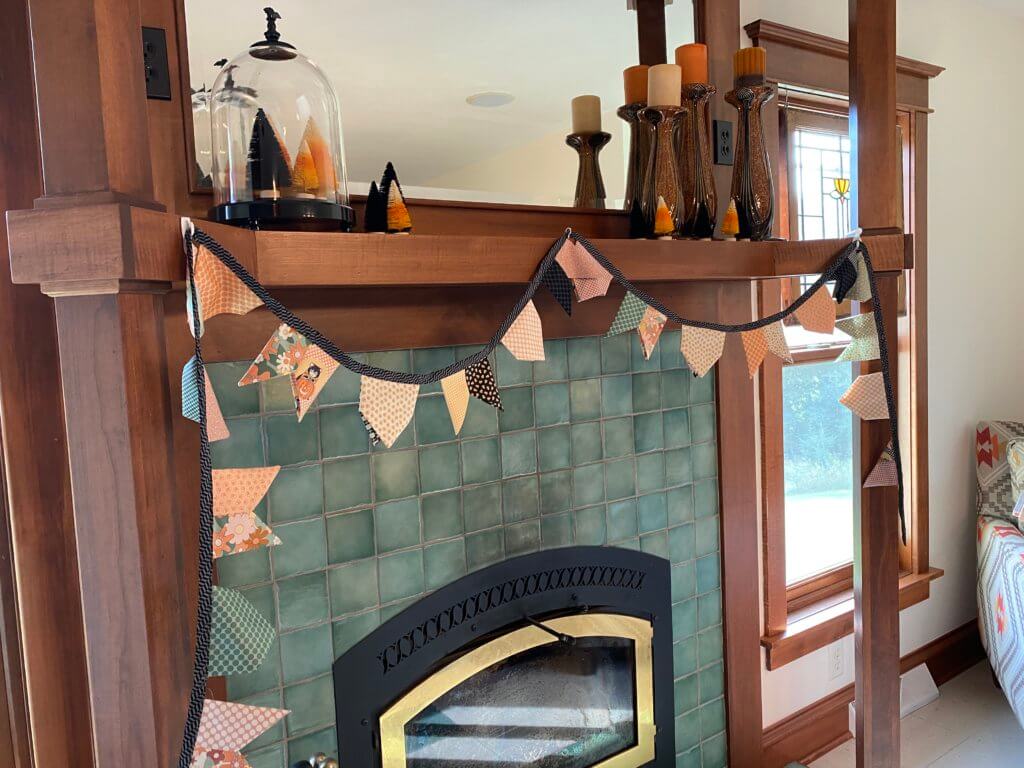
I think that they’re pretty fun hanging over my mantle. You can hang them anywhere…in any room that just need a little zip. What about a screened in porch? What about on the side of a crib (with a small enough child that isn’t able to grab them). Or, in the baby room along the wall or across the room? Do you have an old china cabinet with glass windows and shelves? Put them along the shelves so that they show through the windows. Put them on a Christmas tree or in your house at Christmas. The list could go on forever. And, they can be made for any theme.
These were made using the Kitty Corn charm pack from Moda Fabrics. It’s my favorite one.
Here’s how to make them. There are 42 squares 5”x 5” in a charm pack. You need to pair them up according to which ones look good together, and put the pairs right sides together. You will have 21 pairs.
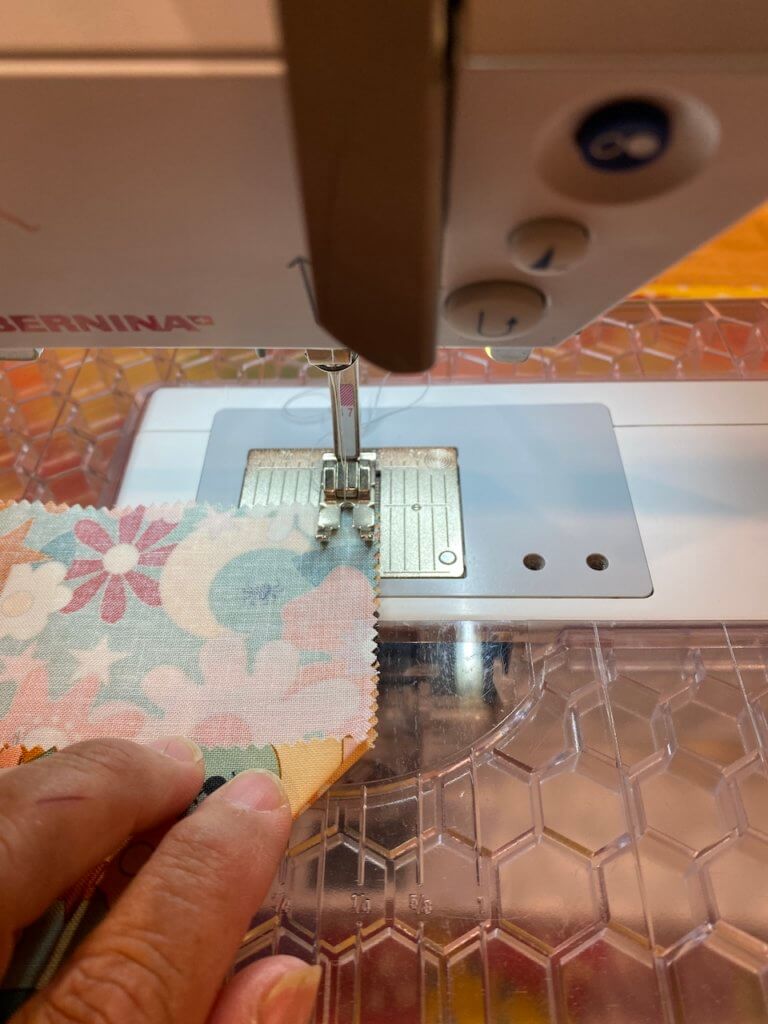
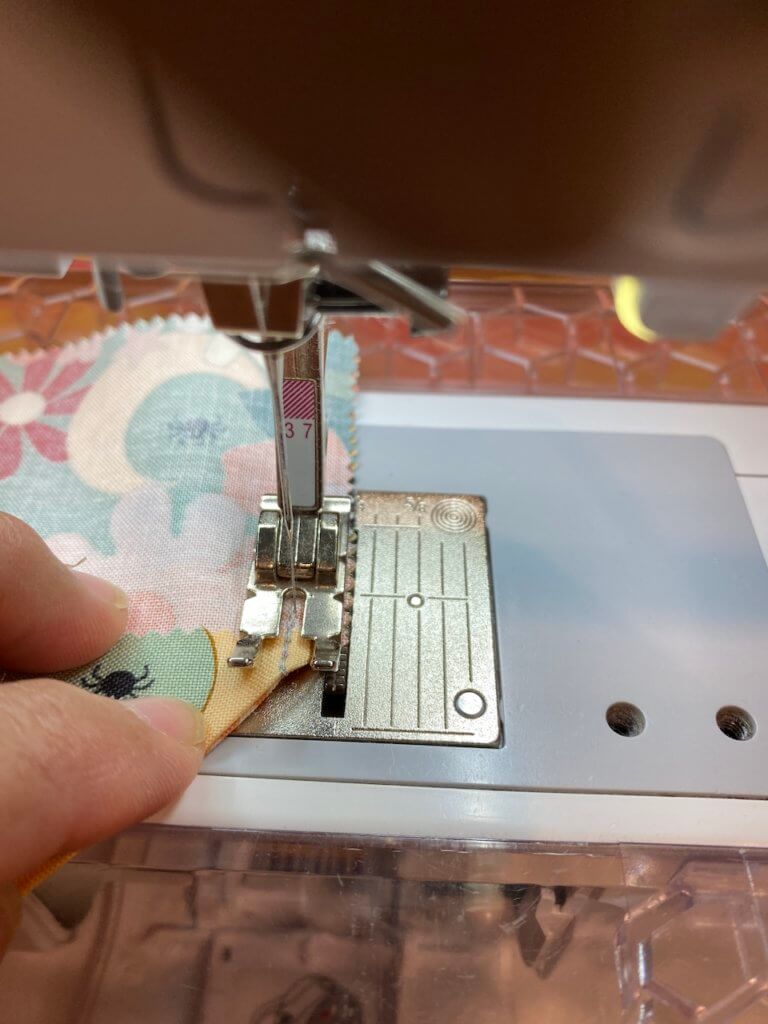
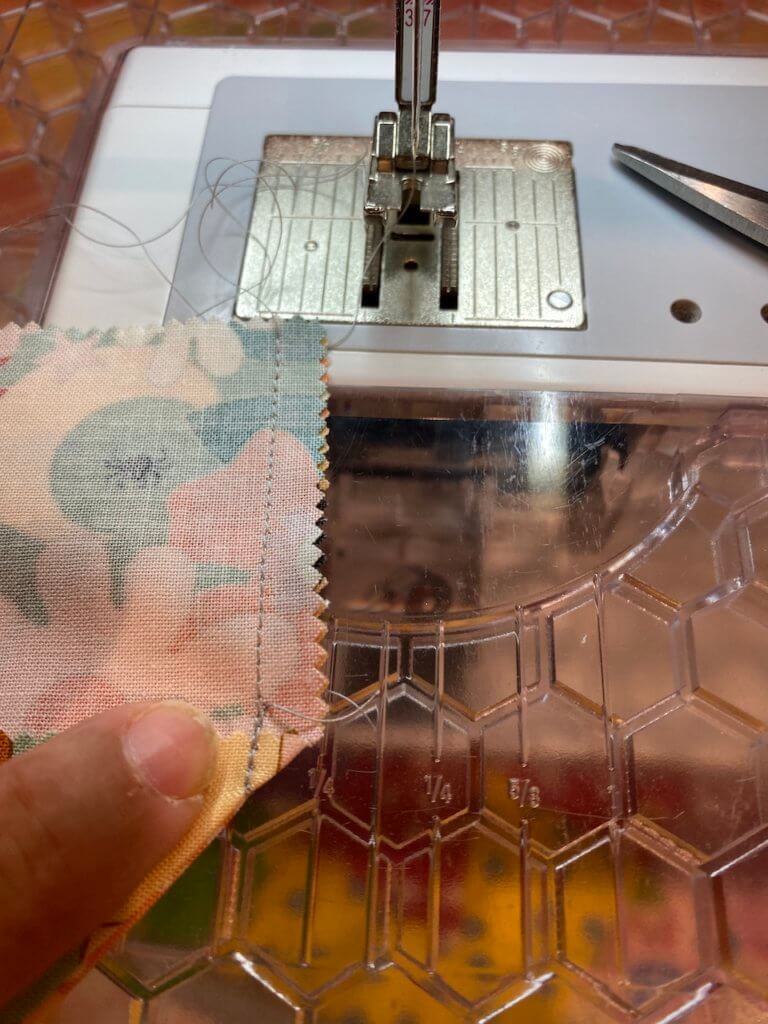
Select one of the squares from a pair. Fold it in half, right sides together.
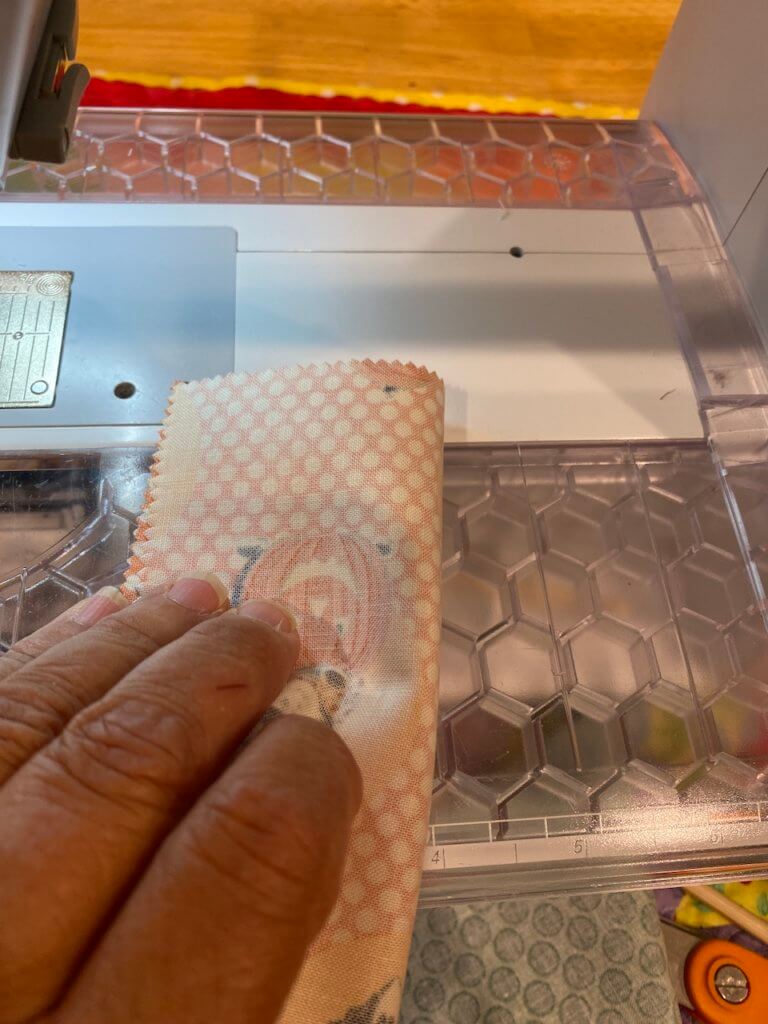
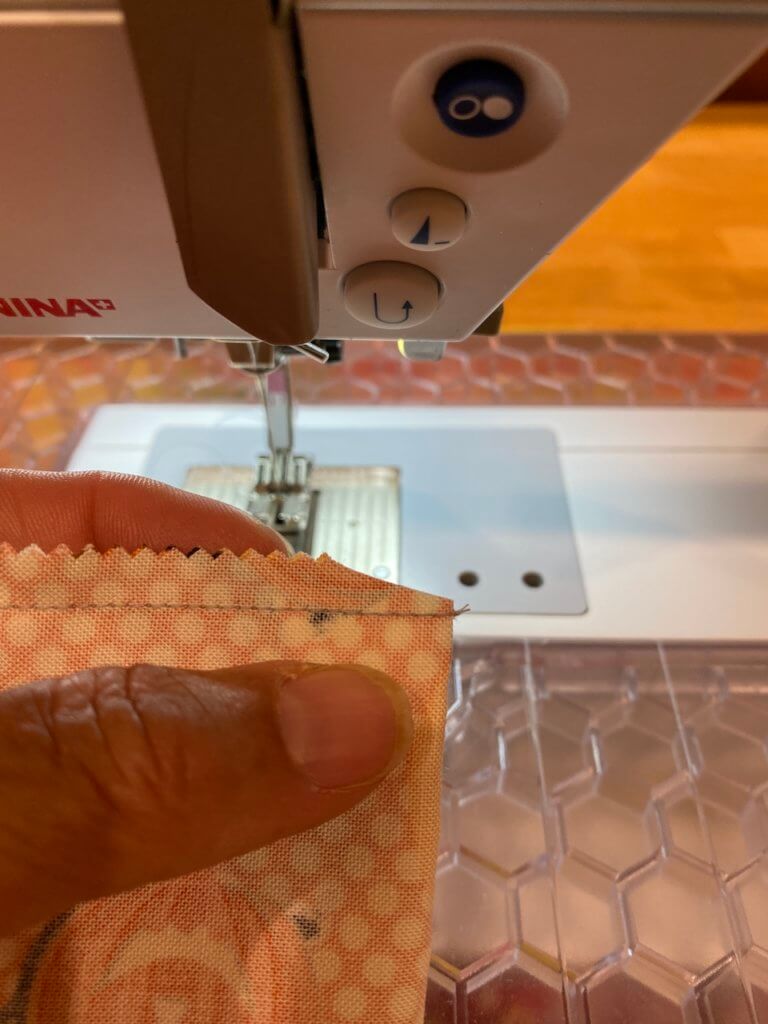
Stitch a 1/4 inch seam along the edge, from the edge to the fold.
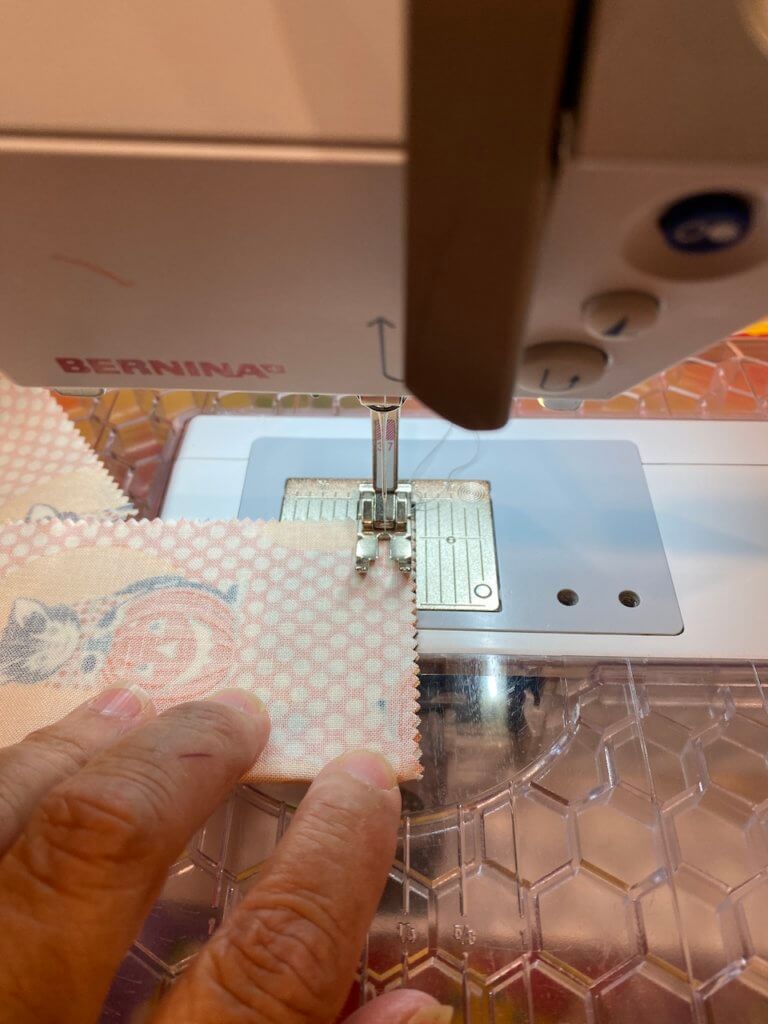
No need to back stitch, as this won’t be a stress point.
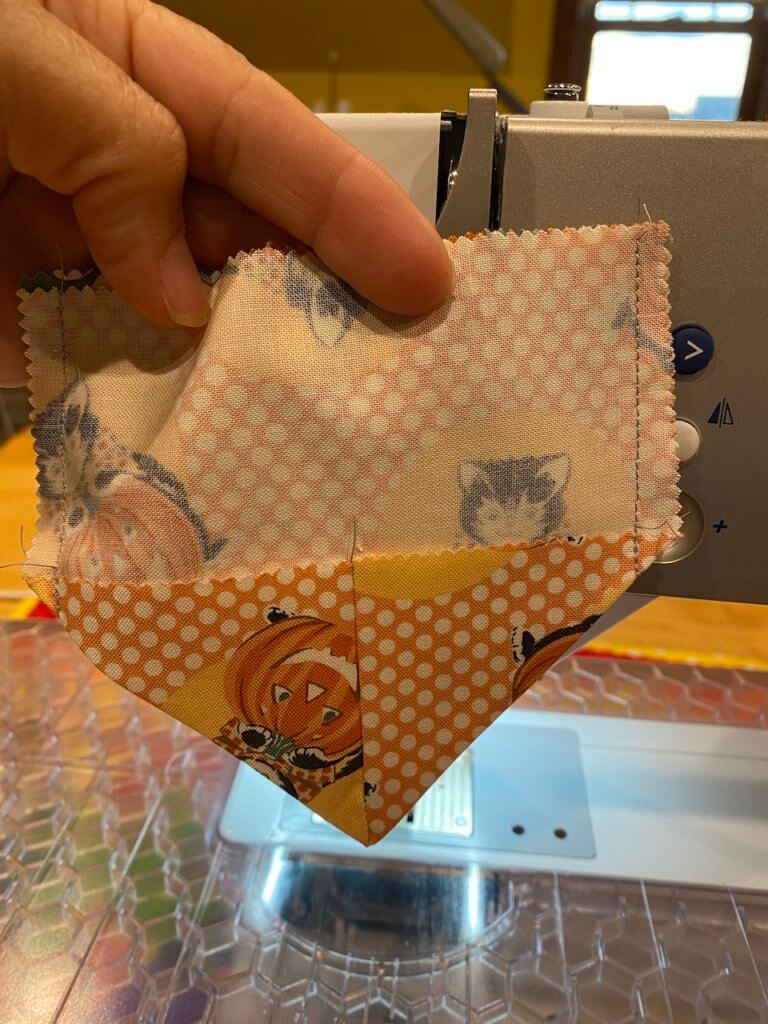
Clip the corner at the fold.
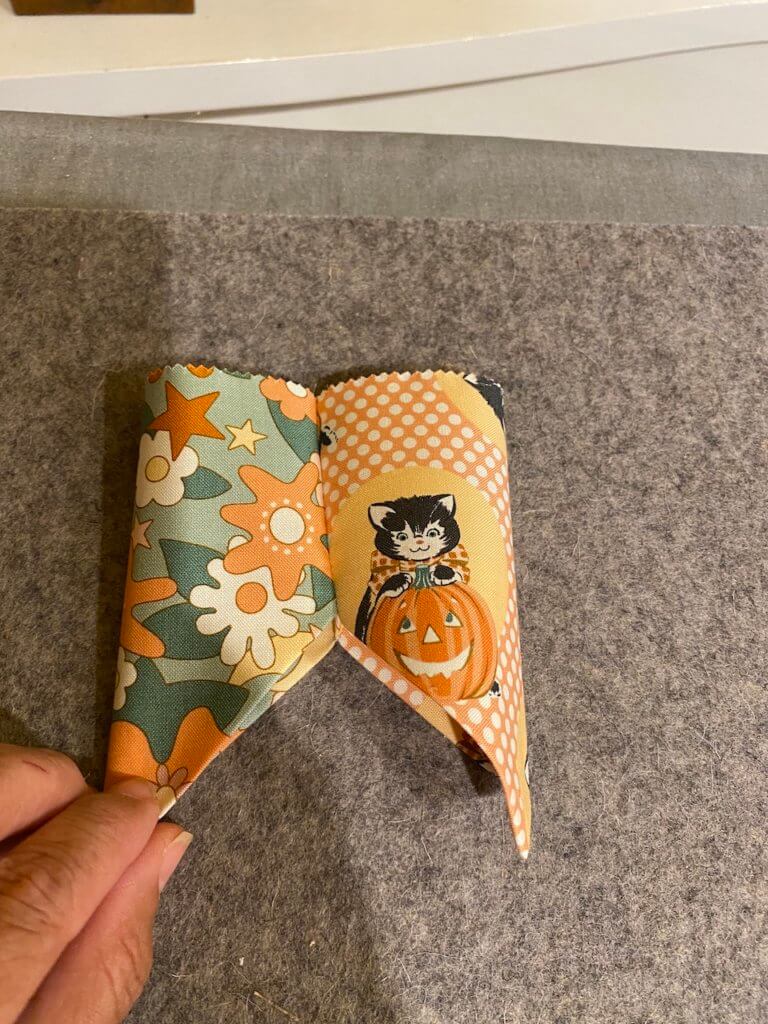
Turn the unit right sides out.
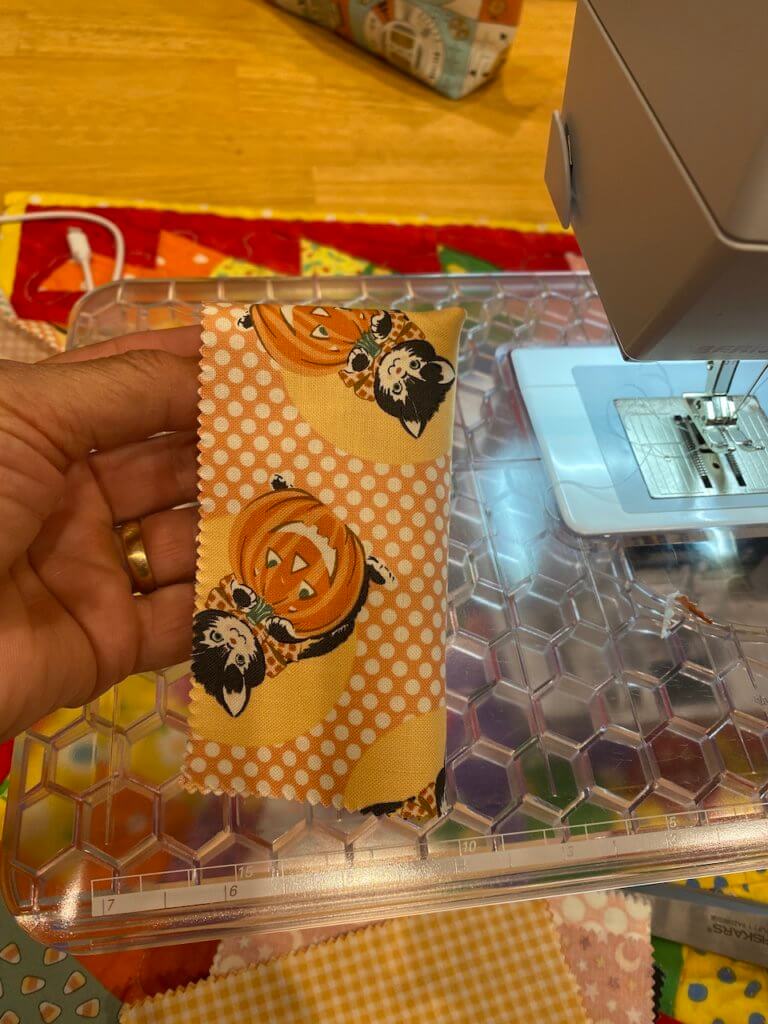
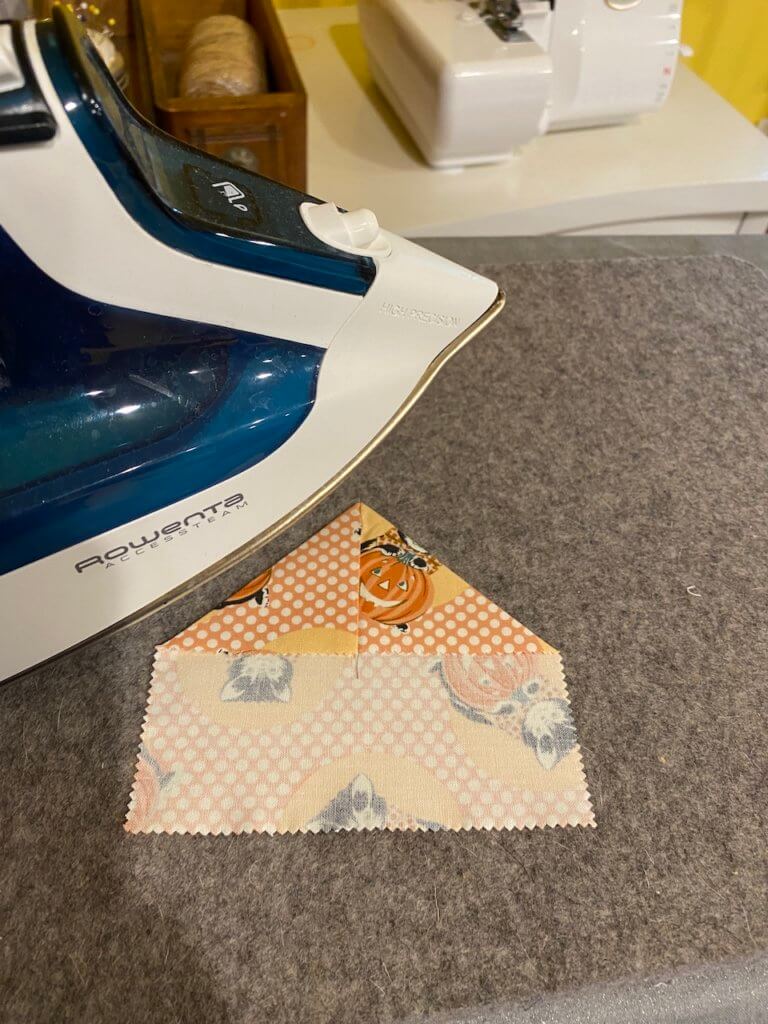
Once you turn this inside out, you are going to flatten the top portion where the seam is. In other words, you are going to bring the seam allowance down against the wrong side of the block to create a point.
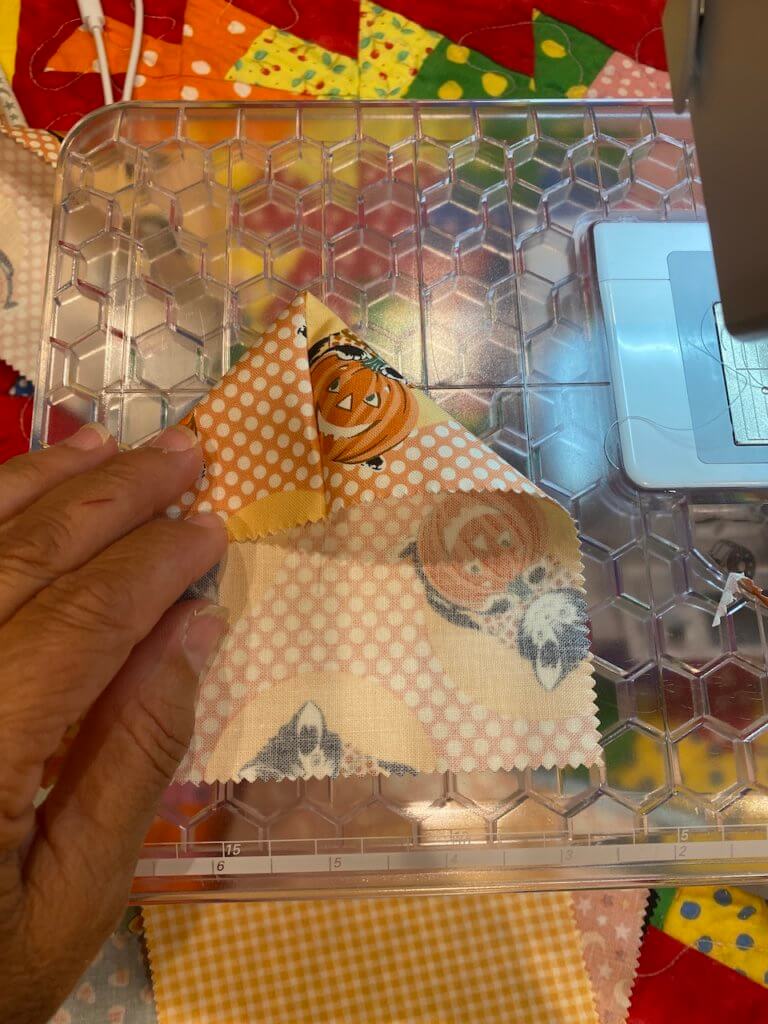
Try and center the seam allowance either by eyeballing it, or by measuring to 2 1/2” from the edge.
Press it flat, pressing the seam allowance to one side. It won’t matter what side it’s pressed toward.
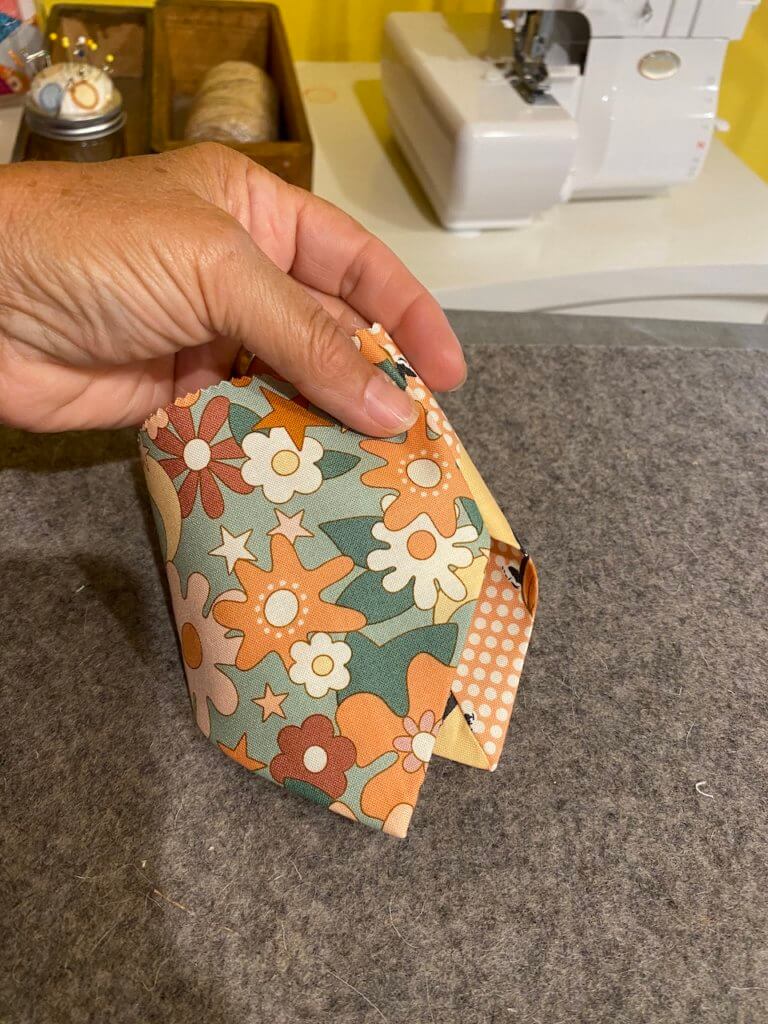
Now create a second coordinating unit from the other square from the pair, and do it exactly like the one just finished.
Place them right sides together and stitch a 1/4” seam along both edges of the block.
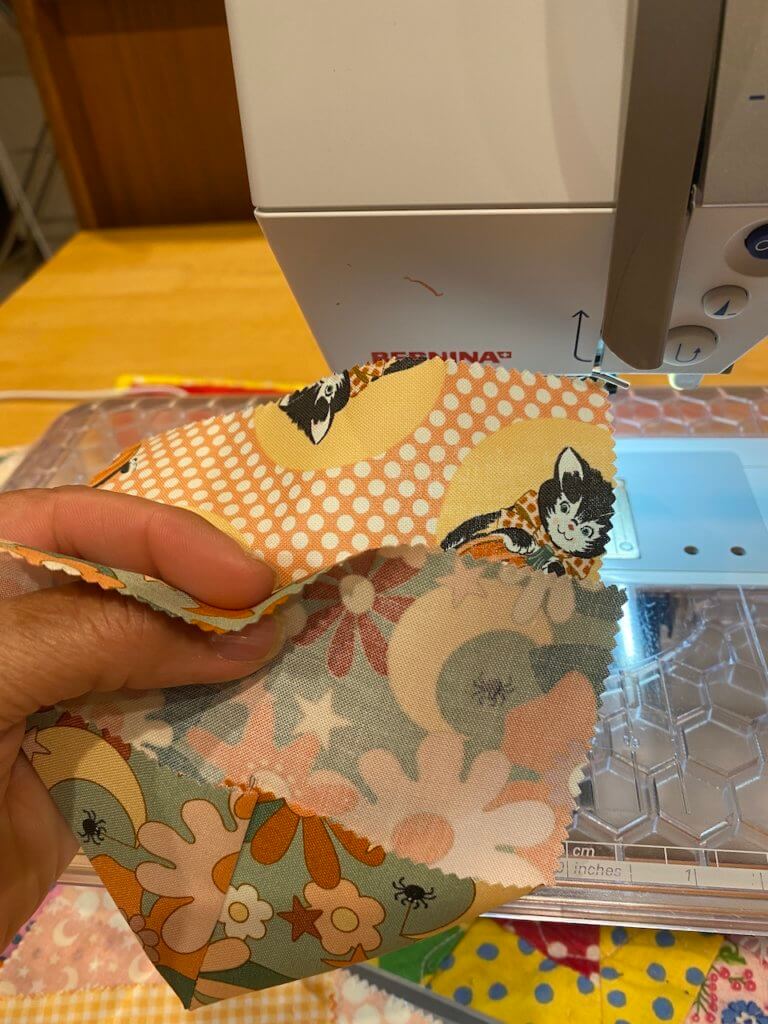
You will leave the pointed edge unsewn, and the opposite edges unsewn.
Now turn them right sides out.
Press the edges of the unit. They will remain unsewn at the bottom edge and the top edge.
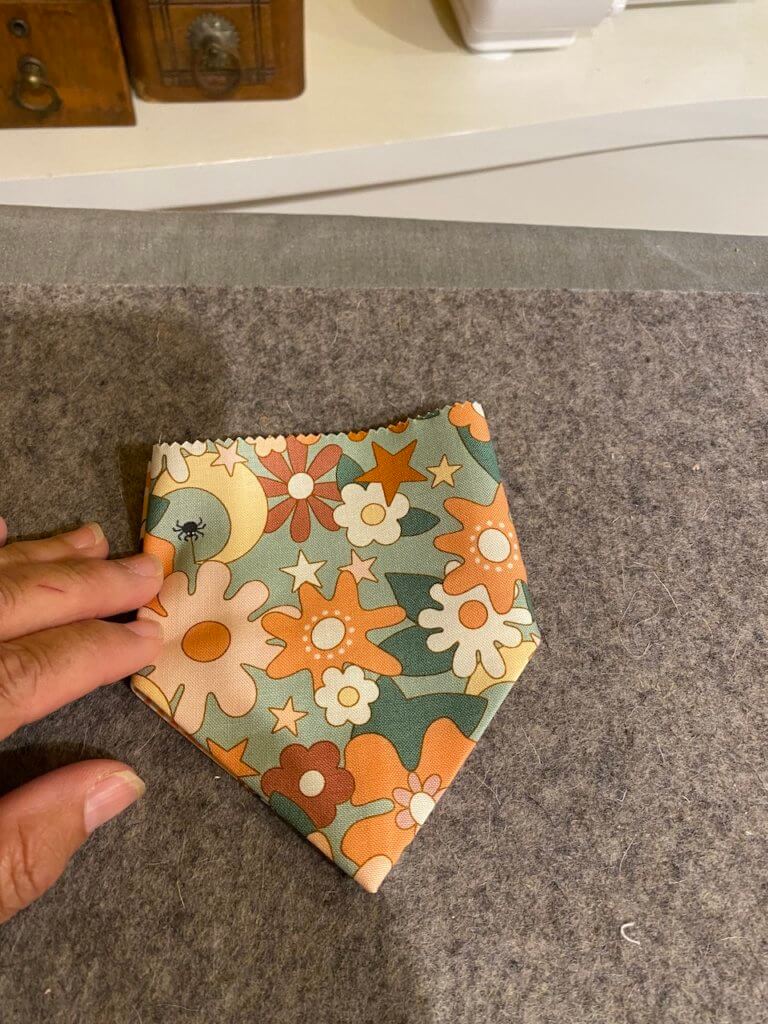
This is one shape. Make 10 of these. In order to make the other shape, bring the seam allowances together and press.
Press the entire unit flat after pressing the seam allowances in opposite directions.
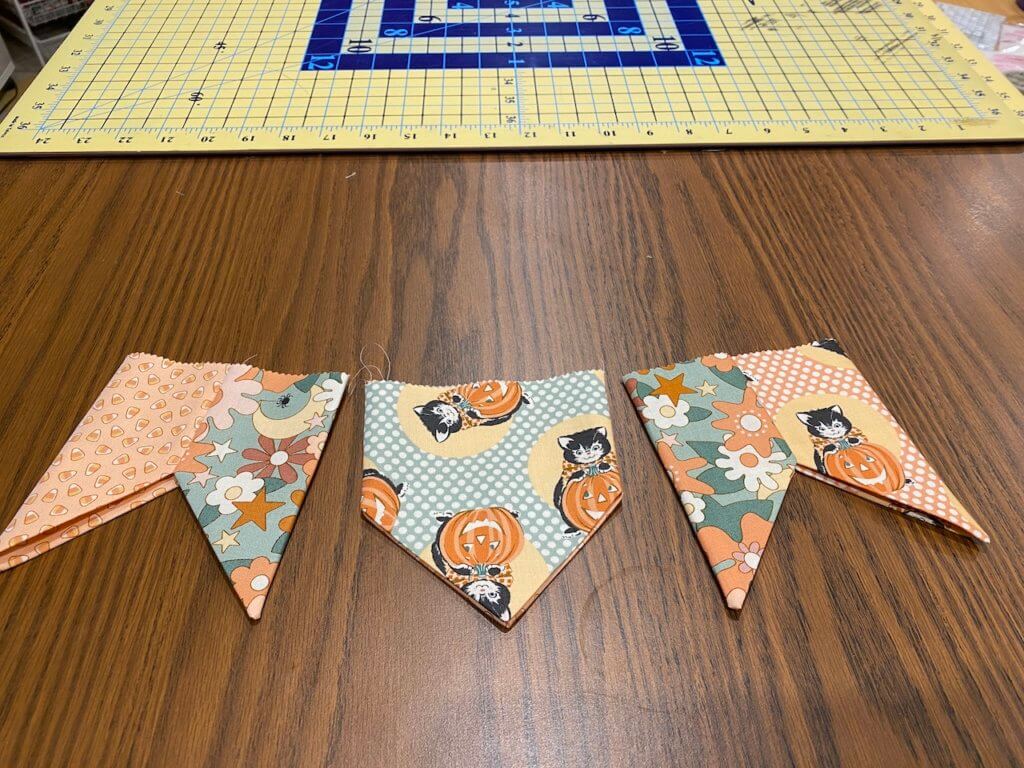
These are the shapes that you will have. You can make 11 of the second shape.
In order to have them linked together you can make your own bias tape, or use bias tape. You will need approximately 4 yards of bias tape/binding. Push the top unsewn and unfolded edge of the units into the bias tape so that they are up against the fold of the bias tape. You will need to determine the spacing between the units. I spaced mine about 1 1/4 inches apart. If you space them further apart, you will need more than 4 yards of bias tape/binding. Don’t forget…you will need to have the tape/binding extend about 6 inches beyond the first and last pennant.
Pin the pennants securely into the bias tape/binding and then stitch along the open edge, catching all of the layers. Make sure that you catch both sides of the bias tape/binding.
Hang your pennants and enjoy them!