The first thing you do when you get to Quilt Market in Houston is to greet everyone that you love. And there are so many to love.
Actually the first thing I did when I got to Houston was to get a haircut. All the prep work for this market and following festival meant that I didn’t have time to get a haircut. I did squeeze in a visit to the dentist however. Teeth or hair, is there a choice?
I wish that I would have taken a photo of the place where I got my haircut. At the convention center, I googled “haircuts near me”. They took walk ins. It was an old fashioned barber shop with the pole and all. And, I got my best haircut ever!
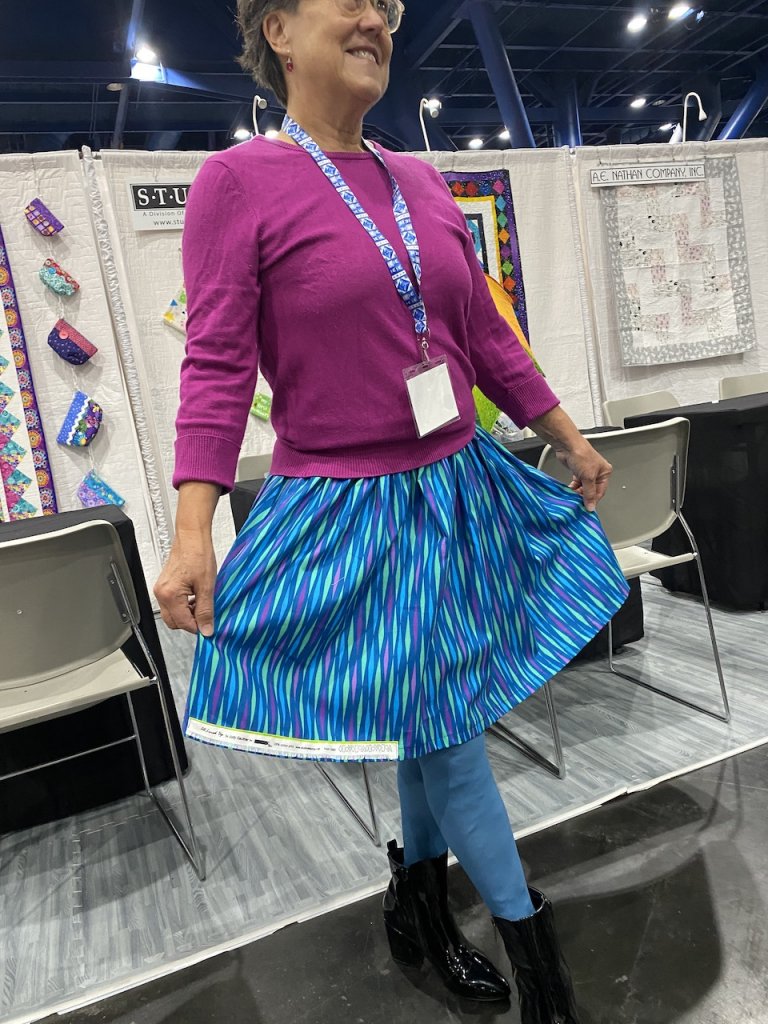
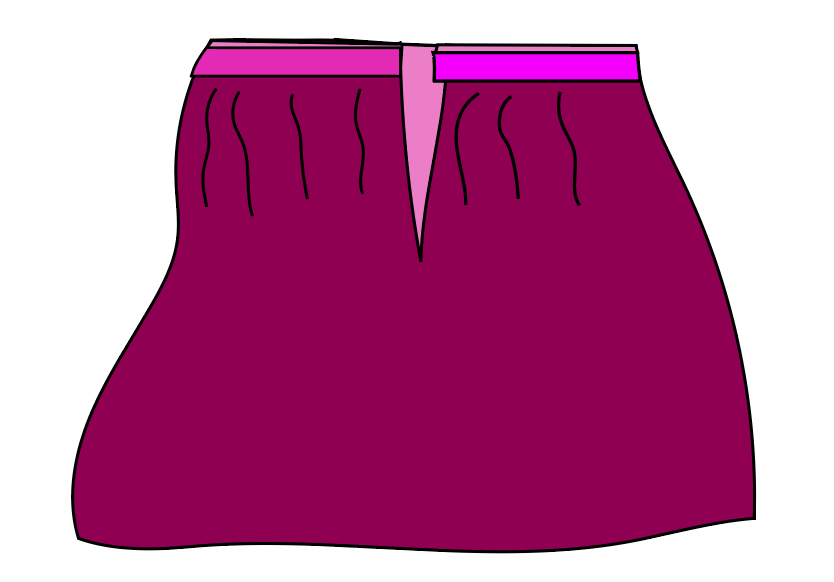
Before market I had made a skirt. I used my fabric from my first line of fabric “All Lined Up”. I sewed the selvedge to the hem, a trick that I learned from my right hand Cindy Cody.
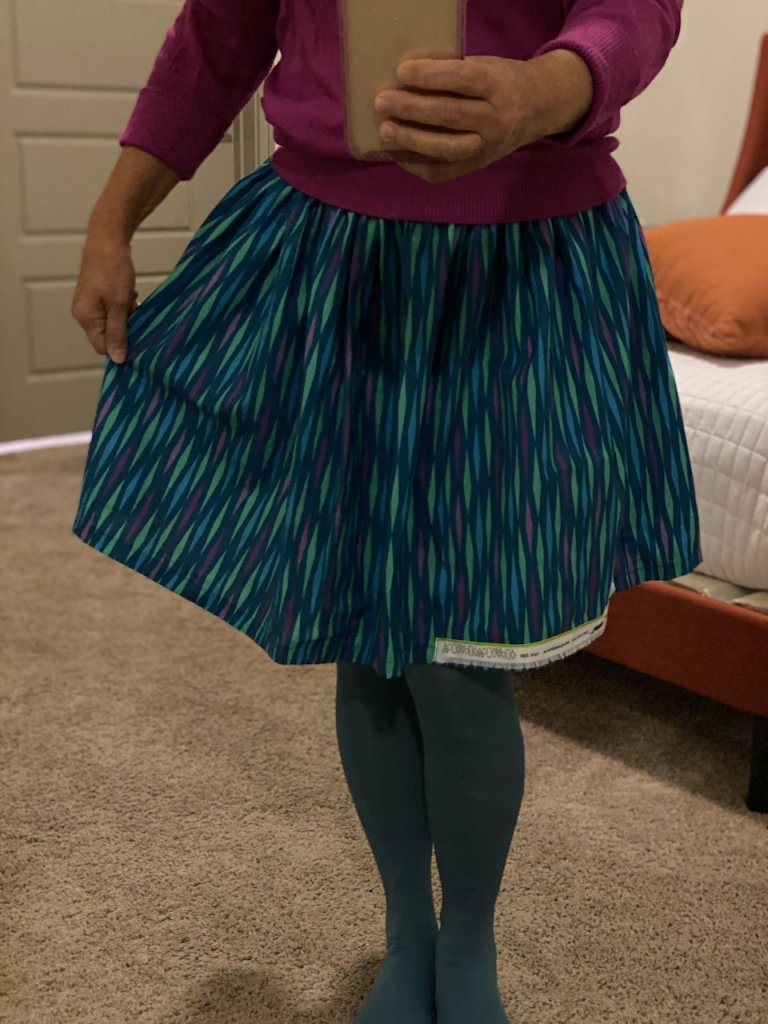
It’s the simplest skirt ever. There’s a waist band and a zipper. Cut your preferred length of fabric (I used 18” because I am short) across the width of fabric. Cut 2 rectangles 18” x 44″. One is for the front, and one for the back.
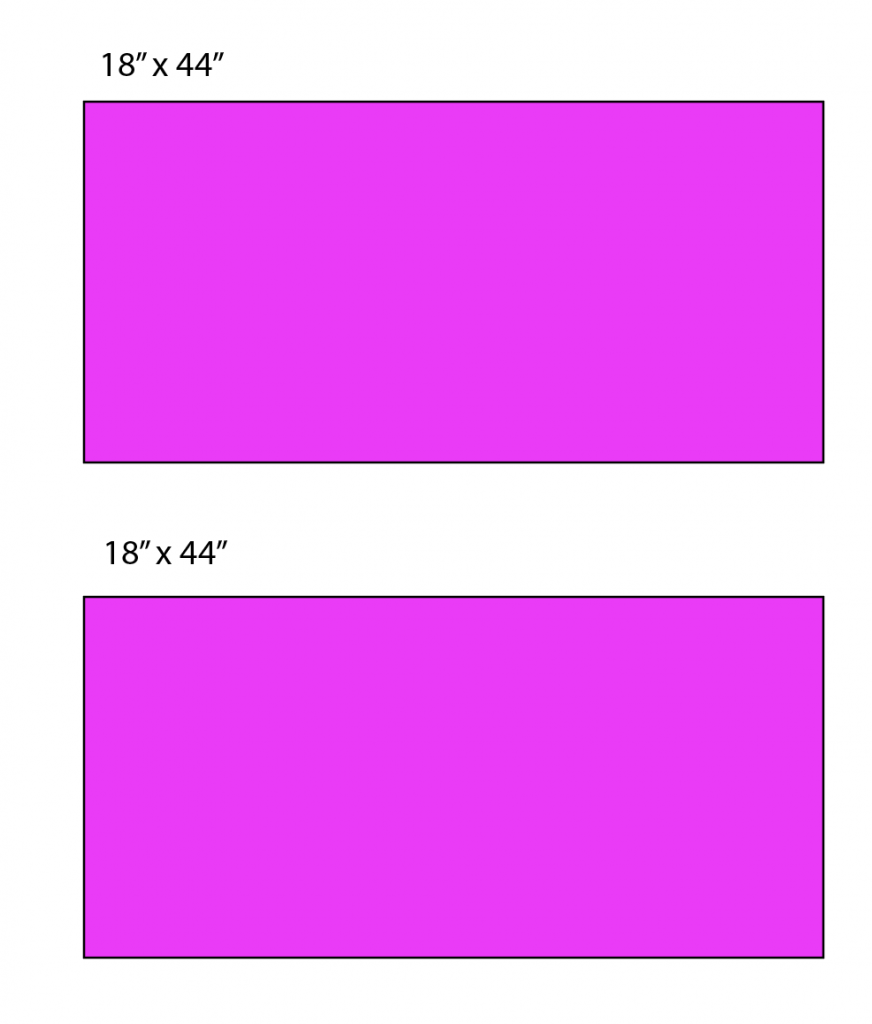
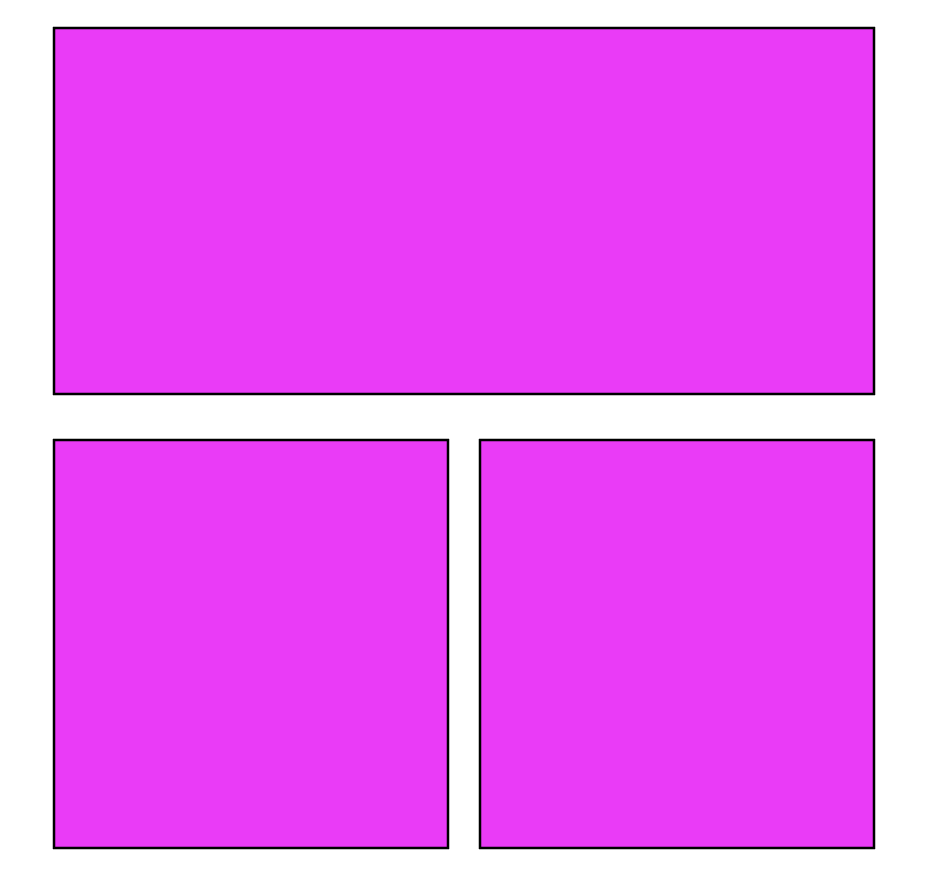
Cut one of the rectangles directly down the center on the vertical axis. This is the back of the skirt. Serge or zigzag around all edges of all fabric rectangles.
Place the two back rectangles right sides together and sew a seam partial seam. Now, this deserves some explanation. I say partial because zipper lengths are a personal preference. I like about an 8 inch zipper in my skirts, but some may want a longer one. You will need about an 8” zipper in the least because you need to get that skirt up over your hips!
Use a 5/8” seam allowance.

Make certain to backstitch on both ends of stitching. This is not a quilt, and there will be stress points so you need to backstitch.
Press the seam allowance open. Make certain to press the edges that are not seamed but beyond the seam. Press them under 5/8”.
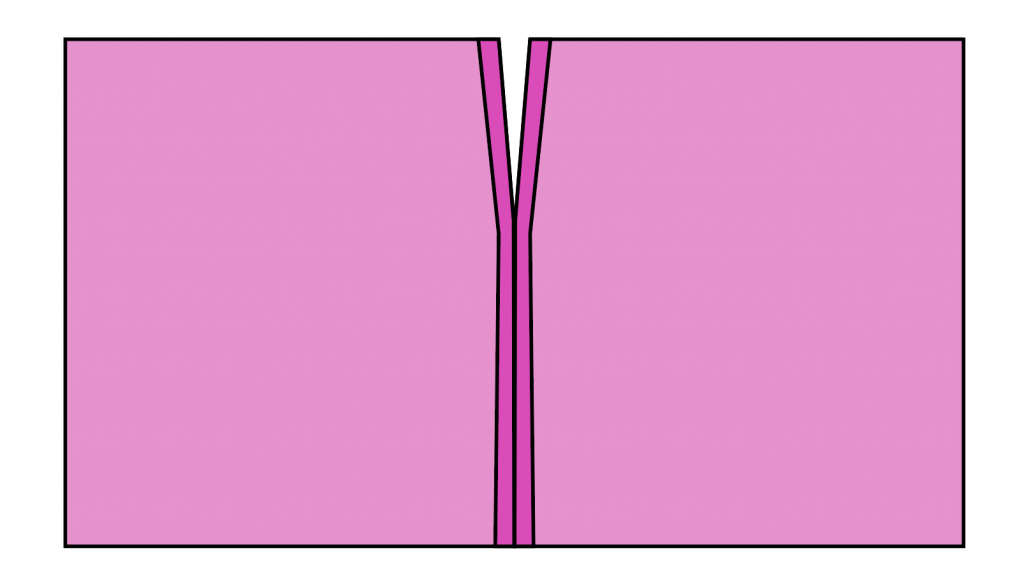
Position the open seam allowances next to each other so that they are well approximated.
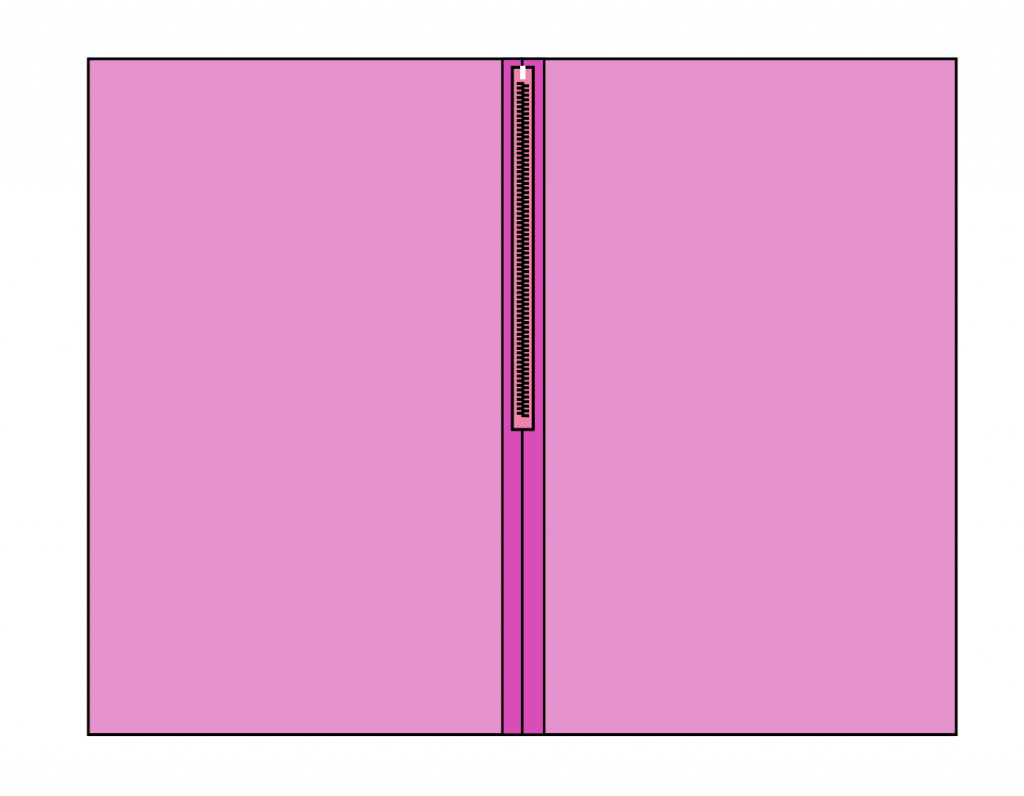
Lay the zipper over the open seam allowances so that the zipper front is face down, and the wrong side of the zipper is up. Pin, tape or hand baste securely. You may even use a glue stick if this is what you are comfortable with. If you use a glue stick, make certain to use a non-stick needle or use sewer’s aid and apply to needle every few inches of sewing.
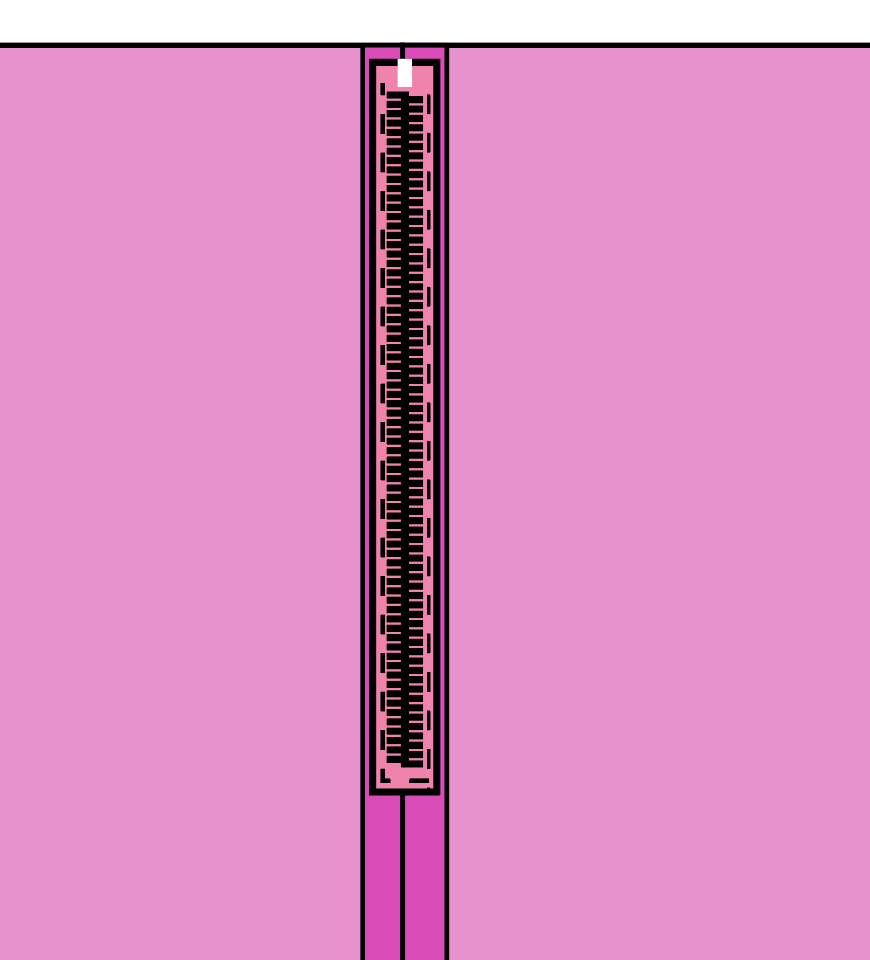
Using your zipper foot, stitch the zipper on to the seam allowances, pivoting at the bottom edge.
To gather the top of the skirt:
Increase your stitch length to about a 5 on a Bernina, or whichever length you use for gathering on your sewing machine. The stitch length should be long to make it easier to gather.
Stitch 1/4” from the edge of the fabric, and repeat the stitching 1/8” below the first line of stitching. Leave a long tail of thread at the start and at the end of the stitching.
Start 6/8” in from the edge so that the gathering stitches do not get caught in the side seams of the skirt.
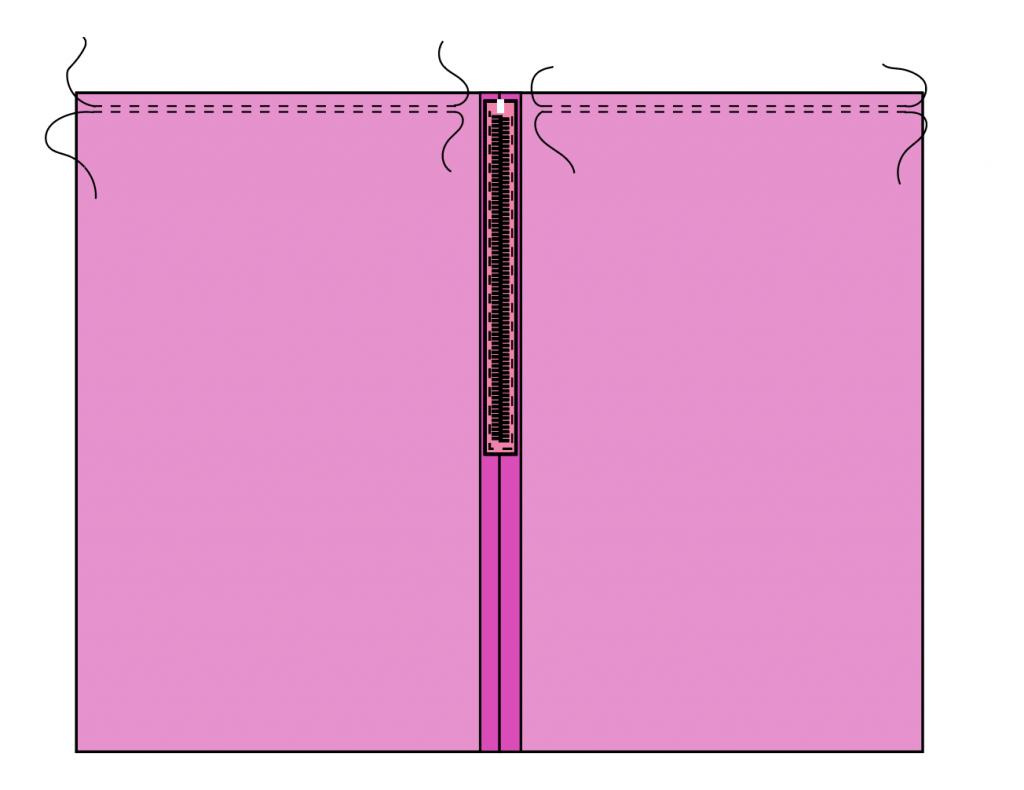
Stitch 2 rows of gathering stitches along one long edge of the remaining rectangle. This is the front of the skirt.
Do not stitch within 6/8” of the edge of the fabric, as above.
Lay the skirt front together with the skirt back, right sides together and stitch both short edges, side seams, using a 5/8” seam allowance. Press seam allowances open.
This next part gets interesting, so be patient with it.
Waist:
Unfortunately at this point you are going to need to measure your waist. I know, not fun. Maybe. Or maybe not. Measure your waist and add 2 1/4 inches.
Cut a strip of fabric that is 3 1/2” wide X your measurement in the above step. Example: if my waist is 32 inches, I am going to cut a strip of fabric that is 34 1/4” long and 3 1/2” wide. This is the waistband.
Cut a piece of fusible interfacing that is the length of the waistband x 1 3/4”. Fuse this to the wrong side of the waisband, along one edge.
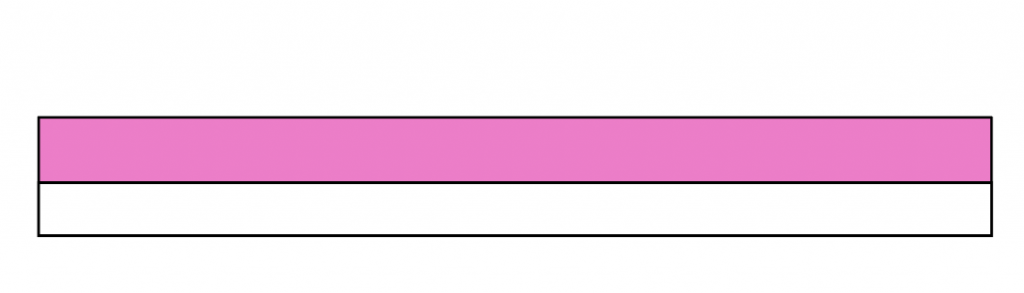
Fold the edge of the waistband without the interfacing under 5/8” and press.
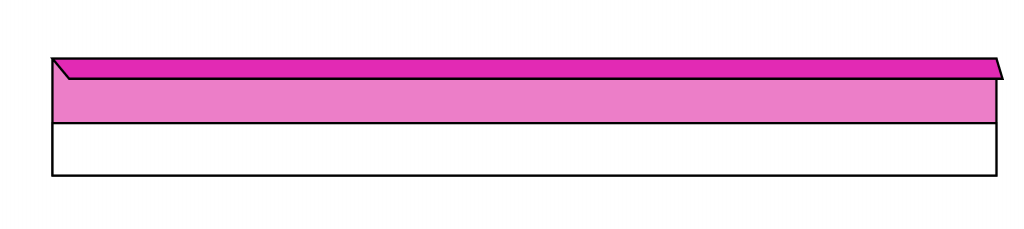
Fold the entire waistband, right sides together along the top edge of the interfacing. There should be 5/8” along the interfaced edge not enveloped by the fold.

Stitch along the short edges with a 5/8” seam allowance.

Clip the corners, and turn the waistband right sides out.

Pull up the gathering stitches so that the skirt top circumference matches the waist measurement. At this point you can try the skirt on, after it is gathered, to make sure that the waist fits your waist, prior to sewing the waistband on.
Lay the waistband, right sides together with the skirt top edge. One edge of the waistband will match the edge of the zipper opening, and the other will extend slightly beyond the zipper opening.
Pin or baste securely. Stitch a 5/8” seam allowance, being sure that all of the gathering stitches are within the 5/8” seam allowance.
Trim the seam allowance to 1/4”. Turn the waistband up, and enclose the seam allowance inside the waistband by handstitching the folded edge of the waistband to the seam allowance.
To provide closure for the skirt, add a button and a buttonhole, or use hook and eye metal fasteners.
Hem the skirt in your preferred manner.