Most people think that you can’t turn a donut shape right sides out. Wrong! You can. It does take some finesse. And, you can’t do it 100% on the sewing machine. There are parts of it that need to be handsewn. But, you can get a considerable amount of it done on the machine. Here https://youtu.be/LOP2QlBrn3o is a video from you tube on how to do this.
What you will need:
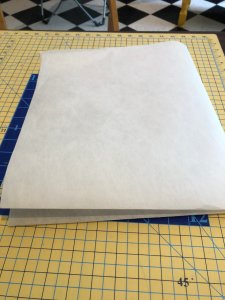
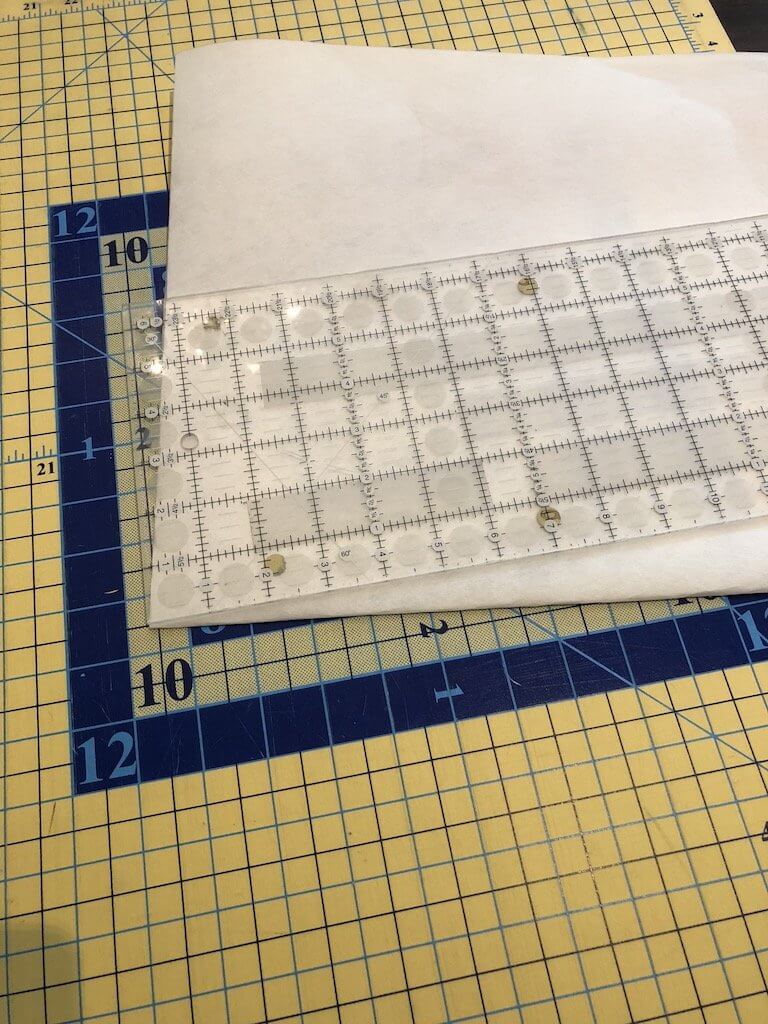
Donut pattern–in order to make a donut pattern, you will use a piece of paper or as in my case, a piece of interfacing. Fold the paper in half and then in half again.
Then use your quilting ruler to mark a circle. Hold on…before you do that you need to decide how big you want your donut. Remember that when you have your interfacing or paper folded like this, you are measuring the radius of the donut not the diameter. For those of you that don’t remember which is the radius and which is the diameter, you will have to go back to math class, just like a bad dream!
So, I decided that I was going to make this big enough to put my head on. I would like to put it on my bed because then I will have sweet dreams!
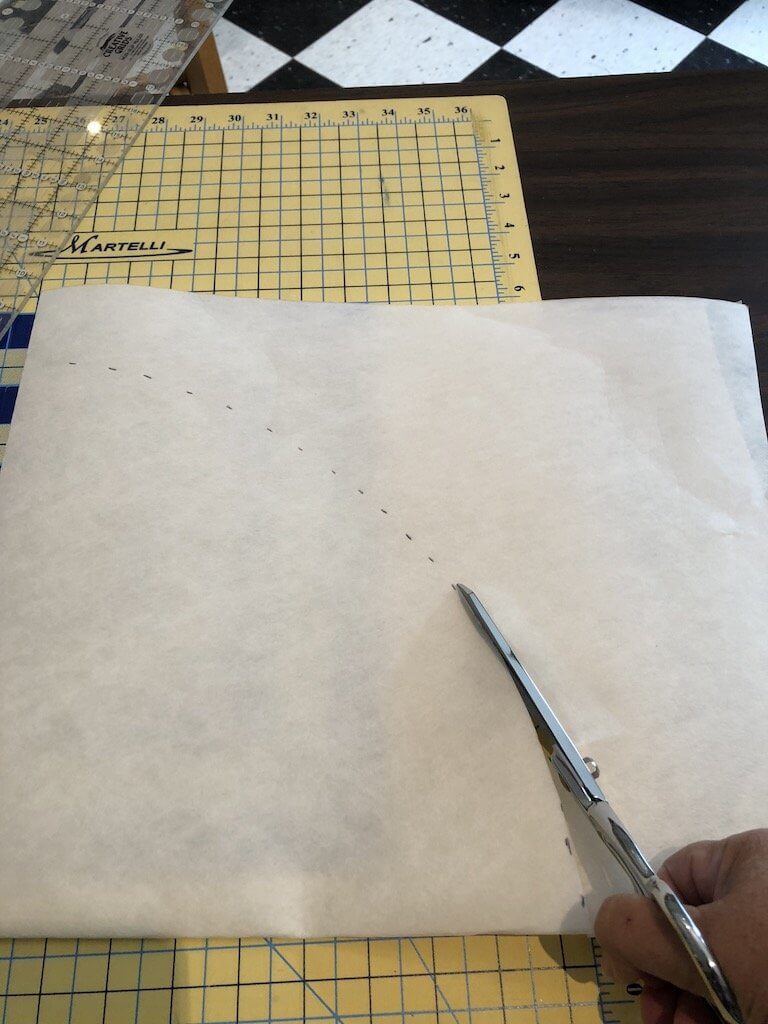
So mark your measurement on the edge of the paper, with the ruler right in the lower right hand corner of the paper. Then move your ruler over a couple of inches, keeping the bottom of the ruler right in that corner. Mark the same measurement again.
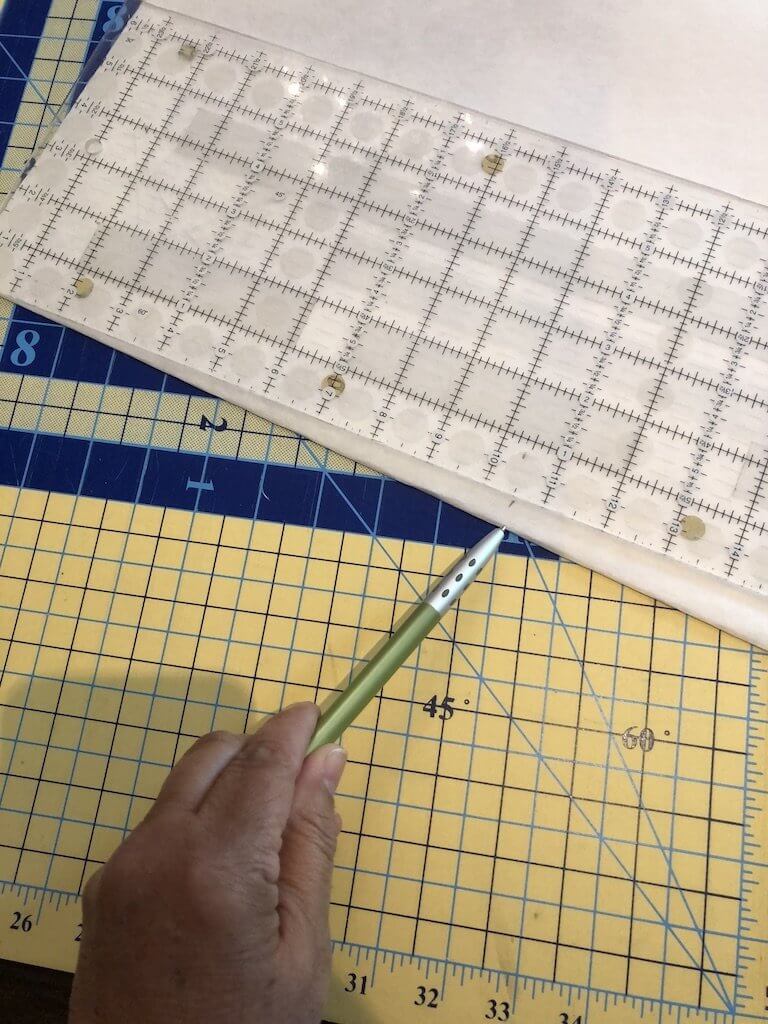
Continue to make these marks across the entire piece of paper.
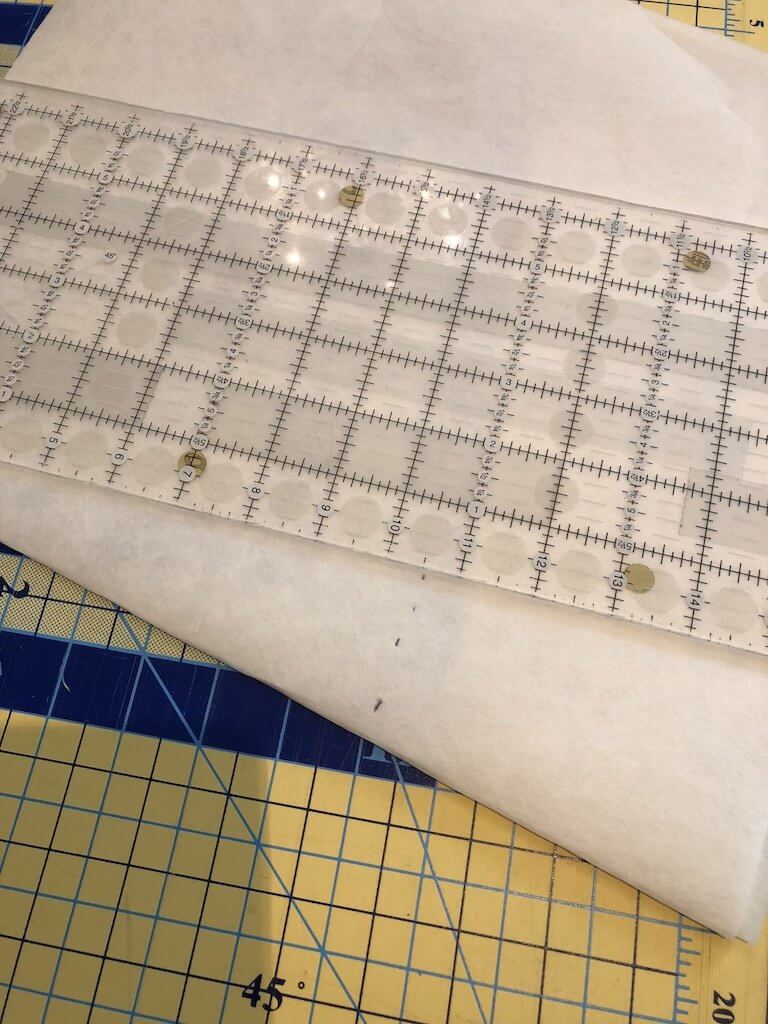
Now you can see how this has made a quarter circle.

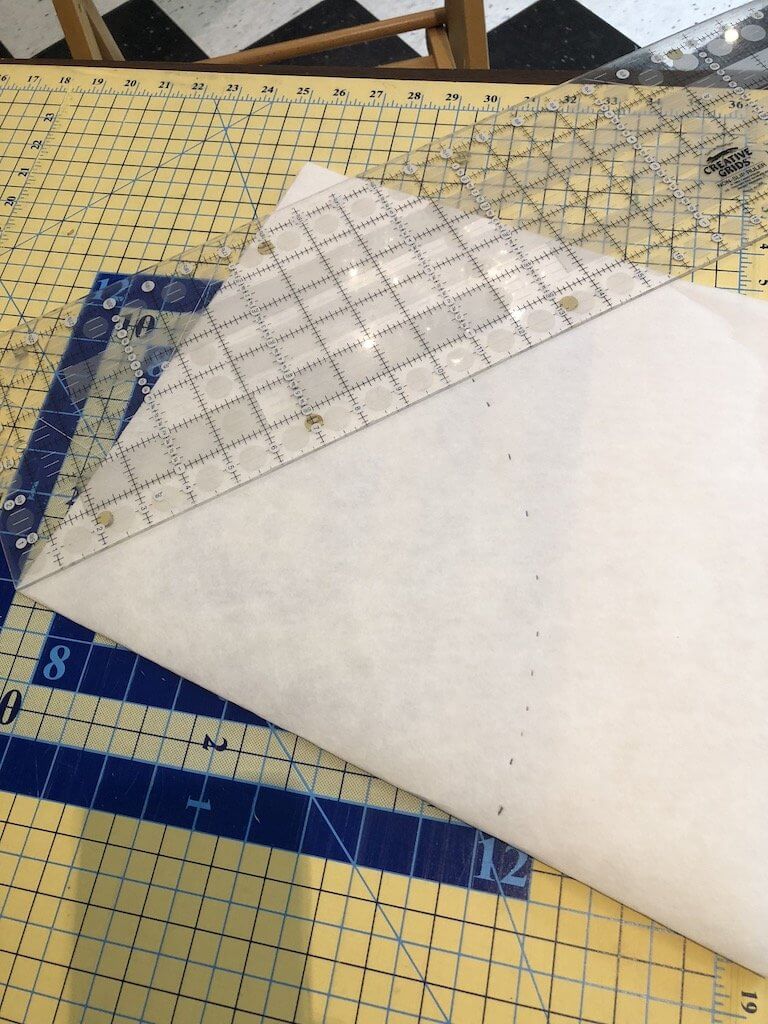
You can now cut on that dotted line to make a circle.
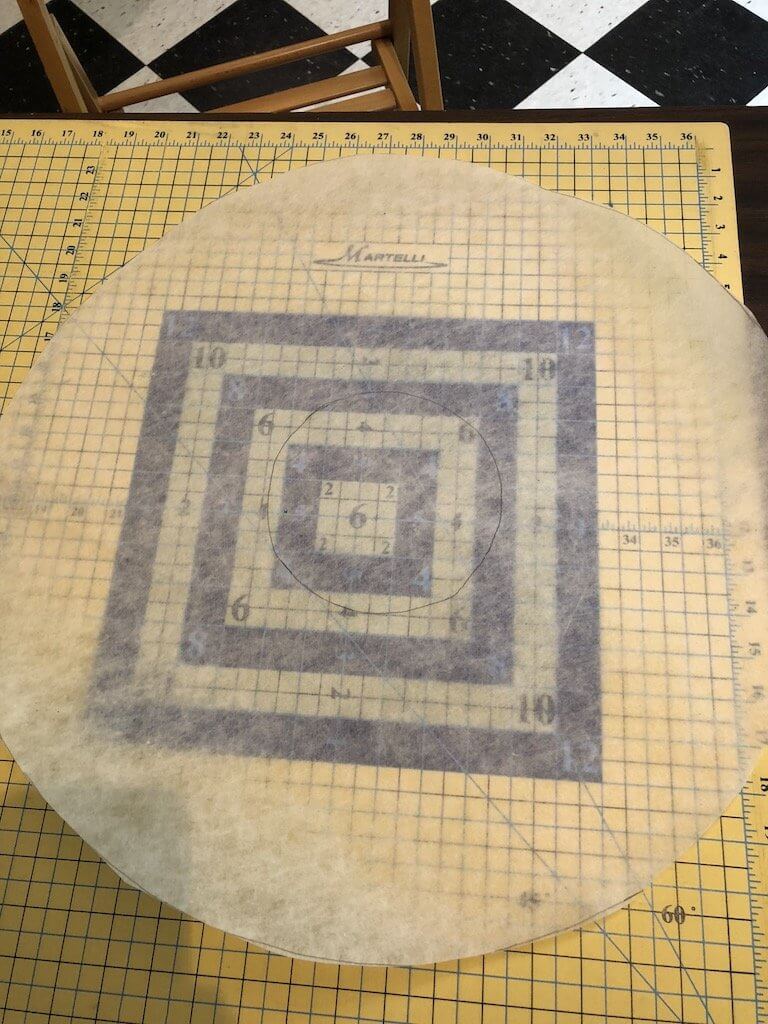
The next step is to make the center circle, and cut it out. So you will do the same thing that you did for the big circle. Use the ruler to measure again from the corner out.
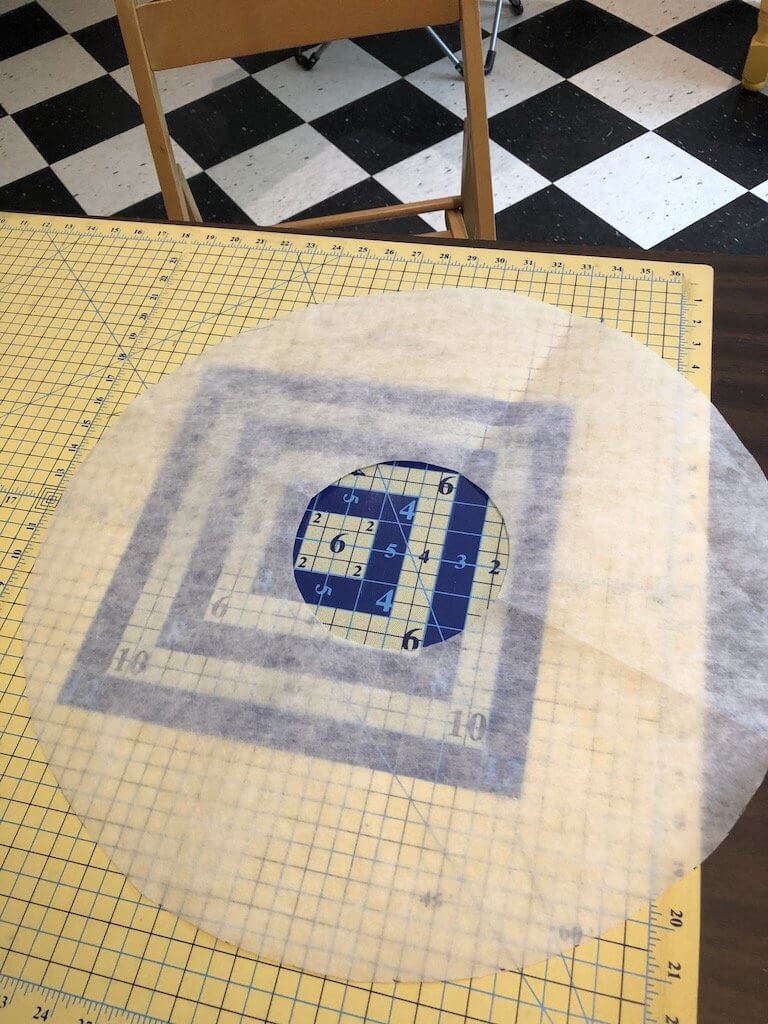
Trace this circle with the cut out circle onto another piece of interfacing. But, don’t cut out the middle hole.
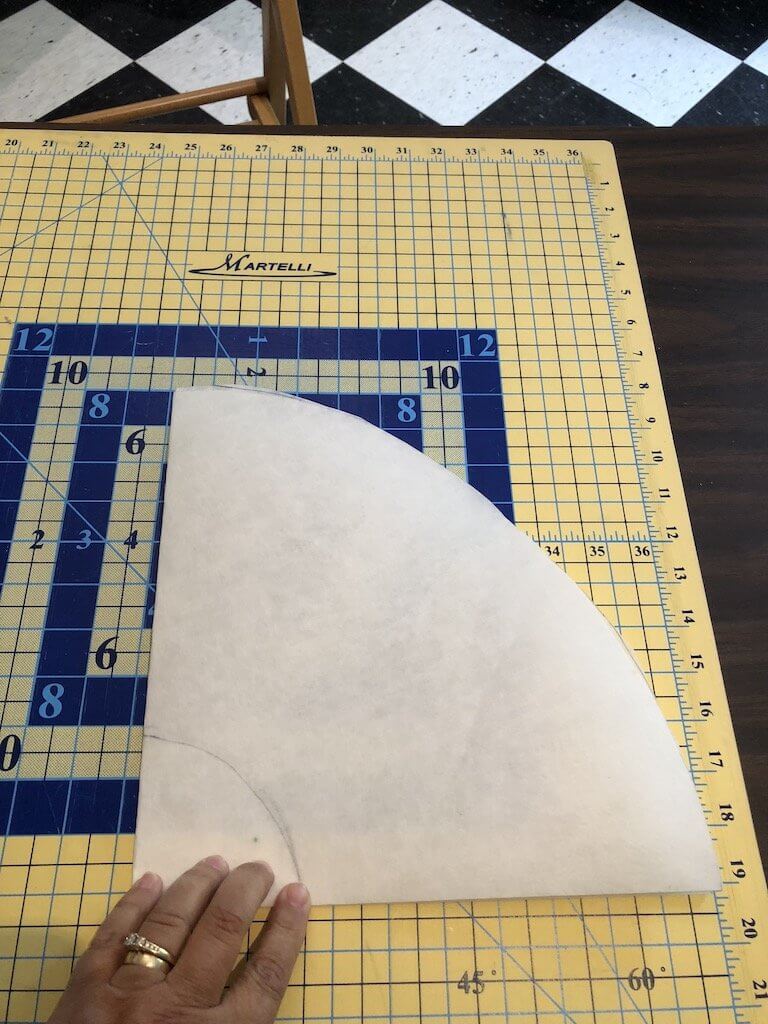
Fold this circle in half, and then in half again, and then in half again. It will look like an ice cream cone.
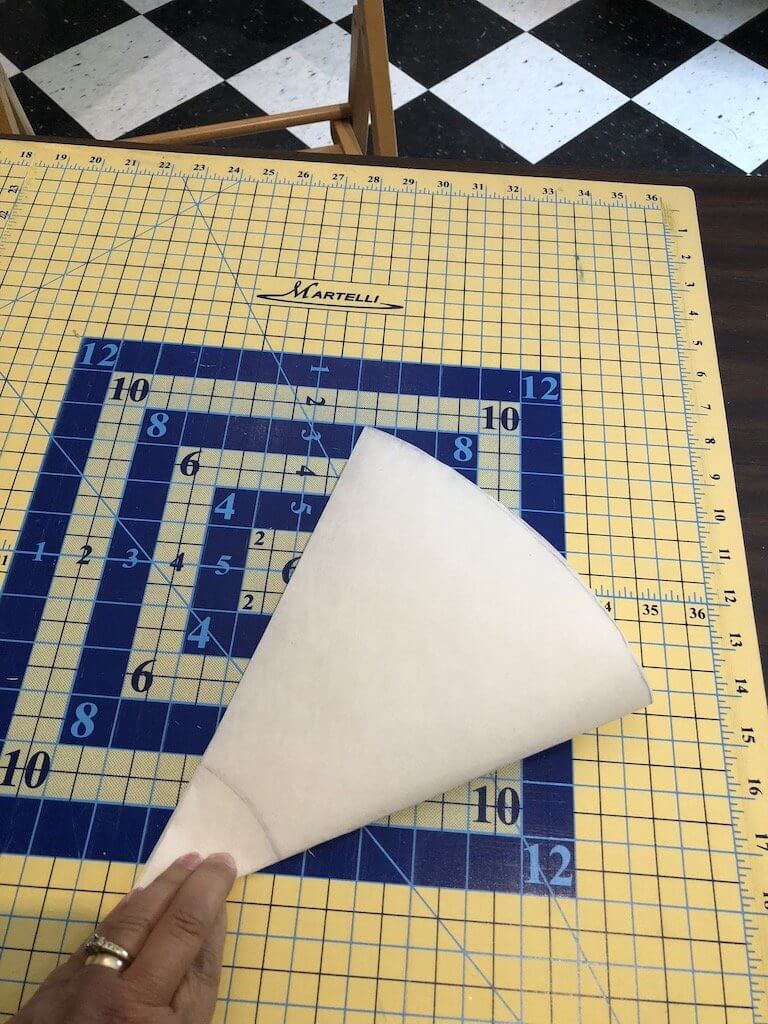
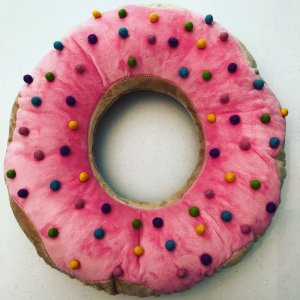
This pattern piece, if you haven’t guessed it already is for the frosting. You can’t have a donut without frosting.
Draw a rounded shape on the open end. Draw it so that it looks like frosting.
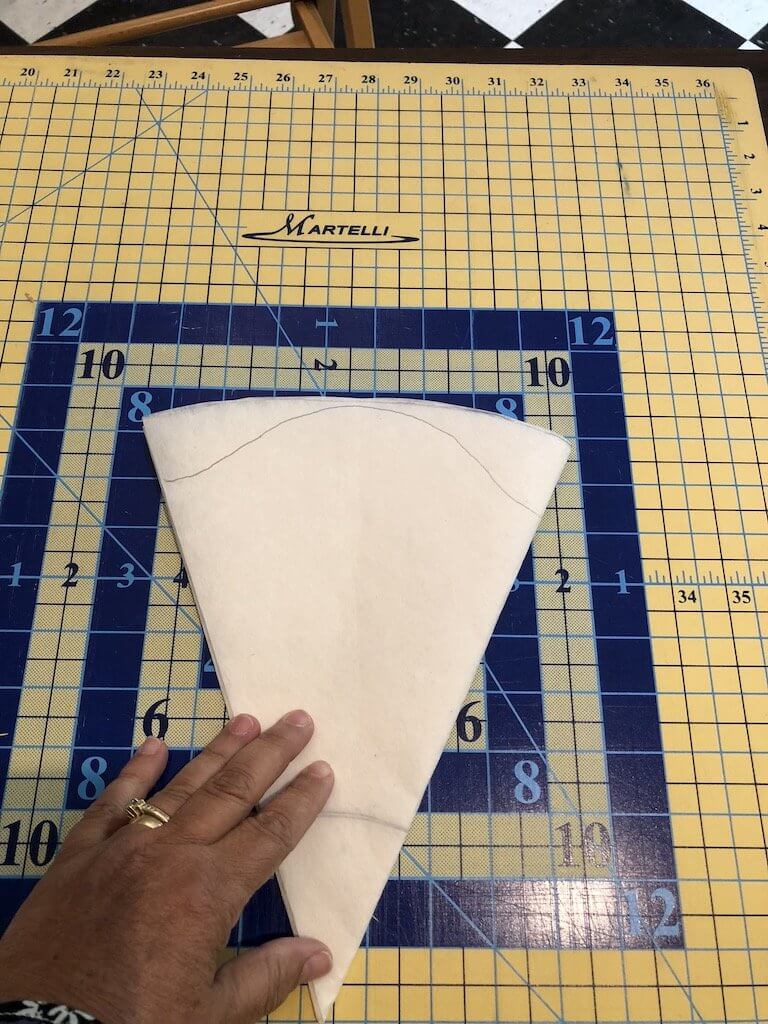
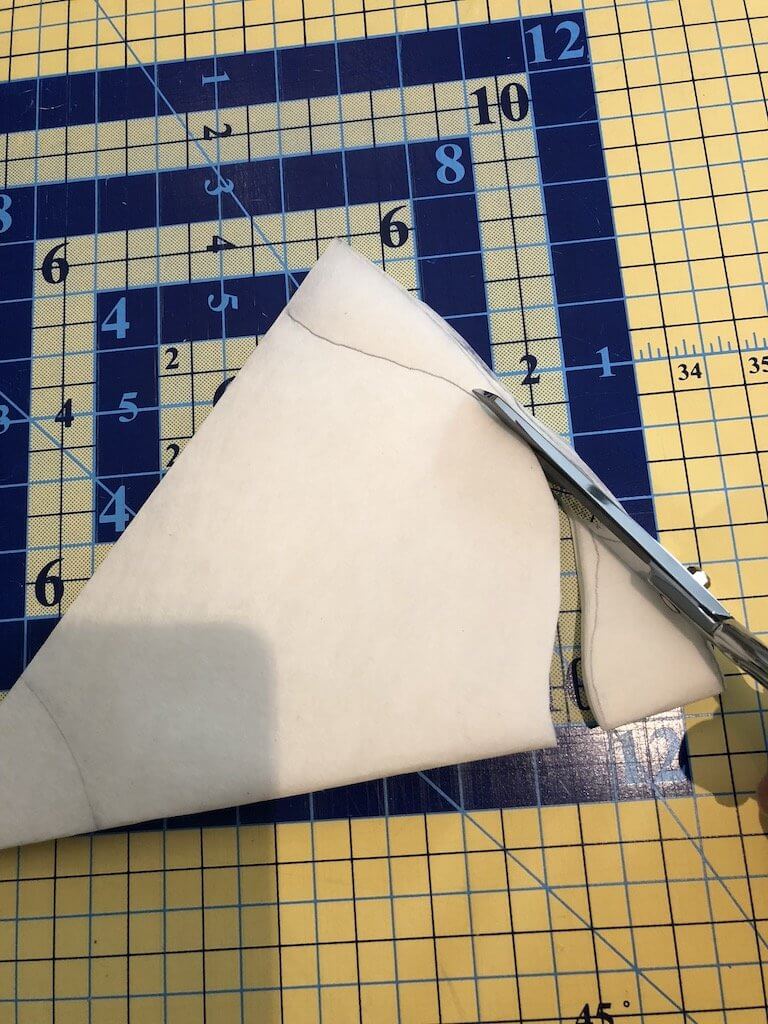
Now cut it with a scissors.
Lay it over the donut pattern and see how you like it.
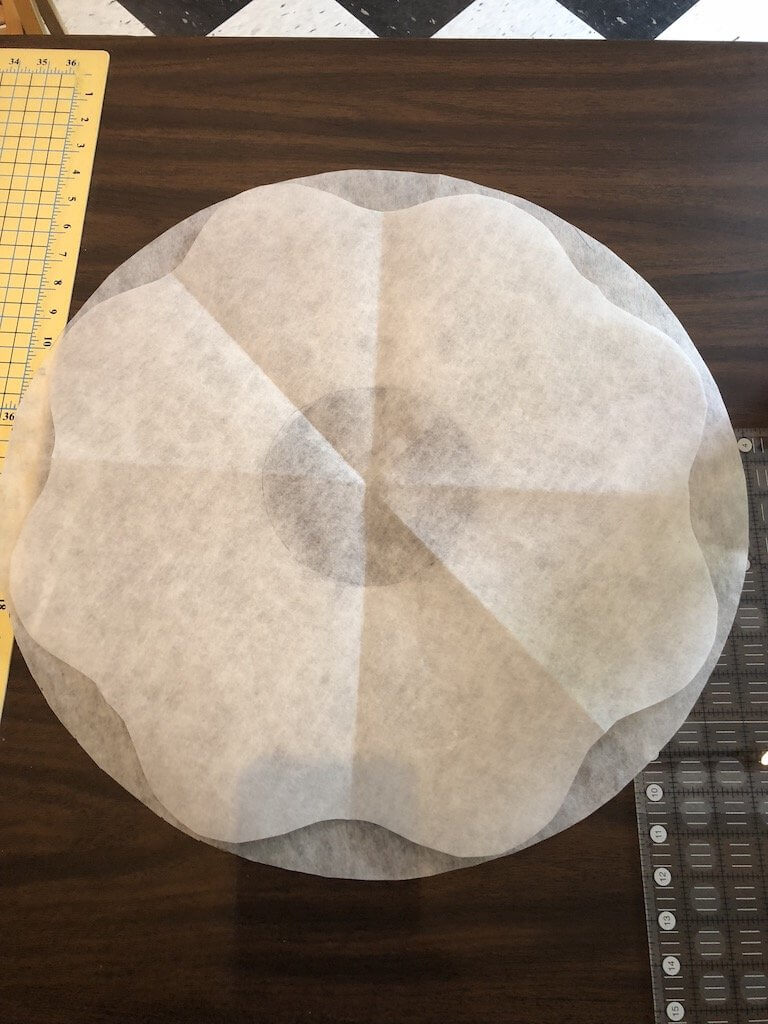
I like how the shape turned out, but it was too big. By the time I sew the donut together the frosting would get caught in the seam. So I trimmed it down a bit.

Then I cut the inside of the frosting out. That really needs to be a much larger hole than the donut hole because otherwise it too will get caught in the seam allowance of the donut. You’ll see what I mean. I had to rip it out once. That wasn’t fun.
Now you’re ready to lay the pattern pieces onto the Cuddle fabric. Cut 2 donuts from the donut color, and 1 frosting from the pink.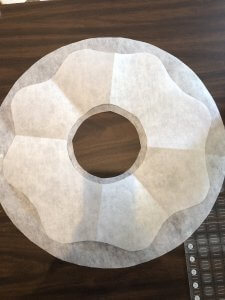
The Cuddle colors (available at the Bungalow) are Camel and Paris Pink. I used felted balls for the sprinkles.
You need about 3/4 yard of fabric for the donut, and the about 5/8 yard for the frosting. It’s 60 inches wide, so you will probably have enough for 2 donut pillows.
I interfaced the frosting with fusible woven interfacing, but be careful. The iron is no friend to Cuddle. Then, I used the zig zag stitch to applique the donut frosting to the top donut shape.
After this you’re ready to sew the sprinkles on. I used felted wool balls. You certainly could use regular felt and cut little ovals, like Jimmies. Then you could glue them on. I just don’t like glue on any sewing project so I sewed my felt balls onto the frosting.
Next, lay the donut top to the donut bottom, right sides together. Pin the inside together, the donut hole. This is what you will sew first. Stitch this with a 3/8 inch seam allowance.